How to Test an Alternator: Easy Step-by-Step Guide
Your car stalls, the battery light glares, and you're stuck guessing whether the alternator or the battery gave up. Learning how to test an alternator settles that argument in about five minutes with nothing more than a digital multimeter. The alternator is the part that recharges your battery and powers everything electrical while the engine runs.
If it's failing, no new battery will save you.
Here's the good news. A healthy charging system pushes roughly 13.8 to 14.8 volts at the battery with the engine running, a range that carmakers and SAE International reference as normal for 12-volt systems. Anything well below or above that points to a fault worth chasing.
As of 2026, the test procedure hasn't changed, so let's start with the quick answer before we get our hands near the engine.

Quick Answer
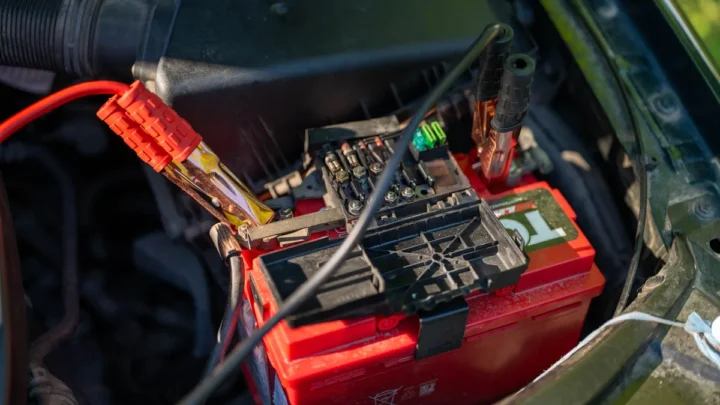
Set a digital multimeter to 20V DC. With the engine off, touch the probes to the battery terminals. A healthy battery reads 12.6 volts.
Start the engine and check again. A working alternator raises the reading to 13.8 to 14.8 volts. Below 13.5 or above 15 volts signals a charging fault.
Battery Light On or Car Won't Start? Where the Alternator Fits In
The alternator and battery work as a team, and that's exactly why people misdiagnose them. The battery starts the engine. The alternator keeps everything running afterward and refills the battery as you drive.
So the symptoms overlap. Dim headlights, a slow crank, or a dead car in the morning could point to either part. Use this simple logic to narrow it down:
- If the car cranks fine but the dashboard battery light stays on while running, suspect the alternator.
- If the car won't crank at all but the lights work, suspect the battery.
- If headlights brighten when you rev the engine, the alternator may not be charging at idle.
- If a brand-new battery keeps going flat, the charging system is the prime suspect.
That last one trips up a lot of people. A perfectly good battery that keeps draining overnight often traces back to a failing alternator diode, not the battery itself. Before you spend a dime, a voltage test tells you which part is actually broken.
What You'll Need Before You Test the Alternator
You don't need a shop full of gear. A basic kit gets the job done.
| Tool | Why You Need It | Rough Cost |
|---|---|---|
| Digital multimeter | Reads battery and charging voltage | $15 to $40 |
| Safety glasses | Protects against battery gas and sparks | $5 to $15 |
| Gloves | Guards against acid and hot parts | $5 to $10 |
| Clean rag | Wipes corrosion off terminals | Free |
A cheap meter is fine here. Our research into budget testers shows that even low-cost meters read DC voltage accurately enough for charging checks. You're looking at a range, not a lab-grade number.
The Multimeter Settings That Actually Matter
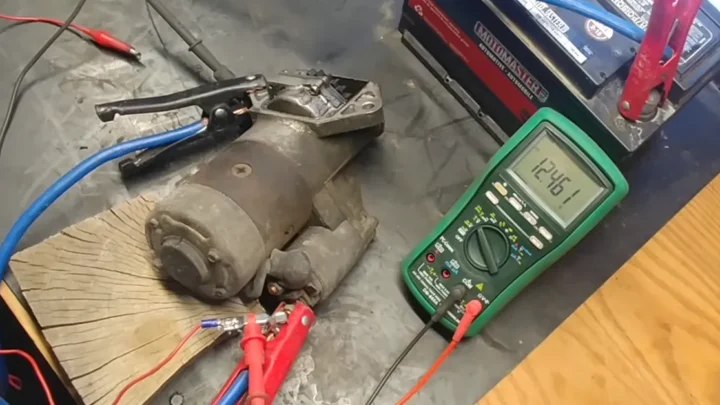
Turn the dial to DC voltage, marked V with a straight line and dots (not the wavy AC symbol). Pick the 20V range if your meter isn't auto-ranging. That covers a 12-volt system with room to spare.
Two probe colors, two jobs. Red goes to the positive terminal, black to negative. If you're curious what the safety ratings mean, the meter's category rating tells you where it's safe to use.
And no, you won't hurt the meter by reading a 12-volt battery.
The 5-Minute Alternator Test With a Multimeter
This is the core test, and it's genuinely quick. Follow the steps in order because each reading builds on the last.

- Park safely, set the handbrake, and open the hood. Keep the engine off.
- Set the multimeter to 20V DC.
- Touch the red probe to the positive battery post and black to the negative post.
- Read the resting voltage. A charged battery shows about 12.6 volts.
- Start the engine and let it idle. Read the voltage again.
- A healthy alternator now shows 13.8 to 14.8 volts.
- Turn on the headlights, the AC, and the rear defroster. Watch the number.
- The voltage should stay above 13 volts under that load.
If the reading barely moves off 12.6 with the engine running, the alternator isn't charging. If it climbs past 15 volts, the voltage regulator may be overcharging. A detailed multimeter walkthrough covers probe placement in more depth, but those eight steps are all most people need.
One tip before you test. Drive the car for a few minutes or let it sit an hour first. A fresh reading after charging can show a false-high surface voltage that throws off your baseline.
Reading Your Voltage Numbers: What Each Result Means
Numbers only mean something in context. Here's how to read what your meter tells you.

Engine Off: The 12.6V Battery Baseline
A rested battery at 12.6 volts is fully charged. That's your starting line. If it reads lower, the battery is partly drained and needs charging before you trust any running test.
Use this quick reference:
| Resting Voltage | Battery State |
|---|---|
| 12.6V or higher | Fully charged |
| 12.4V | About 75% charged |
| 12.2V | About 50% charged |
| Below 12.0V | Discharged or failing |
A battery stuck below 12 volts might be the real problem, not the alternator. If yours won't hold a charge, watch for the telltale signs of a bad battery before you condemn anything else.
Engine Running: The 13.8V to 14.8V Charging Window
With the engine running, a healthy alternator lifts the voltage into the 13.8 to 14.8 range. This is the single most important reading in the whole test. It proves the alternator is actively pushing current back into the battery.
Here's the if/then breakdown:
- If you see 13.8 to 14.8V: the alternator is charging correctly.
- If you see 13.0 to 13.7V: it's undercharging, and the battery will slowly starve.
- If you see above 15V: it's overcharging, which cooks the battery and boils electrolyte.
- If you see 12.6V or less: the alternator isn't charging at all.
Under Load: What Happens With the Headlights and AC On
Switching on the headlights, blower, and defroster stresses the alternator. A good one holds above 13 volts even with all that draw. If the voltage sags toward 12 volts the moment you add load, the alternator can't keep up under real driving conditions.
This load test catches weak alternators that pass at idle but fail on the road. It's the difference between "seems fine" and "actually works."
The AC Ripple Test: Catching a Failed Diode
A failed diode is the sneaky fault a basic voltage test can miss. Inside the alternator, diodes convert AC power into the DC your car uses. When one fails, it leaks AC voltage into your system, which drains the battery and confuses electronics.
Testing for it is simple. Switch your multimeter to AC volts (the wavy line, low range). With the engine running, place the probes on the battery terminals again.
You want to see almost nothing.
- Under 50 millivolts (0.05V AC): diodes are healthy.
- Above 50 to 100 millivolts: a diode is likely failing.
- A reading of several tenths of a volt: strong sign of a bad rectifier.
High AC ripple is a classic cause of a battery that mysteriously dies overnight even though the DC charging voltage looks normal. If your daytime numbers check out but the car keeps going flat, run this test before replacing anything.
Voltage Drop Test: When a Bad Ground Fools You
A bad ground can make a perfectly good alternator look broken. Corroded cables and loose connections add resistance, and that resistance eats voltage before it ever reaches the battery. So you get a low reading and blame the wrong part.
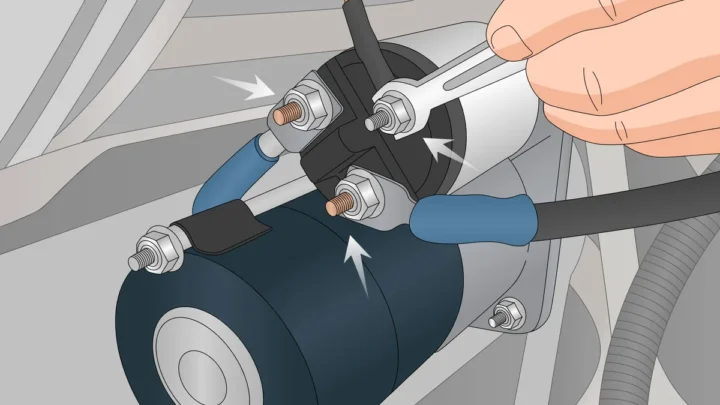
The voltage drop test finds that hidden resistance. With the engine running and some load on, set the meter to DC volts. Touch one probe to the alternator case and the other to the negative battery post.
- Under 0.2V: the ground is solid.
- 0.2V to 0.5V: a marginal connection worth cleaning.
- Over 0.5V: a bad ground is stealing your charge.
Repeat it on the positive side, from the alternator output stud to the positive battery post. If a multimeter flags a bad ground, clean the terminals and retest before condemning the alternator. A five-minute wire-brush job has saved plenty of good units.
Alternator or Battery? Telling the Two Apart
Here's the fastest way to separate the two culprits. The battery starts the car. The alternator keeps it running.
Test them in that order.
Start with the resting voltage. If the battery sits below 12.4 volts and won't hold a charge after charging, the battery is weak. If it charges up fine but drops again while parked, look at the charging system.
| Symptom | Likely Culprit |
|---|---|
| Slow crank, then starts | Weak battery |
| Starts fine, battery light on | Alternator |
| Dies while driving | Alternator |
| Dead after sitting overnight | Battery or diode drain |
| Everything dims at idle | Alternator undercharging |
A frustrating twist is when the alternator charges but the battery still dies. That usually points to a parasitic drain or a failed diode, not a dead battery. If your numbers all look normal but the car won't stay alive, hunt down whatever is quietly pulling current while the key is off.
How to Bench Test an Alternator That's Already Out
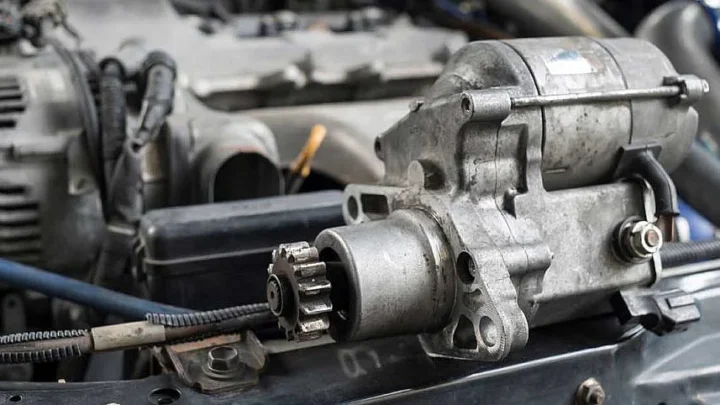
Once the alternator is off the car, a bench test confirms whether it's worth rebuilding or scrapping. Most auto parts stores run this test free in about 15 minutes. It's the cleanest way to isolate the unit from wiring and ground problems.

The store clamps the alternator to a machine that spins it and measures output. The bench rig checks three things:
- Voltage output at a set speed (usually around 2,000 RPM equivalent).
- Amperage against the unit's rated output, say 120A.
- Diode and regulator function under load.
If it fails on the bench, wiring isn't your problem. If it passes on the bench but failed in the car, the fault is in your cables, ground, or belt. That single test settles a lot of arguments before you buy a replacement.
Testing Without a Multimeter (and Why It's a Last Resort)
You can spot a failing alternator without a meter, but the methods only catch severe faults. Treat them as roadside triage, not a real diagnosis.
- Watch the headlights at idle. If they brighten when you rev, the alternator is struggling at low RPM.
- Turn on high beams, blower, and radio. If the engine dims or nearly stalls, output is weak.
- Listen for a whine or grinding, which points to worn bearings.
- Smell for hot rubber, a sign of a slipping or glazed serpentine belt.
Skip the old trick of pulling the battery cable while the engine runs. On modern cars that voltage spike can fry the ECU and other electronics. It's outdated advice that costs people real money.
A meter costs less than one wrong part. Even a basic model reads charging voltage well enough, and knowing how to read resistance too pays off across dozens of car jobs.
Mistakes That Make You Replace a Good Alternator
Most wrongly replaced alternators are victims of a skipped step. Aggregate repair-forum feedback shows the same handful of errors again and again. Here's what trips people up.
- Testing on a half-dead battery. A drained battery drags the reading low and makes the alternator look guilty. Charge it first.
- Ignoring the ground. Corroded connections mimic a charging failure. Run the voltage drop test.
- Trusting a surface charge. Testing right after a drive gives a false-high number. Let it settle.
- Skipping the AC ripple test. A bad diode passes the DC test but kills the battery. Check AC volts.
- Blaming the alternator for a rapid clicking at startup, which is almost always a weak battery or bad connection.
One more safety note. Batteries vent hydrogen gas, so wear glasses and keep sparks away from the terminals. If yours ever smells like rotten eggs, that sulfur odor signals overcharging and needs attention before it damages anything else.
Safety Rules Before You Touch the Charging System
A charging system carries enough current to burn you or spark a fire, so a few habits keep the job safe. Batteries release hydrogen gas, which ignites from a single spark near the terminals.
- Wear safety glasses and gloves before you start.
- Remove rings, watches, and dangling jewelry.
- Keep hands, probes, and rags clear of the spinning belt and pulley.
- Never let the two probe tips touch each other across the terminals.
- Watch for hot exhaust parts right after the engine runs.
If a battery ever looks swollen or leaks acid, stop and let it cool. When you do need to recharge one indoors, proper ventilation matters because of that same gas buildup.
Reading the Warning Signs: Symptoms of a Failing Alternator
Certain symptoms show up long before the car dies completely. Catch them early and you avoid a roadside breakdown.
- Dashboard battery light glowing while driving.
- Headlights that dim at idle and brighten when you rev.
- Slow power windows or a sluggish blower motor.
- A whining or growling noise from the front of the engine.
- A burning rubber smell from a slipping belt.
- Repeated dead batteries despite a fresh replacement.
Any two of these together is a strong hint. Run the voltage test to confirm before spending money. A single symptom alone can also point to the battery, so don't guess.
Free Store Testing vs Doing It Yourself
Both work, and the right choice depends on your gear and confidence. A home test costs nothing once you own a meter and gives instant answers in your driveway. A store test uses professional equipment and prints a pass or fail result.
| Factor | DIY Multimeter | Free Store Test |
|---|---|---|
| Cost | Meter only | Free |
| Speed | 5 minutes | 15 minutes plus travel |
| Depth | Voltage and ripple | Full load and amperage |
| Best for | Quick confirmation | Final verdict before buying |
Use the DIY test first to decide if there's a problem. If the numbers look borderline, take it to a store for the amperage load test before you replace the unit.
Your Alternator Testing Decision Guide
Here's the whole process boiled down to simple if/then calls.

Similar Posts