How to Test Ohms With a Multimeter: Easy Guide
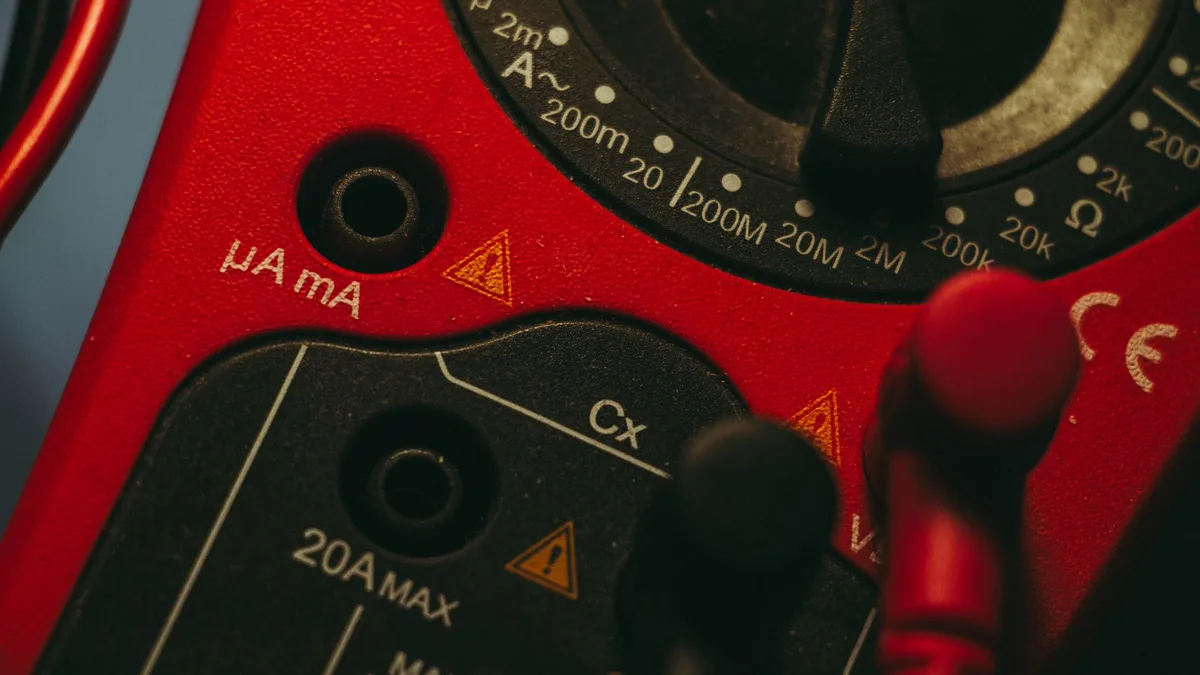
If a part in your circuit is quietly failing, learning how to test ohms with a multimeter is the fastest way to catch it. Resistance testing tells you whether a component is good, open, or shorted, all without the guesswork. You touch two probes to a part and read a number.
That number does most of the diagnostic work for you.
A multimeter measures resistance in ohms (Ω), the unit named after physicist Georg Ohm. Meters built to the IEC 61010 safety standard supply their own tiny test current, usually in the microamp to milliamp range, to work the value out. As of 2026, even budget digital meters read resistance from under 1 Ω up to 20 MΩ or higher.
Before you press a single probe, it pays to know what that reading is telling you.
What Reading Ohms Actually Tells You About a Component
Resistance is how much a part fights the flow of current. A low number means current passes easily. A high number means it struggles.
Infinite resistance means it can't pass at all.
That single value sorts most components into three buckets:
- Near 0 Ω: a solid connection, a good fuse, or a dead short.
- A specific expected value: a healthy resistor, coil, or heating element.
- OL or infinite: an open circuit, a blown fuse, or a broken wire.
So when a dryer's heating element stops working, an ohms reading tells you instantly whether the coil is intact or burned through. The same logic applies to spark plug wires, motor windings, and switches. You're checking the electrical path, not the voltage.
That's a different test from checking a battery's state of charge with a multimeter, which reads volts instead.
The 60-Second Version: How to Test Ohms on Any Multimeter
Testing ohms with a multimeter takes four moves. Power off the circuit first. Plug the black lead into COM and the red lead into the VΩ jack.
Turn the dial to the ohms symbol (Ω). Touch one probe to each end of the component and read the display.
Here's the quick flow before we slow it down:
- Kill the power and discharge any capacitors.
- Set the dial to Ω, and pick a range on manual meters.
- Touch the probes together to check your lead resistance.
- Place a probe on each terminal of the part.
- Read the number, then compare it to the rated value.
If the screen shows OL, the resistance is higher than the selected range. If it reads 0.00, the path is basically a dead short.
Why Getting This Right Depends on What You See on the Meter
Resistance testing is a visual job as much as a technical one. Your reading is only as good as the dial position, the probe placement, and the units on the screen. Miss one of those and the number lies to you.
A clear photo of the meter face shows what words can't. You want to see the probe tips making firm metal-to-metal contact with the terminals. You want to see the decimal point and whether the display reads Ω, kΩ, or MΩ.
A reading of "2.2" means very different things at each scale.
Analog meters add a twist. Their ohms scale runs backward, right to left, with zero on the right. Digital meters made this simpler, which is why most guides, including our own on choosing the right meter mode, lean on them.
Fluke, one of the standard-setters in test gear, publishes reference material on reading resistance through its official support library.
Know Your Meter: Probes, Jacks, and the Ω Symbol
Every multimeter shares the same core parts, no matter the brand. Once you can spot them, the process gets easy.
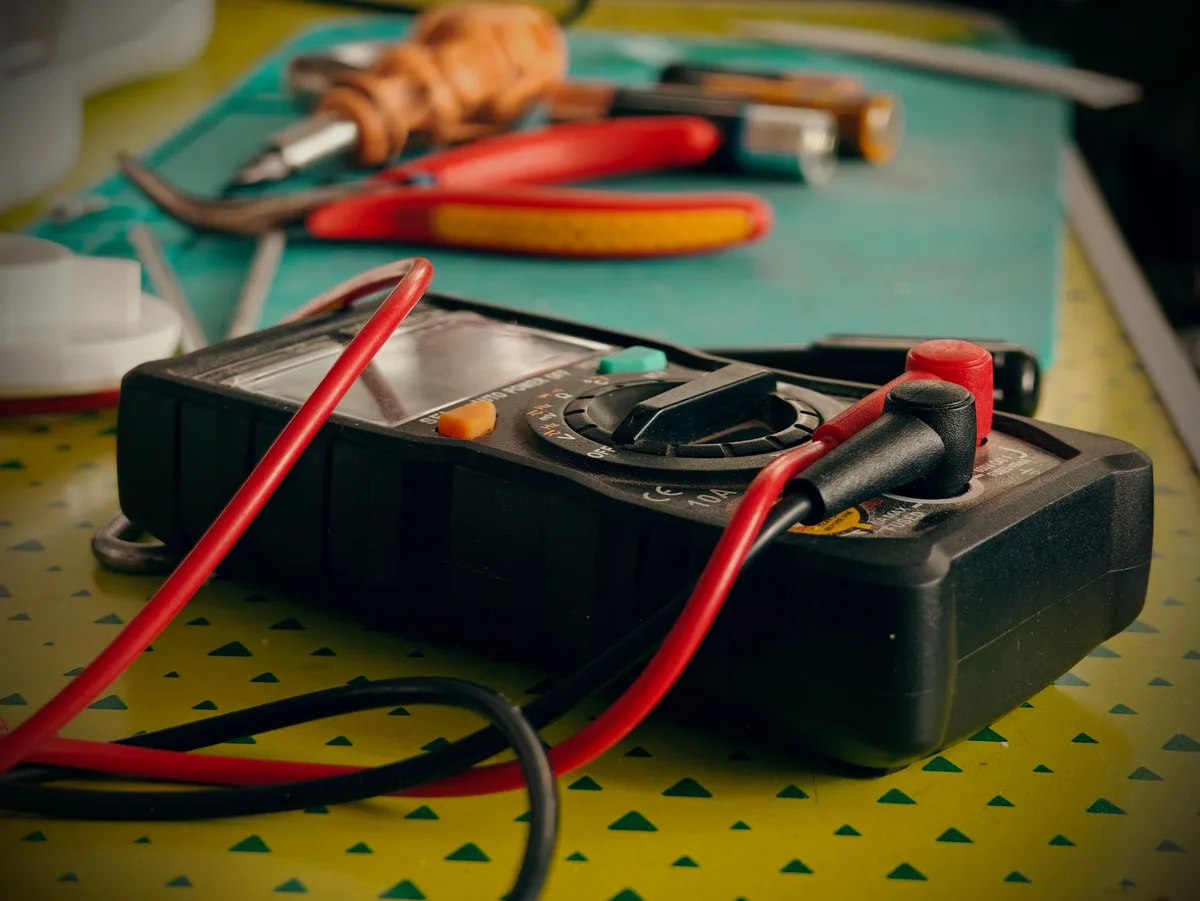
COM and VΩ Jacks: Which Lead Goes Where
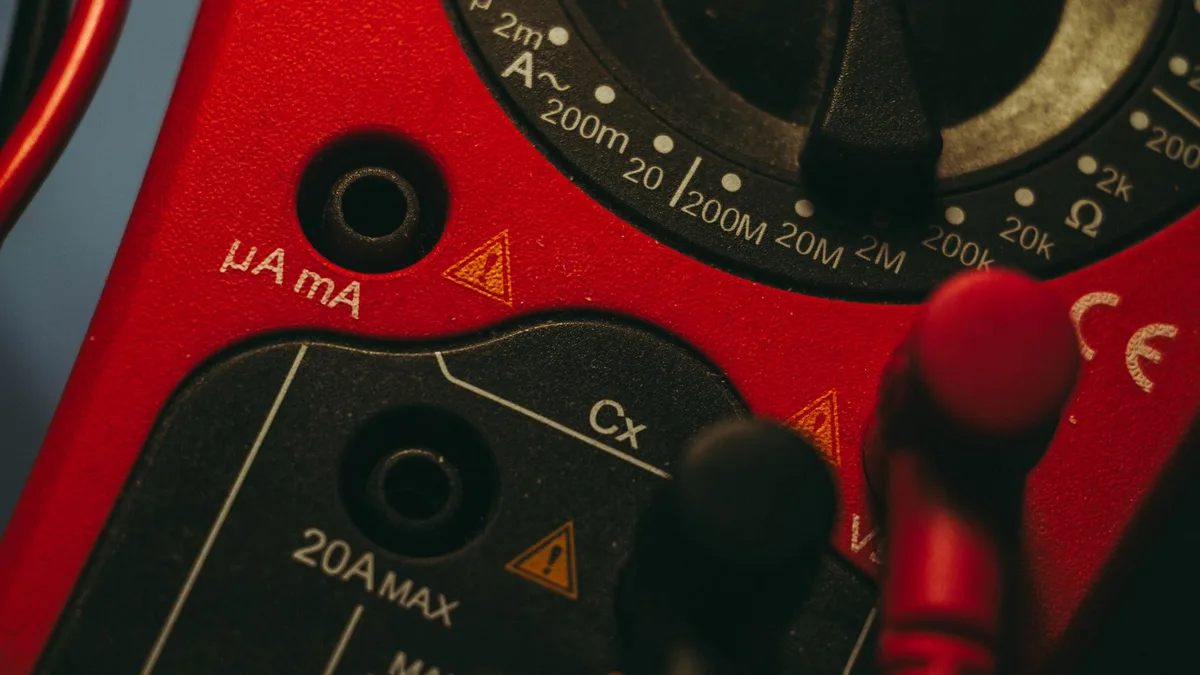
The black test lead always goes into the COM (common) jack. The red lead goes into the jack marked VΩmA or VΩ. For resistance, polarity doesn't matter, so you won't hurt anything by swapping tips on the component.
Getting the jacks right does matter, though.
Never leave the red lead in the high-current 10A jack when measuring ohms. That's the setup for reading current, and it's a common slip right after you've checked amps.
Auto-Ranging vs. Manual-Ranging Displays
Auto-ranging meters pick the correct scale for you. You set the dial to Ω and read the number. The display shows the units on its own.
Manual meters ask you to choose the range, like 200, 2k, 20k, and up. Start high and step down for a sharper reading. If your manual meter shows "1" on the far left, the range is too low.
Bump it up a notch. This trips up a lot of first-timers, much like knowing what dial setting to pick for a 20V DC reading on the voltage side.
Before You Touch a Single Probe: Power Off and Discharge
This is the rule you cannot skip. Never measure resistance on a live circuit. The meter supplies its own current to test ohms, so outside voltage throws the reading off and can blow the meter's internal fuse.
Do these two things first:
- Switch off and unplug the equipment. For a car, that often means disconnecting the battery before you probe anything.
- Discharge any capacitors. Stored charge can dump into your meter or into you.
A capacitor can hold a charge long after the power is off. In appliances and power supplies, that charge can be enough to hurt. If you're unsure how to bleed one safely, stop and check the manufacturer's manual.
Working de-energized also protects the fuse-protected input jacks that keep a quality meter alive for years.
Step-by-Step: Measuring Resistance Across a Component
With the power off and the leads seated, the actual measurement is quick. The trick is prep, not the probing itself.
Follow these steps in order:
- Set the dial to Ω, and pick a range if your meter is manual.
- Touch the probes together and note the small reading.
- Place one probe on each terminal of the part.
- Hold steady and let the number settle.
- Compare the value to the component's rated spec.
Press firmly. Loose or dirty contact adds resistance and skews the result. Clean corroded terminals with a bit of abrasive before you test.
Zeroing Out Your Test Lead Resistance
Your leads have resistance of their own, usually 0.1 to 0.5 Ω. On low-value parts, that small amount matters. Touch the probe tips together and read the display first.
Whatever shows, that's your baseline. Subtract it from your final reading, or use the meter's REL or zero button to null it out. Skip this on a low-ohm reading and you'll blame the part for the leads' fault.
Isolating the Part From the Circuit
Test a component out of circuit whenever you can. Other parts wired in parallel create sneak paths for the meter's current. That drags your reading lower than the part's true value.
You don't always have to fully remove it. Lifting one leg of a resistor or one wire of a coil breaks the parallel path. That's often enough for a clean, trustworthy number.
Reading the Display: 0 Ω, OL, and Everything Between
The display speaks in three basic languages: near zero, a real value, and over range. Learn to read all three and you've cracked most of the job.
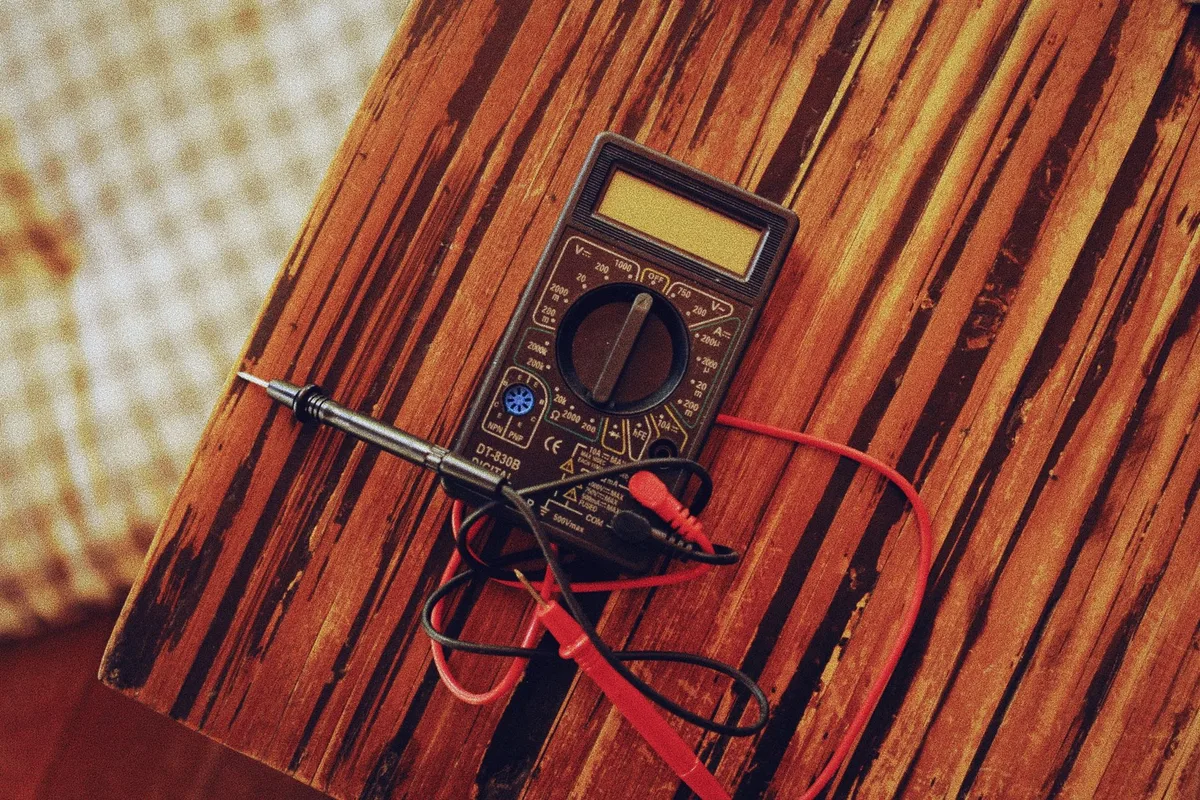
A reading near 0.00 Ω means a solid path or a short. A steady mid-range number means a working component. A blank OL means the resistance is off the top of your scale.
What OL and 1 Really Mean
OL stands for "over limit," not a dead part. It means the resistance is higher than the range you picked. On a fixed-range meter, the same condition shows as a lone "1" on the left of the screen.
If you expected a real value and got OL, move to a higher range and retest. Still OL on the highest range? Now the part is genuinely open.
A blown fuse or a broken element reads exactly like this.
Making Sense of Ω, kΩ, and MΩ
Watch the unit next to the number, because the prefix changes everything. One kΩ equals 1,000 Ω. One MΩ equals 1,000,000 Ω.
So "4.7" on the kΩ scale is a 4,700 Ω resistor, not a 4.7 Ω one. Auto-ranging meters print the unit for you. On manual meters, the unit comes from the range you selected, so read the dial before you trust the digits.
Common Visual Mistakes That Throw Off Your Reading
Most bad readings trace back to a handful of repeat offenders. Spot them and your accuracy jumps.
- Fingers on both probe tips. Your body adds resistance in parallel and lowers the number. Hold the insulated grips.
- Testing in a live circuit. The meter fights outside voltage and reads nonsense.
- Wrong jack. A lead left in the 10A current port gives no valid ohms reading.
- Reading OL as a failed part before trying a higher range.
- Ignoring the units and mixing up Ω with kΩ.
One more sneaky issue: temperature. Precision resistors drift slightly as they heat up. For most repairs that shift is tiny, but on tight-tolerance work it's worth knowing.
In-Circuit vs. Out-of-Circuit Testing
Out-of-circuit testing wins on accuracy nearly every time. With the part isolated, the meter reads only that component. Nothing else feeds current into the loop.
In-circuit testing is faster but riskier for accuracy. Parallel resistors, coils, and semiconductors all sit in the current path. The result reads low, sometimes way low.
| Factor | In-Circuit | Out-of-Circuit |
|---|---|---|
| Speed | Fast, no desoldering | Slower, remove or lift a leg |
| Accuracy | Often skewed low | True component value |
| Best for | Quick continuity checks | Verifying a suspect part |
| Risk | Parallel paths mislead you | Minimal, clean reading |
If a quick in-circuit check looks off, don't trust it. Lift one leg and read it clean before you condemn the part. The same discipline that keeps a parasitic draw test honest applies here: isolate the thing you're measuring.
Ohms Mode vs. Continuity Mode: When to Use Each
Continuity mode is a fast pass/fail. Ohms mode gives you the actual number. They sit side by side on the dial and use the same probes, but they answer different questions.
Use continuity when you only want to know if two points connect. The meter beeps below a set threshold, often around 50 Ω or less, so you can keep your eyes on the probes. It's perfect for tracing wires and checking fuses.
Reach for ohms mode when the value matters. A resistor's rating, a coil's winding resistance, or a sensor's spec all need a real reading, not a beep. Think of continuity as the yes/no check and ohms as the measurement, much like choosing the right approach before testing a battery based on what you actually need to know.
Testing Real Parts: Resistors, Fuses, Elements, and Coils
The method stays the same across parts, but what counts as a good reading changes. Here's what healthy looks like for the components you'll test most.
- Resistors: read close to the printed value, within the tolerance band. A 5% band on a 1,000 Ω resistor allows roughly 950 to 1,050 Ω.
- Fuses: a good fuse reads near 0 Ω. OL means it's blown.
- Heating elements: expect a low, specific value, often 10 to 50 Ω. OL means an open element.
- Coils and motor windings: usually a few ohms. Zero across windings can signal a short.
- Switches: near 0 Ω when closed, OL when open.
For a fuse or a switch, continuity mode is often faster than reading exact ohms. When the number itself matters, like matching a coil to spec, stick with ohms mode.
Pro Tips for Accurate, Repeatable Resistance Readings
Small habits separate a clean reading from a misleading one. These are the ones our research on measurement practice keeps surfacing.
- Zero your leads before low-value tests, every session.
- Let the reading settle for a second or two before trusting it.
- Keep probe tips clean and sharp for solid contact.
- Test at room temperature when you can, since heat shifts resistance.
- Replace a weak meter battery. Low internal voltage skews ohms readings.
One more: check your meter against a known resistor now and then. A cheap 1% resistor makes a fine reference. If the reading drifts far off, the meter or its fuse may need attention, the same care you'd give when picking the correct meter setting for any job.
Safety Rules You Can't Skip When Measuring Resistance
Resistance work is low risk only when the circuit is dead. Live voltage is where people and meters get hurt.
- Always de-energize and unplug before probing.
- Discharge capacitors first, especially in power supplies and appliances.
- Match your meter's CAT rating to the environment, per IEC 61010.
- Never measure ohms on a circuit that's still powered.
If you're working on a vehicle, isolate the battery first, just as you would before checking whether the battery or alternator is failing. When high voltage or stored charge is involved and you're unsure, stop and call a qualified pro.
Quick Reference: Resistance Readings and What They Mean
Keep this table handy when you're staring at a display and second-guessing the number.
| Reading | What It Usually Means | Next Step |
|---|---|---|
| 0.00 Ω | Solid path or dead short | Good fuse or wire, or a shorted part |
| Expected value | Healthy component | No action needed |
| Higher than rated | Degraded or corroded part | Clean contacts, retest |
| OL on low range | Range too low | Bump range up |
| OL on highest range | Open circuit | Replace the part |
Treat any borderline reading as a prompt to retest out of circuit. A clean second reading settles most doubts.
Frequently Asked Questions
What should the multimeter read for good continuity?
A good connection reads close to 0 Ω, usually under 1 Ω on the display. Continuity mode beeps below its set threshold, often around 50 Ω. Anything reading OL means the path is broken.
Clean your probe tips if a solid connection still reads high.
Why does my resistor read lower than its rated value?
The most common cause is testing in circuit. Other parts wired in parallel give the meter's current extra paths, which pulls the reading down. Lift one leg of the resistor and test again.
Your fingers touching both probes can also lower the number.
What does OL mean when measuring ohms?
OL means over limit, not a broken part on its own. The resistance is higher than the range you selected. On an auto-ranging meter, OL on the top range means a true open circuit.
On a manual meter, try a higher range before you condemn the component.
Can I test resistance with the power on?
No. The meter supplies its own current to measure ohms, so outside voltage corrupts the reading. Live voltage can also blow the meter's internal fuse or damage it.
Always switch off, unplug, and discharge capacitors first.
Do I need to zero my multimeter before testing ohms?
Yes, for accurate low-value readings. Touch the probes together and note the lead resistance, usually 0.1 to 0.5 Ω. Subtract that, or press the REL button to null it out.
On high-value parts like kΩ resistors, the lead resistance barely matters.

Similar Posts





















