How to Break In a Rebuilt Engine: The Essential Guide
Figuring out how to break in a rebuilt engine is less about gentle driving and more about controlled stress. You need to seat the piston rings properly while protecting sensitive camshaft lobes from premature wear. Get this wrong, and you’ll face low compression or catastrophic failure within weeks.
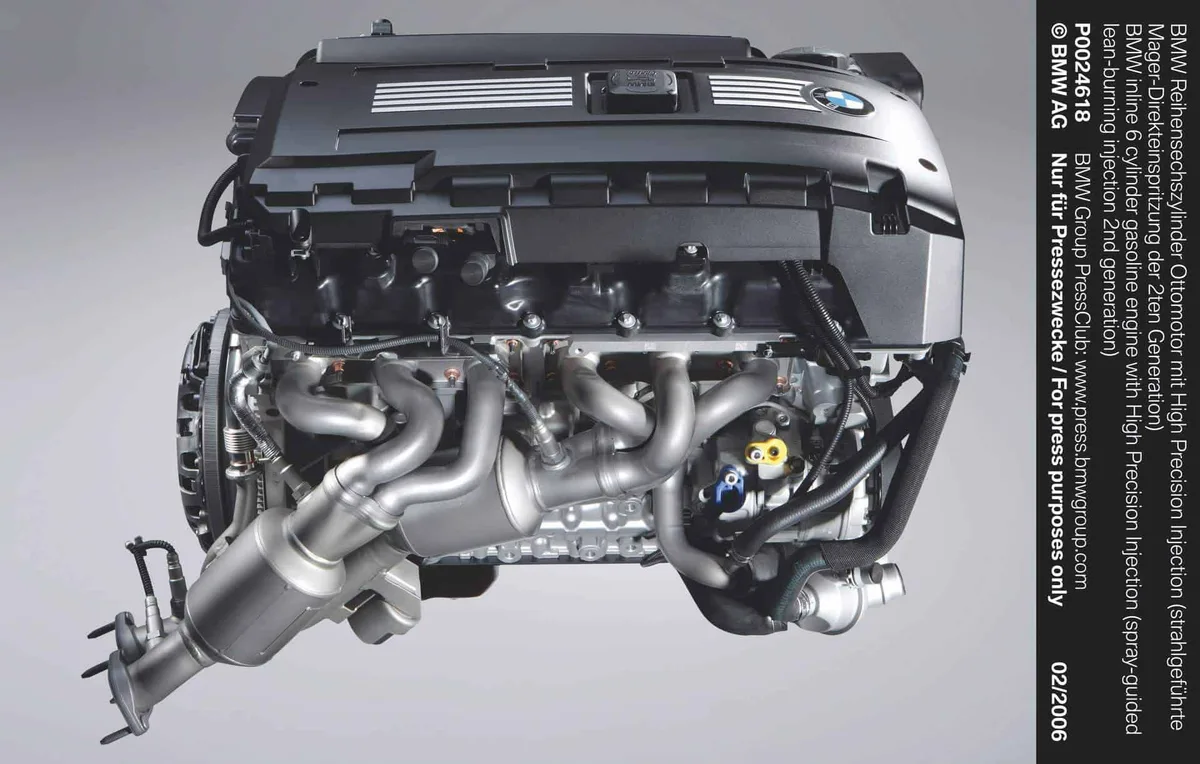
Most modern builds require specific oil additives and varied RPM loads, not just idling for hours. Manufacturer specs indicate that proper seating occurs between 2,000 and 4,000 RPM under light load. Let’s look at why skipping these steps destroys your investment before it even hits the highway.
Why Skipping the Break-In Kills Your Engine Before It Starts
A rebuilt engine isn’t truly “new” until its components mate together correctly. Fresh cylinder walls have microscopic peaks and valleys designed to hold oil. New piston rings must scrape against these surfaces to create a perfect seal.
This process generates metal particles and intense heat.
If you don’t manage this friction, the rings won’t seat. Poor sealing leads to blow-by gases contaminating your oil. It also causes rapid loss of compression power.
Worse, unseated rings allow excessive heat transfer to the cylinder wall. This can warp heads or crack pistons during early operation.
Think of break-in as welding two metals together without melting them. You’re creating a custom fit unique to your engine. Rushing this phase leaves gaps.
Those gaps become permanent flaws. As of 2026, most performance builders agree that 500 miles is the minimum safe threshold for full ring seating.
Ignoring these protocols voids warranties instantly. Shops track oil samples for iron content spikes. High metal counts prove improper lubrication or overheating occurred.
You lose both money and reliability. Proper technique ensures longevity. It protects your bearing clearances and valve train geometry.
Don’t gamble with thousands of dollars in parts.
The Critical Difference Between Flat-Tappet and Roller Cam Protocols
Not all engines break in the same way. The type of camshaft dictates your entire strategy. Using the wrong method wipes out lobes in minutes.
This mistake is irreversible and expensive.
Flat-tappet cams rely on sliding contact between the lifter shoe and the cam lobe. They need extreme pressure additives like zinc dialkyldithiophosphate (ZDDP) to prevent welding. Without sufficient ZDDP, the metal-to-metal contact creates heat spots.
These spots cause "wipe," where material smears off the lobe.
Roller cams use bearings instead of sliding shoes. They generate far less friction at the interface. Consequently, they tolerate lower ZDDP levels better.
However, they still need careful loading to seat rings. Modern synthetic oils often lack enough ZDDP for flat-tappets but work fine for rollers.
Here is how the requirements differ side by side:
| Feature | Flat-Tappet Cam | Hydraulic/Solid Roller Cam |
|---|---|---|
| Primary Risk | Lobe wipe due to friction | Ring glazing from low load |
| Oil Requirement | High ZDDP (>1200 ppm Zinc) | Standard API SN/SP acceptable |
| Break-In Duration | Strict 20-30 mile limit before oil change | Flexible 50-100 mile interval |
| Load Strategy | Light throttle only initially | Varied RPM with moderate load |
If you install a flat-tappet cam in a classic muscle car, you must use dedicated break-in oil. Do not use standard synthetic blends found in grocery stores. Check what is high mileage oil distinctions carefully, though break-in oil is distinct from maintenance fluids.
Always verify your builder’s recommendation. Mixing these protocols guarantees damage.
Step-by-Step: From First Start to Road Test
Breaking in an engine follows a strict sequence. Deviating from this workflow risks component failure. Follow these phases precisely.
First, pre-lube everything. Spin the crankshaft by hand. Prime the oil pump using a drill attachment if necessary.
Ensure oil reaches every bearing surface before ignition. Dry starts kill engines faster than anything else. Verify no leaks exist around the rear main seal or oil pan.
Next, perform the initial start-up indoors. Run the engine at idle for ten minutes. Watch the oil pressure gauge closely.
Pressure should rise steadily. If it drops or fluctuates wildly, shut down immediately. Inspect for assembly errors.
Look at symptoms of a bad starter solenoid if cranking issues arise, though this usually indicates electrical faults rather than mechanical binding.
Once stable, take the vehicle for its first drive. Keep speeds under 55 mph. Vary your RPMs between 2,000 and 3,500.
Avoid steady cruising. Constant speed prevents rings from expanding and contracting evenly. Use light acceleration only.
No wide-open throttle events yet.
After 20 to 30 miles, stop. Change the oil and filter. This removes the metallic debris generated during initial mating.
Refill with fresh break-in oil. Continue driving for another 50 miles with slightly increased load. Gradually introduce higher RPMs up to 4,500.
Monitor temperatures rigorously. If coolant exceeds 220°F, pull over and let it cool. Overheating warps heads permanently.
Finally, after 500 miles, switch to your regular running oil. Most builders recommend a full synthetic blend thereafter. Check valve lash if applicable.
Re-torque head bolts if specified by the manufacturer. Your engine is now ready for normal service life.
Oil Selection, ZDDP Levels, and the First Change Interval
The right oil makes or breaks your build. Standard passenger car oils often contain friction modifiers that hinder ring seating. These additives slick the cylinder walls too much.
Rings slide instead of cutting into the bore. You end up with glazed cylinders and poor compression.
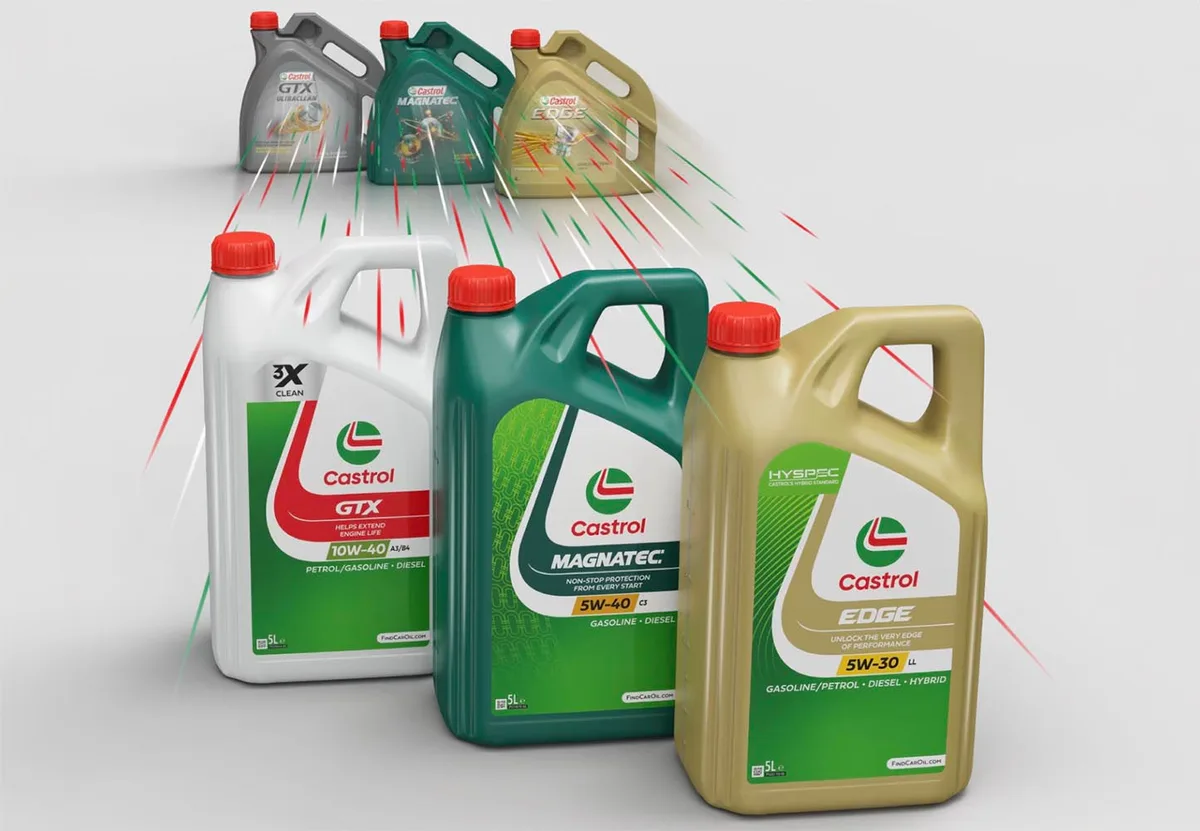
For flat-tappet engines, you need high-ZDDP formulas. Look for products labeled specifically for "break-in." These typically offer 1,200 to 1,500 ppm of zinc and phosphorus. This concentration forms a sacrificial layer on cam lobes.
It prevents direct metal contact during the critical first few hundred miles.
Roller cam engines are less demanding. They can handle standard API-certified oils. However, avoiding heavy detergent packages helps initially.
Detergents keep sludge suspended, which might interfere with early deposit formation needed for sealing. Many experts suggest a non-detergent mineral oil for the very first 20 miles, followed by a conventional blend.
Timing matters just as much as chemistry. Never extend the first oil change beyond 30 miles for flat-tappets. The metal shavings produced are abrasive.
Leaving them circulating scores bearings and journals. For roller setups, 50 miles is acceptable. Always inspect the old filter element.
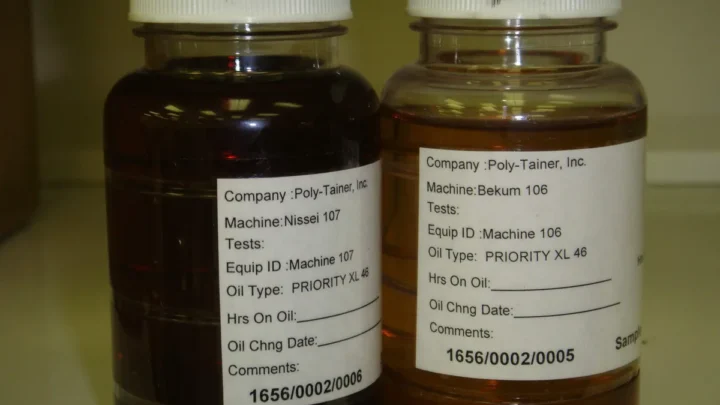
Shiny aluminum flakes indicate bearing distress. Dark gray powder is normal carbon and steel residue.
Consider your climate too. Cold weather increases viscosity. Hot weather thins oil.
Adjust your grade accordingly. A 10W-40 works well for most temperate break-ins. In freezing conditions, a thinner 5W-30 with added ZDDP supplement may be safer for startup flow.
Review what is full synthetic oil properties to understand base stock differences, but remember synthetics are rarely recommended for the absolute first fill unless specified by the builder.
Common Mistakes That Cause Glazing, Wipeout, or Seizure
Even experienced mechanics slip up here. Three major errors destroy rebuilt engines repeatedly. Recognizing them early saves your investment.
First is prolonged idling. Many owners think letting the engine sit warm seals it. Wrong.
Idling creates low oil pressure and minimal cylinder movement. Rings don’t expand fully. Heat concentrates in one spot on the liner.
This bakes oil residues onto the wall, creating glaze. Glazed surfaces repel new oil films. Compression drops permanently.
Drive the car. Keep it moving.
Second is excessive load too soon. Flooring the accelerator to "seat rings harder" sounds logical. It isn’t.
High cylinder pressures force hot combustion gases past unseated rings. This blows oil seals and damages ring edges. Stick to light throttle.
Let vacuum and gradual pressure do the work. Save wide-open runs for after 1,000 miles.
Third is ignoring temperature spikes. Break-in generates extra heat. Friction is high.

Similar Posts