Why Your Battery Voltage Drops When Starting the Car
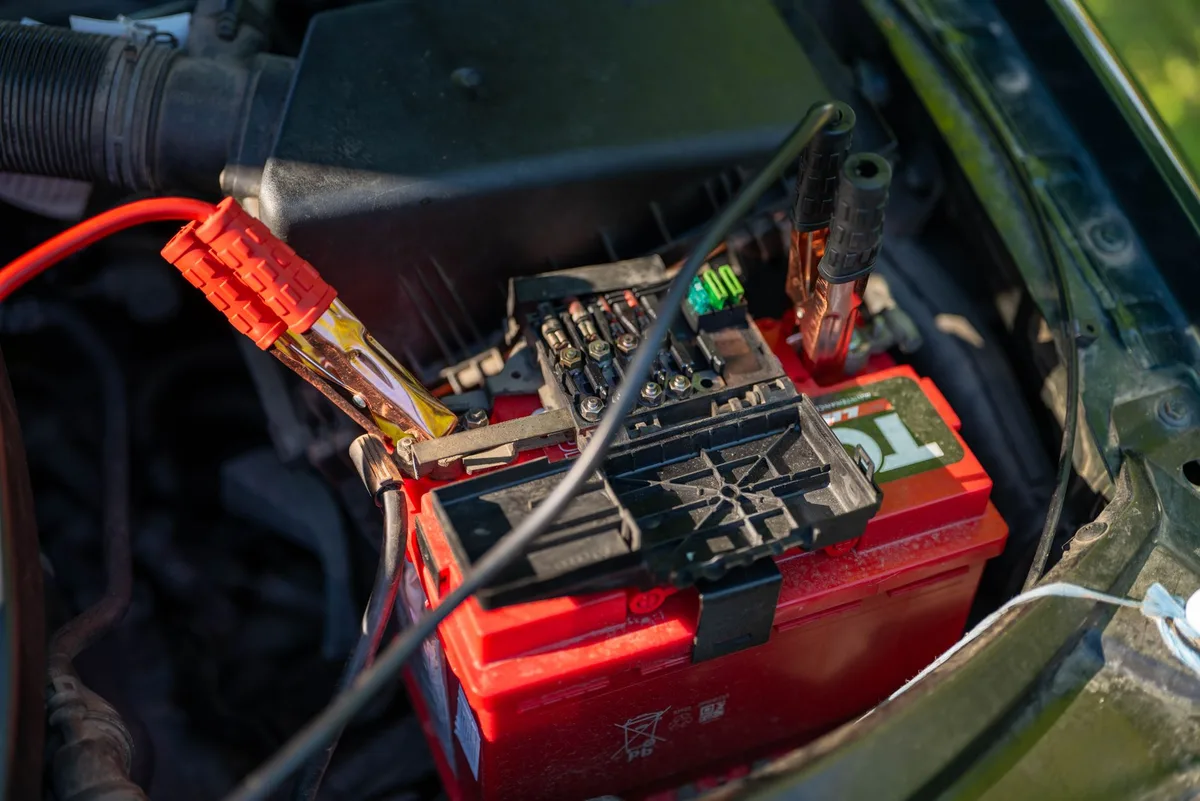
That sudden dip you see when the engine cranks is exactly why so many people worry that a battery voltage drops when starting means the battery is dead. Most of the time, it doesn't. A healthy 12V lead-acid battery is supposed to sag under the huge load of the starter motor.
The trick is knowing how far that dip should go before it becomes a real problem.
Here's the number to anchor on. Per SAE cranking-test conventions, a good battery at around 70°F should hold above roughly 9.6V while the starter spins. Drop much below that, and something in the chain is weak: the battery, the cables, the ground, or the starter itself.
Let's start by pinning down what's actually happening the moment you turn the key.
Why Your Battery Voltage Drops the Moment You Turn the Key
The starter motor is the hungriest thing in your car. When you crank, it pulls a massive burst of current, often 150 to 250 amps on a typical four or six-cylinder engine. That surge yanks the battery voltage down for a second or two.
Think of it like water pressure. Open one tap and the flow is steady. Open a fire hose and the pressure at the pipe drops hard.
The starter is that fire hose.
So a dip is normal. What matters is how deep it goes and how fast the voltage recovers once the engine catches. A battery in good shape sags, then bounces right back near 14V as the alternator takes over.
The problem shows up when the dip is too steep or the voltage never really recovers. That points to a weak link in the cranking circuit, and the rest of this guide walks you through finding it.
Quick Answer
A battery voltage drop when starting is normal. The starter pulls 150 to 250 amps, which sags the battery briefly. A healthy 12V battery should stay above about 9.6V while cranking at normal temperatures.
Below 9.5V signals a weak battery, bad cables, or a poor ground. Voltage should jump back near 14V once the engine runs.
What's Actually Normal vs. What's a Red Flag
The line between healthy and failing is easier to read than most people think. You just need the three voltage states and what each should show. Here's the quick reference.
| Condition | Healthy Reading | Red Flag |
|---|---|---|
| Resting (engine off, settled) | 12.4 to 12.7V | Below 12.2V |
| Cranking dip (starter spinning) | Stays above 9.6V | Drops below 9.5V |
| Charging (engine running) | 13.8 to 14.7V | Below 13.5V or above 15V |
A quick scene most drivers know. The car cranks slow on a cold morning, the dash lights flicker, then it fires anyway. That flicker is the voltage sagging harder than it should.
It's an early warning, not a fluke.
If your resting voltage looks fine but the cranking dip is deep, don't blame the battery yet. A loose clamp or corroded terminal causes the same symptom. For a closer look at what to expect during a crank, this breakdown of normal cranking voltage lays out the ranges clearly.
How the Cranking Circuit Works: Battery, Cables, Ground, and Starter
The cranking circuit is a loop, and every part shares the load. When one part gets weak, the whole chain suffers. Knowing the path helps you test the right spot instead of guessing.
Here's the current's journey when you turn the key:
- Power leaves the positive battery terminal.
- It travels the positive cable to the starter solenoid.
- The starter motor spins the engine.
- Current returns through the engine block and the ground strap.
- It flows back to the negative battery terminal.
Every joint in that loop adds a little resistance. Clean and tight, that resistance is almost nothing. Corroded or loose, it becomes a bottleneck.
That bottleneck steals voltage. If the ground strap between the engine and chassis is rusty, the starter can't pull full current, and the reading dives. This is why a bad ground fools so many people into buying a battery they didn't need.
Checking the ground connection quality often reveals the real culprit.
The takeaway is simple. A voltage drop isn't always the battery. It can hide in any link of this loop.
The Numbers That Matter: Resting, Cranking, and Charging Voltage
Three readings tell you almost everything. Get these, and you've done most of the diagnostic work. Grab a digital multimeter set to 20V DC and you're ready.
If you're unsure of the dial position, this guide on the right meter setting for a battery sorts it out fast.
Healthy Cranking Dip vs. Abnormal Voltage Sag
The cranking dip is the star of the show here. Watch the meter while a helper cranks the engine. A strong battery holds above 9.6V at normal temperatures.
- 9.6V or higher: healthy, the battery is doing its job.
- 9.0 to 9.5V: borderline, worth a load test.
- Below 9.0V: weak battery or high-resistance connection.
If the number crashes into the 7s or 8s and the starter groans, you've found your problem area. It's either a tired battery or resistance robbing the circuit.
CCA, State of Charge, and Why Cold Weather Wrecks Everything
Cold Cranking Amps, or CCA, is the battery's rating for delivering current in freezing conditions. State of charge is how full the battery is right now. Both affect how deep your voltage sags.
Cold weather is brutal on batteries. A battery near 0°F loses a large chunk of its rated cranking power. That's why a battery that starts fine in October struggles in January.
Cold also thickens the oil, so the starter works harder and pulls even more current. If winter no-starts are your issue, this look at cold-weather battery behavior explains the seasonal drop.
Once the engine runs, the alternator should push 13.8 to 14.7V to recharge the pack. If it charges low, the battery never fully recovers, and the next crank sags worse. You can confirm the charging side against the normal alternator range in a minute.
What You Need to Test It: Multimeter, Load Tester, and Conductance Tester
You don't need a shop full of gear to diagnose this. Three tools cover almost every case, and one you probably already own. Standards bodies like SAE International set the cranking and reserve-capacity test methods these consumer tools are built around, so your home readings track the same logic pros use.
Here's what each tool does and when to reach for it:
- Digital multimeter (DMM): Reads resting, cranking, and charging voltage. Best first tool. Cheap, and it runs the voltage drop test.
- Load tester (carbon pile): Applies a heavy artificial load and watches how voltage holds. Confirms real battery capacity against its CCA rating.
- Conductance tester: Sends a small signal to estimate state of health and CCA in seconds. Fast and battery-friendly, common at parts stores.
For most driveway diagnosis, a multimeter is enough. It measures the dip, spots bad connections, and checks the alternator. If you want a refresher on the basics, this walkthrough on reading battery voltage with a meter covers the setup.
The load tester is the tie-breaker. When resting voltage looks okay but you still suspect the battery, a load test under its rated draw shows whether it can hold up. The battery should stay above about 9.6V for the full test to pass.
No meter handy? Crank speed and headlight dimming still give clues, and there are meter-free checks that narrow things down before you buy a tool.
The Voltage Drop Test: Finding Hidden Resistance Step by Step
The voltage drop test is the best way to catch a bad connection the eye can't see. Instead of measuring voltage across the battery, you measure the tiny loss across a cable or joint while current flows. Low loss means a clean path.
High loss means resistance.

Here's the rule of thumb. Each cable or connection should drop less than 0.2V under cranking load. Total drop across the whole positive or negative side should stay under about 0.5V.
Anything higher is a bottleneck stealing your starting power. This full voltage drop procedure covers the meter setup in detail.
Testing the Positive Cable Side
Set your meter to 20V DC. Put the red probe on the positive battery post and the black probe on the starter side of the positive cable. Have a helper crank while you read.
You're measuring the voltage lost across that cable during the crank. Under 0.2V is good. At 0.5V or more, the cable or its ends have too much resistance.
Checking each battery cable for hidden loss pinpoints the weak run.
Testing the Ground Side (Where Most People Miss It)
The ground side fails more often than the positive side, and it's the spot most folks skip. Put the red probe on the negative battery post and the black probe on the engine block or ground strap. Crank and read.
Same target: under 0.2V. A high reading means a rusty ground strap or a loose block connection. Clean it, and your cranking voltage often jumps right back to healthy.
Reading Your Results: Is It the Battery, Cables, Ground, Starter, or Alternator?
Now match symptoms to a suspect. Use the readings you just took and follow the branch that fits.
If Voltage Crashes Below 9.5V Under Crank
A deep dip below 9.5V points first at the battery, but only if your cable drops were clean. If every voltage drop test passed and the battery still sags this hard, it has lost capacity. Confirm with a load test before you spend money.
If a cable drop was high, fix that first. A single corroded joint can pull cranking voltage down just as far as a dead cell.
If the Battery Holds but Cranking Is Still Weak
Strong voltage but slow, lazy cranking usually means the starter is dragging. A worn starter pulls extra current and spins slowly even with a good battery. You can confirm draw by checking the starter with a meter.
Heat is another clue. A starter that cranks fine cold but quits when hot is often on its way out. That heat-soak failure is a classic.
If It Only Happens After Sitting Overnight (Parasitic Draw)
If the car cranks fine after driving but dies overnight, you've got a parasitic draw. Something is pulling power with the key off. A healthy vehicle should sit under about 50 milliamps once everything sleeps.
A stuck relay, a glovebox light, or a bad module can bleed the battery flat by morning. Tracking down what's draining overnight saves you from replacing a battery that was never the problem.
Battery vs. Starter vs. Alternator: Pinning Down the Real Culprit
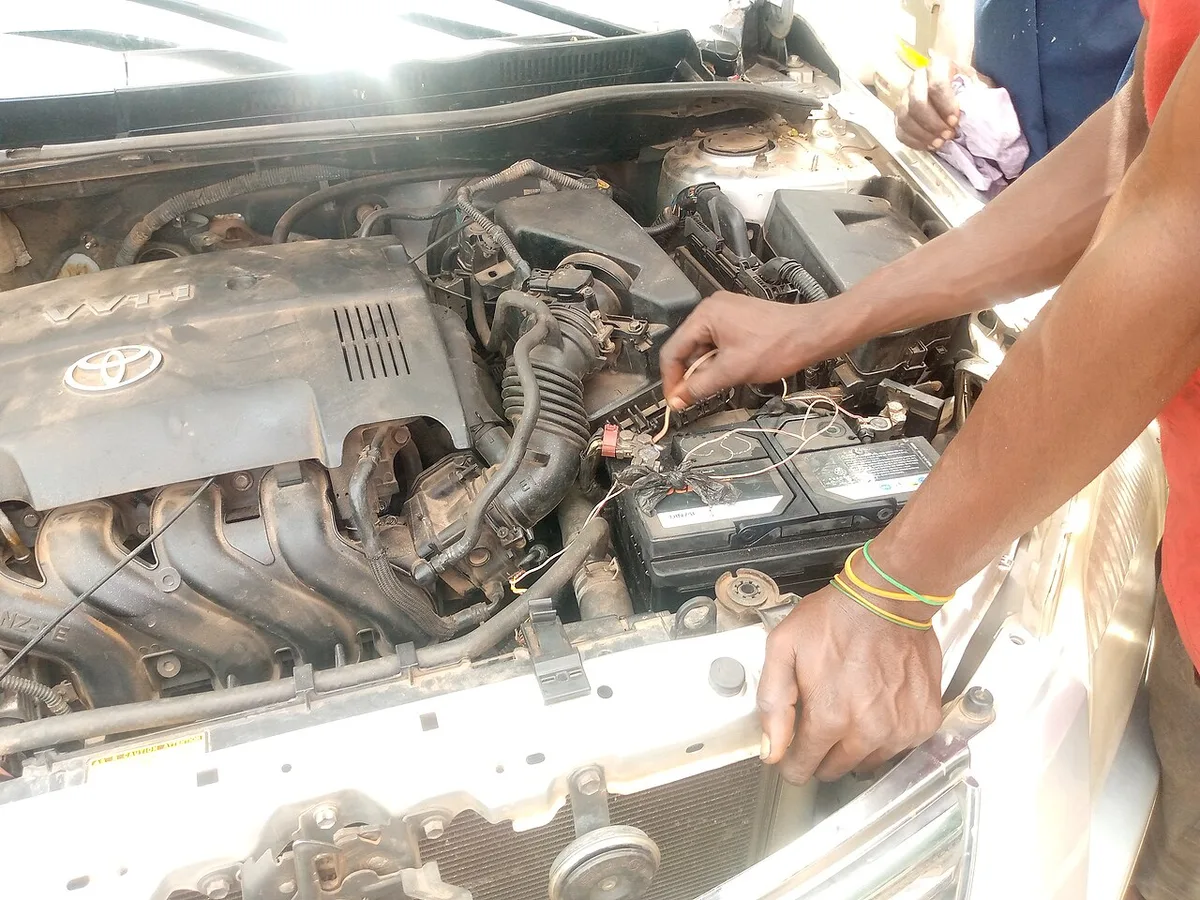
These three get blamed for each other constantly, so here's how they differ.
| Part | Telltale Sign | Quick Check |
|---|---|---|
| Battery | Deep cranking dip, slow crank, fine after charge | Load test, resting voltage |
| Starter | Good voltage but slow or clicking crank | Starter current draw |
| Alternator | Battery keeps dying, low charging voltage | Voltage at idle, 13.8 to 14.7V |
The alternator is the sneaky one. If it undercharges, the battery slowly drains over days until cranking suffers. A quick alternator output check rules it in or out.
Failing diodes cause weird charging behavior too, and testing the diodes catches that fault.
Voltage Drop Test vs. Load Test vs. Conductance Test: When to Use Each
Each test answers a different question, so pick the one that matches your suspicion.
- Voltage drop test: Best for finding bad cables, terminals, and grounds. Use it when the battery seems fine but cranking sags.
- Load test: Best for confirming true battery capacity. Use it when resting voltage looks okay but you doubt the battery.
- Conductance test: Best for a fast state-of-health estimate. Use it at a parts store or when you want a quick CCA number without heavy gear.
Who reaches for which? A DIY driver chasing an intermittent no-start starts with the voltage drop test, since connections are cheap to fix. Someone with an old battery and slow cranks jumps to the load test under real draw.
The conductance tester wins on speed and safety. It won't discharge the battery and works even on a partly flat pack. It's the go-to for a quick screen before deeper testing.
Fixing It: Cleaning Terminals, Replacing Cables, or Swapping the Battery
Most cranking voltage problems come down to three fixes, and the cheapest one solves the majority of cases.

Start with the connections. That white or blue-green fuzz on a terminal is corrosion, and it adds resistance fast. Here's the clean-up flow:
- Disconnect the negative terminal first, then the positive.
- Scrub the posts and clamps with a wire brush and a baking soda paste.
- Rinse, dry, then reconnect positive first and negative last.
- Tighten to a snug fit and add a thin dielectric or anti-corrosion coat.
If cleaning doesn't fix a high voltage drop, the cable itself is likely bad inside. Corrosion often creeps under the insulation where you can't see it. Replace the whole cable rather than just the end.
If the connections and cables test clean and the battery still fails a load test, it's time for a new one. Match the replacement to your vehicle's CCA and group size. Cheaping out on CCA in a cold climate just brings the no-start back next winter.
Mistakes That Send People Down the Wrong Path
The biggest mistake is buying a battery before testing the connections. Corroded terminals and bad grounds cause a huge share of "dead battery" complaints. Test first, spend second.
Another trap is testing with a surface charge. Right after driving, voltage reads high and hides a weak battery. Let the car sit an hour, or turn on the headlights for a minute to bleed it off before reading resting voltage.
Don't ignore the ground side either. Folks test the positive cable, see it's fine, and stop. The return path fails just as often.
Safety Around Lead-Acid Batteries
Batteries hold acid and vent hydrogen gas, so a few rules keep you safe. Wear eye protection and skip the jewelry that could short a terminal.
- Keep sparks and flames away, hydrogen is explosive.
- Disconnect negative first, reconnect it last.
- Handle spilled electrolyte with baking soda and water.
- Recycle old lead-acid batteries at a proper drop-off.
Never lean directly over a battery while cranking or jumping it. A short can throw sparks fast.
AGM vs. Flooded Batteries Under Cranking Load
AGM batteries usually hold voltage better under heavy cranking load than standard flooded types. Their lower internal resistance means a shallower dip and stronger cold starts.
| Trait | Flooded | AGM |
|---|---|---|
| Cranking dip | Deeper | Shallower |
| Cold performance | Good | Better |
| Cost | Lower | Higher |
| Vibration resistance | Fair | Strong |
AGM is worth it for cold climates and cars with heavy electrical loads. If you run one, this guide on checking an AGM pack covers the readings.
Keeping Voltage Strong: Maintenance and Cold-Climate Prep
Good habits keep the cranking dip healthy for years. A little upkeep beats a roadside no-start every time.
- Clean and coat the terminals twice a year.
- Keep the battery fully charged, short trips undercharge it.
- Test before winter, cold cuts cranking power hard.
- Replace a battery past four or five years before it strands you.
If you park for weeks, a smart maintainer holds the charge and prevents deep discharge. Deep cycles age a battery fast.
Frequently Asked Questions
How low should voltage drop when starting a car?
A healthy 12V battery should stay above about 9.6V while cranking at normal temperatures. A brief dip is normal because the starter pulls 150 to 250 amps. Readings below 9.5V point to a weak battery or a high-resistance connection worth testing.
Is it normal for battery voltage to drop to 10 volts?
A dip to around 10V during cranking can be normal in cold weather or on a large engine. It's borderline at mild temperatures. If it falls below 9.5V or the starter cranks slowly, run a load test to confirm the battery's health.
Why does my voltage drop but the battery tests good?
That's the classic sign of a bad connection or ground. The battery holds charge, but resistance in a corroded terminal or cable robs voltage under load. A voltage drop test across each connection finds the exact spot losing power.
Can a bad alternator cause voltage to drop when starting?
Yes, indirectly. An undercharging alternator lets the battery slowly drain over days until cranking suffers. Check charging voltage at idle, it should read 13.8 to 14.7V.
Below that, the alternator isn't keeping the battery topped up.
Your Diagnostic Decision Guide at a Glance
Work the problem in order and you'll rarely waste money. Start cheap, then move up.
- Read resting voltage: below 12.2V means recharge and retest.
- Watch the cranking dip: below 9.5V means test deeper.
- Run voltage drop tests: high loss means clean or replace that connection.
- Load test the battery: a fail means replace it.
- Check charging voltage: low means inspect the alternator.
Follow that chain and the real cause shows itself fast.

Similar Posts