Can a Multimeter Test an Alternator? Yes—Here’s How

If your battery keeps dying and a warning light won't quit, you're probably wondering if you can sort this out yourself. Yes, a multimeter can test an alternator, and it's one of the quickest checks you can run in your own driveway. The meter reads the voltage your charging system puts out, and that single number tells you plenty.
Here's the catch. A multimeter measures voltage, not the actual current your alternator pushes out. A healthy system reads 13.8 to 14.7 volts with the engine running, and as of 2026 that's still the standard window for a 12-volt car.
Let's start with why you'd grab the meter in the first place.
Quick Answer
Yes, a multimeter can test an alternator through voltage readings. Set the meter to DC volts. With the engine off, a good battery reads about 12.6 volts.
Start the engine and the reading should climb to 13.8 to 14.7 volts. If it stays flat or spikes past 15, your alternator needs attention.
The Symptoms That Send People to This Test
Most people don't test an alternator for fun. Something's already gone wrong. If you've noticed any of these, the meter is your next move.
- Dashboard battery light glowing while you drive
- Dim or flickering headlights, especially at idle
- A battery that keeps going flat overnight
- Slow cranking, or a car that starts fine then dies
- Whining or growling from the front of the engine
- Electrical gremlins like a stuttering radio or slow windows
A weak battery and a weak alternator throw almost identical symptoms. That's exactly why the voltage test matters. It helps you tell the two apart before you spend a dime on parts.
One classic trap is a battery that reads full but still cranks slow. That mix of good voltage and poor performance often points away from the battery, toward the charging system or the connections feeding it.
What a Multimeter Can and Can't Measure on a Charging System
A multimeter is brilliant at one thing here: reading voltage. It shows whether the alternator is raising system voltage above the battery's resting level. That confirms the alternator is charging, and it flags overcharging too.
What it can't do is tell you how many amps the alternator delivers under a real load. A meter reads pressure, not flow. So an alternator can post a healthy voltage number yet still fail to keep up when the headlights, blower, and defroster all switch on.

Voltage vs. Amperage
Think of it like a garden hose. Voltage is the water pressure at the nozzle. Amperage is how much water actually comes out.
Your multimeter reads pressure only.
That's usually enough to catch a dead or dying alternator. But a weak alternator with partial output can slip through a plain voltage test. If your numbers look fine yet the symptoms persist, amperage is the missing piece.
Where a Clamp Meter Picks Up the Slack
A clamp meter reads current without cutting any wires. You clamp it around the alternator's main output cable and watch the amps climb as electrical load increases. That tells you if the alternator hits anywhere near its rated output, say 80, 120, or 150 amps.
It also helps hunt down a hidden current drain that flattens the battery while the car sits. For most home diagnosis, a multimeter gets you 90% of the way. A clamp meter finishes the job.
What You Need Before You Start
You don't need a shop full of gear. A basic kit does the job.

| Tool or item | Why you need it |
|---|---|
| Digital multimeter | Reads DC and AC voltage |
| Safety glasses | Guards against acid and sparks |
| Gloves | Protects hands near hot, moving parts |
| A helper or a phone | To rev the engine or watch the meter |
Before you touch anything, set the parking brake and pop the hood. Batteries vent hydrogen gas, which is flammable, so keep sparks and flames away and work in open air. The U.S.
Occupational Safety and Health Administration (OSHA) treats lead-acid battery charging as a real ventilation and spark hazard, and that caution applies in your driveway too.
It's also smart to rule out the battery first. A quick check of the battery on its own tells you whether you're even chasing the right part.
Setting Your Multimeter to the Right Mode
Turn the dial to DC voltage, marked DCV or a V with a straight line above it. Pick the 20V range if your meter isn't auto-ranging. That range covers a 12-volt system with room to spare.
Red probe goes to the positive battery terminal. Black probe goes to negative. Get comfortable switching to AC volts too, because you'll need it for the ripple test later.
Step-by-Step: Testing Your Alternator With a Multimeter
Work through these steps in order. Each one narrows down the problem.
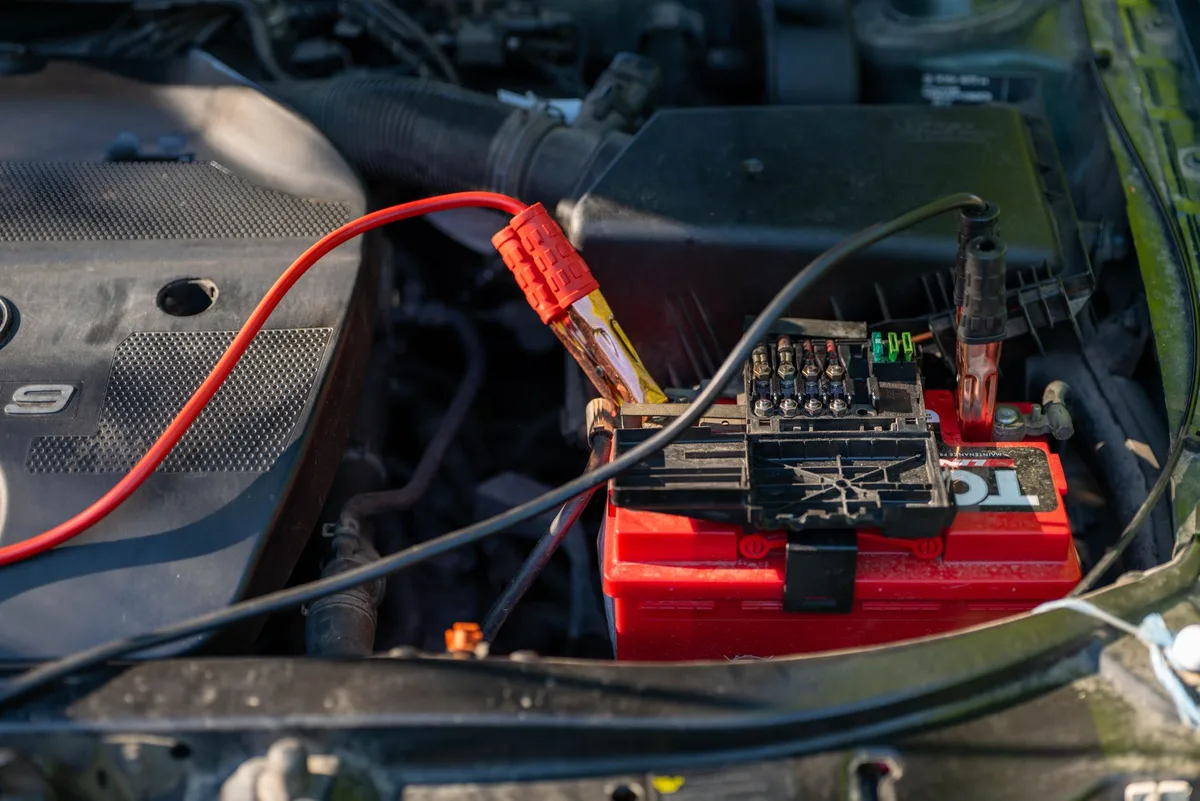
Step 1 — Engine-Off Battery Baseline
With the engine off, touch red to positive and black to negative. A fully charged battery reads about 12.6 volts. Anything near 12.2 to 12.4 means a partial charge, and below 12 usually means a tired battery.
This is your starting line, so what a healthy reading looks like matters before you compare anything.
Step 2 — Voltage With the Engine Running
Start the engine and read the voltage again. It should jump into the 13.8 to 14.7 range. That rise proves the alternator is charging.
If the number barely moves off 12.6, the alternator isn't feeding the battery.
Step 3 — The Load Test (Lights, Blower, Defrost)
Keep the engine running and switch on the headlights, heater blower, and rear defroster. Then rev to around 2,000 RPM. Voltage should hold above 13 volts under that load.
A big sag means the alternator can't keep up when it matters.
Step 4 — The AC Ripple Test Most People Skip
Switch the meter to AC voltage with the engine running. You want to see close to zero, ideally under 0.05 volts (50 millivolts). A higher AC reading means a diode in the rectifier has failed.
This test catches a dying alternator hiding behind good DC numbers, so it's worth doing even when everything else looks fine. For a cleaner reading at the source, some folks prefer backprobing the output stud instead of the battery posts.
Reading Your Numbers: What Each Voltage Means
Here's how to translate what the meter shows into a real diagnosis.
| Reading | What it means |
|---|---|
| 12.6V or higher, engine off | Healthy resting battery |
| 12.2 to 12.4V, engine off | Partial charge, suspect battery |
| 13.8 to 14.7V, running | Alternator charging correctly |
| Below 13.0V, running | Undercharging |
| Above 15.0V, running | Overcharging |
| AC ripple over 0.05V | Failed diode in the rectifier |
Undercharging (Below 13V)
If the running voltage sits below 13, the alternator isn't giving the battery enough. The usual suspects are a slipping or glazed belt, worn brushes inside the alternator, or corroded connections stealing voltage. Check the belt tension and clean the terminals before you condemn the whole unit.
Overcharging (Above 15V)
Anything past 15 volts is dangerous. A failed voltage regulator is usually to blame, and it can cook the battery and boil off its fluid. Left alone, overcharging is one reason a battery can swell or bulge, so don't ignore it.
High AC Ripple (Bad Diode)
A high AC reading with normal DC voltage is the sneaky one. The alternator still charges, but one or more diodes have failed, letting dirty AC leak into your DC system. That ripple confuses sensitive electronics and slowly wears the battery down.
When ripple is high, the alternator is on its way out even if the DC number looks perfectly healthy.
Is It the Alternator, the Battery, or the Wiring?
Run the readings side by side and the culprit usually reveals itself. Each part leaves a different fingerprint on the meter.
- Battery reads low at rest but jumps to 14V running: the battery is weak, the alternator is fine.
- Reads 12.6V at rest but drops hard under cranking: often a failing battery or bad connection.
- Stays flat near 12.5V while running: the alternator isn't charging.
- Good voltage everywhere but symptoms remain: suspect wiring, grounds, or corrosion.
Wiring problems are the easiest to overlook. A corroded terminal or a loose ground strap can starve the system even with a healthy alternator. If the voltage sags the moment you crank, check the cable ends and grounds first.
One more angle worth checking. If the car runs its lights fine but won't turn over, you're usually looking at the starter or connections, not the alternator. The meter helps you avoid throwing parts at the wrong problem.
Common Mistakes That Ruin the Test
Most bad diagnoses come from a handful of repeat errors. Dodge these and your readings actually mean something.
- Testing on a surface charge. A battery just off the charger reads high and fake. Let it rest an hour first.
- Skipping the load test. Voltage at idle can look fine, then collapse under real load.
- Ignoring the AC ripple check. This is the single most missed test, and it's where dying diodes hide.
- Dirty or loose probe contact. A poor connection gives a low, wobbly number that isn't real.
- Wrong meter mode. Reading AC when you meant DC, or the wrong range, throws everything off.
Another quiet trap is confusing a marginal battery with a charging fault. A reading like 12.4 volts at rest sits in that gray zone where people guess wrong. Charge it fully, then retest before blaming the alternator.
Multimeter vs. Load Tester vs. Free Store Bench Test
Each tool answers a different question, so the right pick depends on what you're chasing.
| Method | Best for | Limitation |
|---|---|---|
| Digital multimeter | Quick voltage and ripple checks at home | Can't measure amp output |
| Load tester | Testing battery and alternator under load | Costs more, needs some skill |
| Auto-parts bench test | A free second opinion on the alternator | Requires removing the unit |
A multimeter is the right first move for almost everyone. It's cheap, fast, and catches most failures in five minutes. Reach for it whenever you want a starting diagnosis without pulling parts.
A load tester suits anyone who wants proof the system holds up under strain. It's the better call when voltage looks fine but the symptoms won't quit.
The free bench test at a parts counter works when you've already pulled the alternator, or you want an independent read before buying a replacement. It tests the unit off the car, so it won't catch wiring or belt issues still bolted under the hood.
Safety Checks Around a Running Engine
You'll be working next to spinning belts and a hot engine, so a few habits keep your fingers and eyes safe. None of this is optional.
- Keep probes, sleeves, and jewelry clear of the belt and cooling fan.
- Wear eye protection against acid mist and stray sparks.
- Never let the positive probe or the B+ terminal touch ground.
- Match probe polarity so you don't damage the meter.
- Work in open air, since batteries vent flammable hydrogen.
Watch for a battery that looks swollen, warped, or bloated. That's a sign of heat or overcharging, and a bulging case can be dangerous to handle. Stop and deal with that before you go poking around with metal probes.
If you ever need a boost to get numbers on a dead car, do it right. Following the correct cable order protects both you and the electronics.
Expert Tips for a More Reliable Reading
Small adjustments separate a guess from a real diagnosis. These are the moves that tighten up your results.
- Test at the battery posts first, then at the alternator output stud. A gap between the two points to voltage drop in the cables.
- Warm the engine before judging the numbers. Charging voltage often settles once things heat up.
- Rev to 2,000 RPM and hold it. A struggling alternator shows its weakness under RPM and load.
- Use a true RMS meter for the ripple test if you have one. It reads dirty AC more accurately than a basic averaging meter.
- Log your numbers. Comparing a rest reading, an idle reading, and a loaded reading tells the full story.
Battery age skews results too. A worn battery can mask a charging problem, so it helps to know what the voltage numbers mean across different states of charge. Verified buyer feedback on budget meters flags one thing worth knowing: cheap probes lose contact quality over time, and that alone can cost you a tenth of a volt.
When to Stop Testing and Replace the Alternator
Stop testing once the numbers point clearly at the alternator and the fixes don't stick. A few results leave little doubt.
- Running voltage stays under 13V after you've ruled out the belt and connections.
- Voltage climbs past 15V, which means a failed regulator cooking the battery.
- AC ripple reads above 0.05V, a clear sign of blown diodes.
- The alternator whines or growls, hinting at worn bearings inside.
If two or more of these show up together, replacement is usually the smart call. A rebuild can work, but a bad diode or dead regulator often means the whole unit is on borrowed time. Before you buy, a free bench test at a parts counter gives you one last confirmation.
One caveat. Always retest with a fully charged, healthy battery in place. A tired battery can drag readings down and make a good alternator look guilty.
Rule out the battery first, then trust the numbers.
Frequently Asked Questions
Can a multimeter test an alternator without starting the car?
Not fully. With the engine off, a multimeter only reads the battery's resting voltage, around 12.6 volts. To judge the alternator, you need it running so the meter can see charging voltage climb into the 13.8 to 14.7 range.
The engine-off reading is just your baseline.
What voltage means a bad alternator?
A running reading below 13 volts usually means undercharging, and anything above 15 volts means overcharging from a failed regulator. Both point to an alternator problem. A normal DC reading paired with AC ripple over 0.05 volts also signals bad diodes inside the unit.
Why does my alternator show good voltage but the battery still dies?
Good voltage only proves the alternator raises system pressure. It can't confirm the alternator delivers enough current under load. A partial output or a hidden parasitic draw can flatten the battery overnight even when your voltage reading looks healthy at idle.
Do I need a special multimeter to test an alternator?
No. Any basic digital multimeter that reads DC and AC voltage will do the job. Auto-ranging models are easier to use, and a true RMS meter reads AC ripple more accurately.
For measuring actual amp output, though, you'll need a clamp meter instead.
How long does it take to test an alternator?
A basic voltage check takes about three to five minutes once the meter is set. Add a minute or two for the load test and the AC ripple check. Letting the battery rest off a charger beforehand takes longer, but it keeps a surface charge from faking your numbers.

Similar Posts





















