How to Break In a New Engine: The Ultimate Guide
Figuring out how to break in a new engine feels like walking on eggshells. You’ve spent thousands on a fresh vehicle or rebuilt motor, and the last thing you want is premature wear. Most drivers assume modern manufacturing eliminates this step entirely.
That assumption is dangerously wrong.
Engine tolerances are tighter than ever before. Piston rings need time to seal against cylinder walls properly. Skipping this process can cost you compression and longevity.
Let’s look at what manufacturers actually recommend for peak performance.
Why Modern Engines Still Need a Proper Break-In
Many people believe computer-controlled machining makes break-in obsolete. It doesn’t. While parts fit more precisely now, metal surfaces still have microscopic peaks and valleys.
These irregularities create friction until they smooth out during initial operation. This process is called seating.
Proper seating ensures piston rings conform perfectly to the cylinder bore shape. Without it, you risk blowby. Blowby happens when combustion gases escape past the rings into the crankcase.
This contaminates your oil and reduces power output.
Modern engines also rely heavily on variable valve timing and turbocharging. These systems place unique stresses on components during early use. The engine control unit (ECU) learns fuel trims based on real-time data.
A gentle start helps the ECU calibrate accurately for long-term efficiency.
Ignoring these nuances leads to glazed cylinders. Glazing seals off the cross-hatch pattern designed to hold oil. Once glazing occurs, no amount of future care fixes it.
You’re stuck with higher oil consumption and reduced durability forever.
The Core Rules: RPM, Load, and Temperature Limits
Breaking an engine isn’t about going slow. It’s about varying load. Constant speed driving, like highway cruising, prevents proper ring expansion.
You need thermal cycling to expand and contract metal components safely.
Most OEM manuals specify strict RPM limits for the first 500 miles. Typically, this means staying below 4,000 RPM. However, some performance brands suggest aggressive short shifts.
Always check your specific owner’s manual first.
Temperature management is equally critical. Cold starts put immense stress on bearings and cam lobes. Avoid high RPMs until the coolant gauge hits normal operating range.
This usually takes five to ten minutes depending on ambient temperature.
Load variation triggers pressure changes inside the combustion chamber. Higher pressures force piston rings outward against the cylinder wall. Low-load driving keeps rings seated loosely.
Alternate between light throttle and moderate acceleration to ensure even sealing.
| Parameter | Conservative Approach | Performance Approach | Risk Factor |
|---|---|---|---|
| Max RPM | < 3,000 RPM | Up to Redline (briefly) | Bearing Wear |
| Throttle | Light (< 50%) | Moderate to Full | Ring Seating |
| Duration | 1,000+ Miles | 500 Miles | Oil Contamination |
These guidelines protect internal clearances. Tighter clearances mean less noise but more heat sensitivity. Respect the thermal limits to avoid warping heads or scoring bores.
Step-by-Step: How to Drive Your First 1,000 Miles
Start every drive with a brief warm-up. Idling for thirty seconds gets oil circulating to top-end components. Then, drive gently until the temperature needle moves.
Do not rev the engine while cold.
For the first 200 miles, keep speeds under 55 mph. Use light throttle inputs only. This allows bearings to form their initial contact patterns without excessive heat buildup.
Avoid stop-and-go traffic if possible.
Between miles 200 and 500, introduce varied loads. Accelerate moderately to 70% throttle occasionally. Shift gears manually if you have a stick shift.
Automatic transmissions should be kept in lower gear ranges briefly to increase RPMs safely.
From mile 500 to 1,000, you can push harder. Try sustained runs at higher RPMs for short periods. This generates the heat needed to fully seat rings.
Just don’t redline constantly. Variety is key here.
Always monitor gauges closely. Watch oil pressure and coolant temp. If either spikes unexpectedly, pull over immediately.
Ignoring warning lights during break-in voids warranties instantly. Stay attentive to mechanical feedback.
Oil Selection and the Critical First Change
Factory fill oils are often specialized formulations. They contain additives specifically for initial lubrication. Some manufacturers advise against changing this oil too soon.
Others insist on an early swap to remove metallic debris.
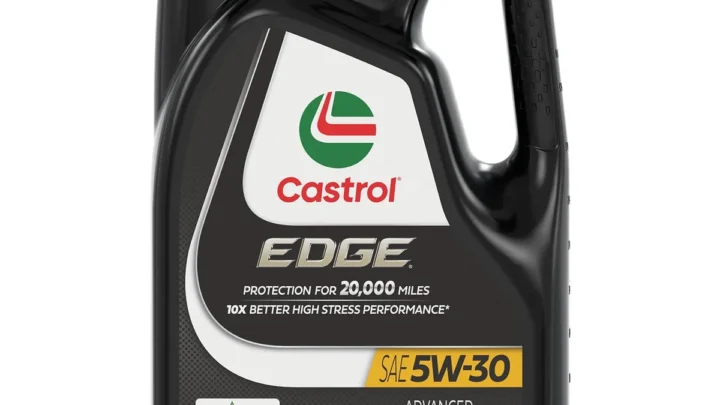
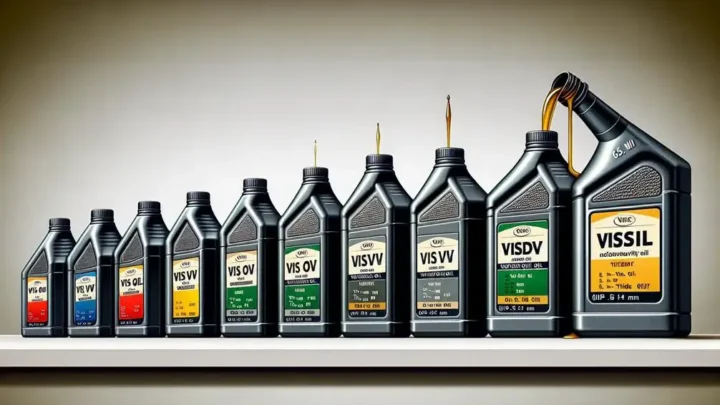
Check your warranty terms carefully. Many require using specified viscosity grades like 0W-20 or 5W-30. Using the wrong weight can affect hydraulic lifter function.
This leads to ticking noises or pre-mature valvetrain wear.
Synthetic blends are common recommendations for break-in. Pure synthetics may slip clutch plates in wet-clutch motorcycles. For cars, full synthetic is generally safe after the first change.
Always verify with your dealer service department.
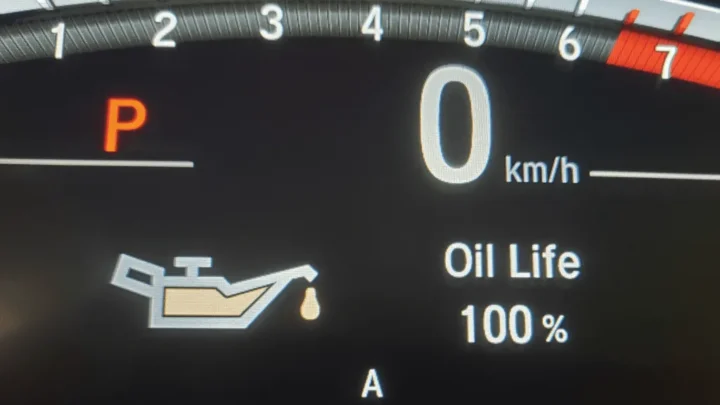
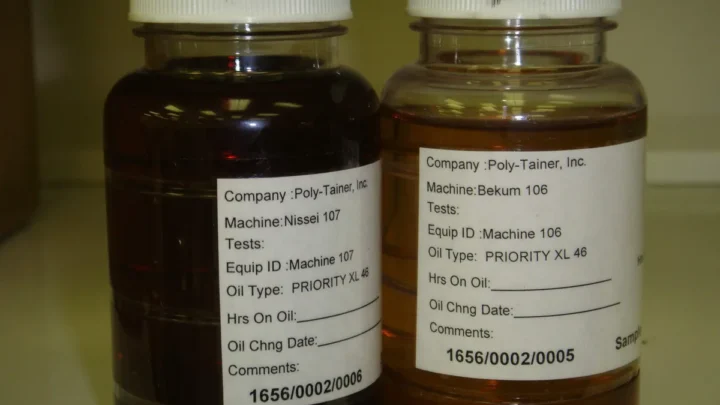
The first oil change typically happens between 500 and 1,000 miles. This removes metal shavings from assembly. Delaying this change lets abrasive particles circulate longer.
Those particles act like lapping compound, wearing down precision surfaces faster.
Consider using full synthetic oil for subsequent changes. It offers superior protection under high temperatures. Ensure the filter is high-quality too.
Cheap filters bypass easily, letting contaminants stay in circulation.
Common Mistakes That Kill New Engines Early
Idling excessively is a major error. Prolonged idling creates condensation in the crankcase. Water mixes with oil, forming sludge.
Sludge blocks vital oil passages and starves bearings of lubrication.
Constant low-speed cruising causes incomplete ring seating. Rings never expand fully against the cylinder wall. This results in permanent blowby and increased oil consumption later.
Vary your speed and load consistently.
Overloading the engine too soon damages bearings. Towing heavy trailers or carrying max passengers adds strain. Internal components aren’t hardened enough yet.
Wait until the 1,000-mile mark before subjecting the drivetrain to heavy duty cycles.
Neglecting fluid checks is risky. Leaks might develop as gaskets settle. Check oil levels weekly during the break-in period.
Top up immediately if low. Running an engine with insufficient oil causes catastrophic failure quickly.
Using improper additives confuses modern sensors. Fuel system cleaners can disrupt ECU learning modes. Stick to pure gasoline or diesel unless specified otherwise.
Additives rarely help and often hurt sensitive emission controls.
Understanding starter issues can help diagnose unrelated problems. Sometimes clicking sounds mimic engine trouble. Don’t panic if the starter acts up separately.
Focus on rotation and combustion health primarily.
When to Ignore the Manual (and When Not To)
The owner’s manual is your primary source of truth. It outlines specific tolerances for your exact engine model. Deviating from these instructions risks voiding your warranty.
Always prioritize factory guidelines over internet forums or mechanic anecdotes.

Similar Posts