How to Test a Starter: Quick Steps to Diagnose Issues
If your engine won't crank, you need to know how to test a starter before you throw money at a new part. A dead battery, corroded cable, or a bad ignition switch can mimic starter failure almost perfectly. Testing rules those out first.
It saves you the cost of a $200 part you didn't need.
Per SAE J537, a healthy 12V starter should crank at 200 to 300 rpm while battery voltage stays above 9.6V at 70°F. If your numbers miss those marks, something in the starting circuit is off. Our research across manufacturer service bulletins shows most "bad starter" complaints as of 2026 trace back to the battery or its connections.
Here's how to prove where the fault really lives.
Quick Answer
Testing a starter takes five checks. The battery should read 12.6V rested and hold above 9.6V during crank. Each cable's voltage drop must stay under 0.5V.
The solenoid S terminal should see at least 10.5V while cranking. If every reading passes, bench test the starter to confirm the fault.
What "Testing a Starter" Actually Means (and What It Doesn't)
Testing a starter isn't one test. It's a chain of checks that separate the motor itself from everything feeding it. The starter, solenoid, ignition switch, safety switches, battery, and cables all live in the same circuit.
A fault anywhere kills the crank.
Real diagnosis works in two directions. First, you rule out the power source. Then you rule out the signal path.
Only after both check out do you condemn the starter.
Skip this order and you'll swap a perfectly good starter, drive off, and get stranded a week later when the real culprit (usually a corroded ground) shows up again. A methodical multimeter routine for battery checks is the foundation every step below builds on.
Symptoms That Point to the Starter vs. Something Else
The way your engine fails to start tells you almost everything about where to look first. Match your symptom to the branch below before pulling out any tools.
No Crank, No Click
A silent key turn usually means no power reaching the solenoid. Check the battery first, then the ignition switch and neutral safety switch. A truly dead starter rarely produces perfect silence.
Single Loud Click
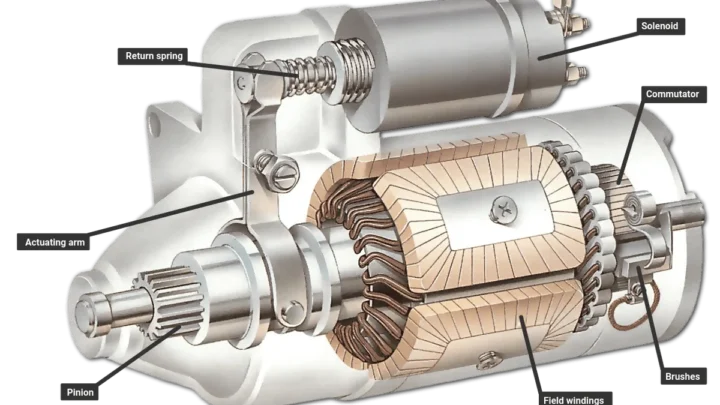
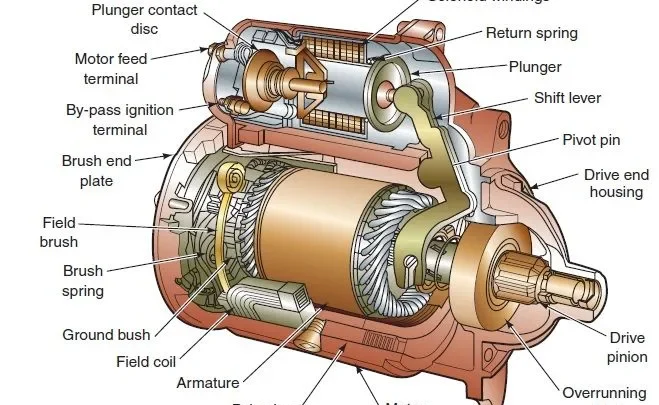
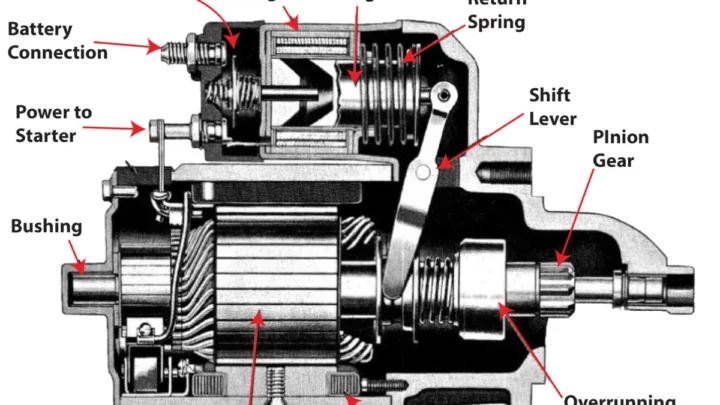
One heavy thunk means the solenoid pulled in but the motor didn't spin. Common causes: worn brushes, a seized armature, or a burnt copper disc inside the solenoid.
Rapid Clicking
Fast machine-gun clicks point to low voltage. The solenoid keeps pulling in and dropping out. Battery, cables, or ground straps are the usual suspects, not the starter itself.
Slow or Lazy Crank
If the engine turns sluggishly, you likely have high resistance in the circuit or a weak battery. A voltage drop test pinpoints it in under two minutes. Cold weather makes this worse.
Starter Spins but Engine Doesn't Turn
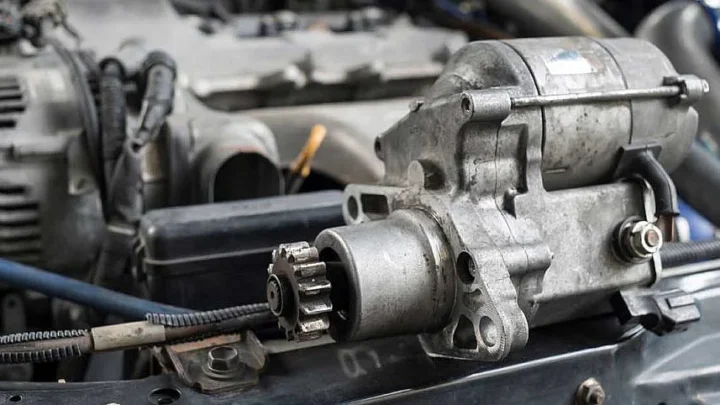
You'll hear a whirr with no cranking sound. That points to a bad starter drive (Bendix) or worn flywheel ring gear teeth. Pull the starter and inspect the pinion.
Tools You'll Need Before You Touch Anything
You don't need a shop full of gear. Five tools cover 95% of starter diagnosis in the driveway.
| Tool | Purpose | Notes |
|---|---|---|
| Digital multimeter | Voltage, drop, continuity | 10A range or better |
| Test light | Fast signal check at S terminal | Cheap backup to a meter |
| Heavy jumper wire | Bypass solenoid, remote crank | 10 AWG minimum, fused |
| Battery load tester | Confirms battery under load | Rentable at most parts stores |
| Inductive amp clamp | Measures cranking current draw | Nice to have, not required |
A solid grasp of a voltage-check procedure with a meter is the single most useful skill here. If you're new to reading a meter, spend five minutes with a proper setting guide for testing 12V batteries before you crawl under the car.
Safety Checks Before Any Starter Test
Starter testing puts you near two things that bite: a fully charged battery and a spinning motor with real torque. Cover these before touching a probe.
- Set the parking brake and chock a rear wheel. Automatics in Park, manuals in Neutral with the clutch depressed.
- Pull the ignition key or fob out of reach before any bench work.
- Remove rings, watches, and metal bracelets. A wrench that touches B+ and ground will weld itself to your skin.
- Wear safety glasses. Solenoid contacts can arc and spit copper particles.
- Ventilate the area. Lead-acid batteries vent hydrogen, which ignites easily.
- Disconnect the negative battery cable before removing the starter or any high-current wiring.
The OSHA workplace safety resources cover electrolyte and hydrogen risks if you want the official guidance. Never bypass the neutral safety switch permanently. That's how vehicles crank into your leg.
Step 1: Rule Out the Battery First
Most "bad starter" calls are actually bad batteries. Prove the battery is healthy before anything else. This one step saves hours of chasing the wrong fault.

Do these three checks in order.
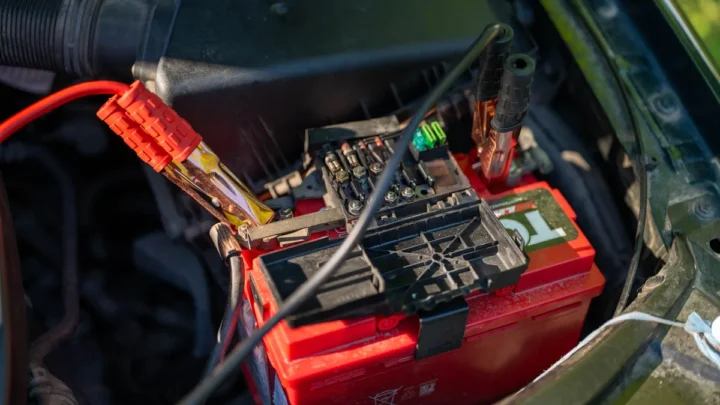
Resting voltage. Key off, headlights off for 10 minutes. Set your multimeter to DC volts (20V range) and touch red to positive, black to negative. You want 12.6 to 12.8V. Anything under 12.4V is only around 75% charged and can't sustain a starter's inrush current.
Cranking voltage. Leave the probes on the posts. Have a helper turn the key to Start. The reading should hold above 9.6V at 70°F. Below that, the battery can't deliver load current, and every test past this point will give you false failures.
Load test. A carbon pile or handheld tester pulls roughly half the CCA rating for 15 seconds. Voltage must stay above 9.6V. Confirming a normal fully-charged battery reading means you're clear to move on to the cables.
If any of those fail, charge or replace the battery first. A weak battery drops so much voltage under load that even a perfect starter looks broken.
Step 2: Inspect Cables, Terminals, and Ground Straps
Bad connections cause more no-crank complaints than dead starters. Before pulling any part, put eyes and hands on every cable end.
Look for green or white powdery corrosion at the battery posts, the starter B+ stud, and both ends of the engine ground strap. Wiggle each terminal. Any movement means a loose clamp that will drop voltage under load.
Pay special attention to the ground path. Most modern vehicles ground the battery to the engine block through a single braided strap. If that strap is frayed, oil-soaked, or corroded where it bolts down, the starter tries to draw hundreds of amps through a compromised path.
Clean every questionable connection with a wire brush. Reapply dielectric grease. A five-minute cleanup often ends the whole diagnosis right there.
Step 3: Voltage Drop Test on the Positive and Ground Paths
Voltage drop is the most reliable way to find hidden resistance. It measures loss across a live connection under actual cranking load, which resistance tests can never do.
Set your multimeter to DC volts, 2V or 20V range. Disable the ignition so the engine won't fire (pull the coil or injector fuse). You want the starter to crank without starting.
Positive side: put the red probe on the battery positive post and the black probe on the starter B+ stud. Have a helper crank. Reading should stay under 0.5V.
A higher number means loss somewhere between those two points.
Ground side: red probe on the starter housing, black on the battery negative post, crank again. Under 0.2V is ideal, 0.3V acceptable, above 0.5V means bad ground.
If either reading fails, work backwards. Test half the run to isolate which end is bad. A multimeter with the right voltage setting is essential here because you're chasing tenths of a volt.
Step 4: Check for Signal at the Solenoid "S" Terminal
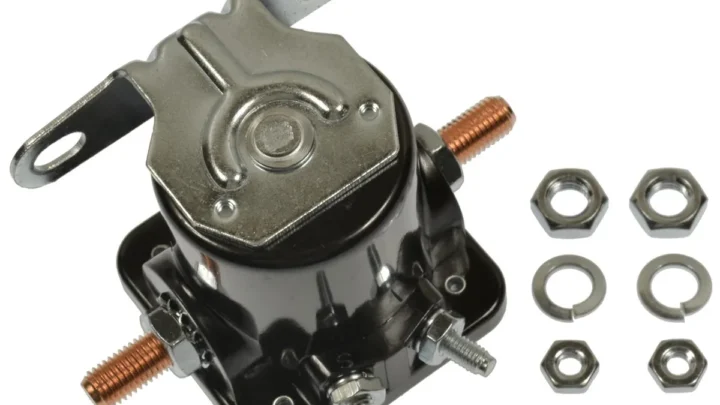
The S terminal is the small spade or stud on the solenoid that carries the start signal from the ignition switch. No signal here means the starter never gets told to run, no matter how healthy it is.
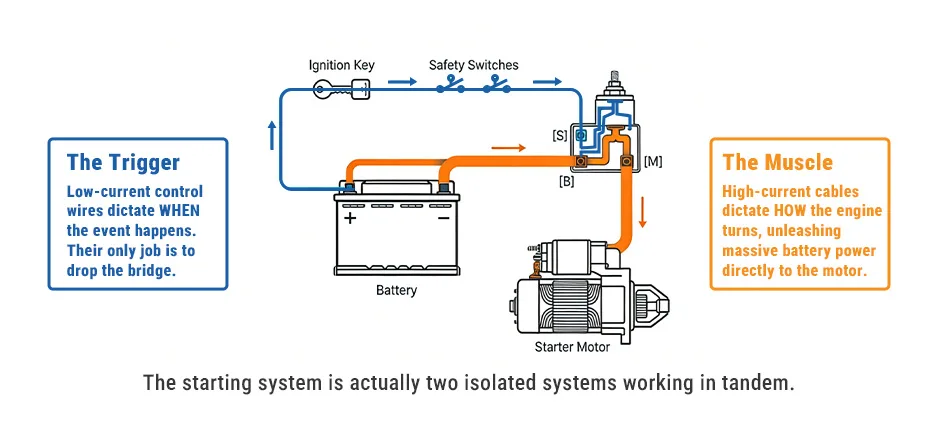
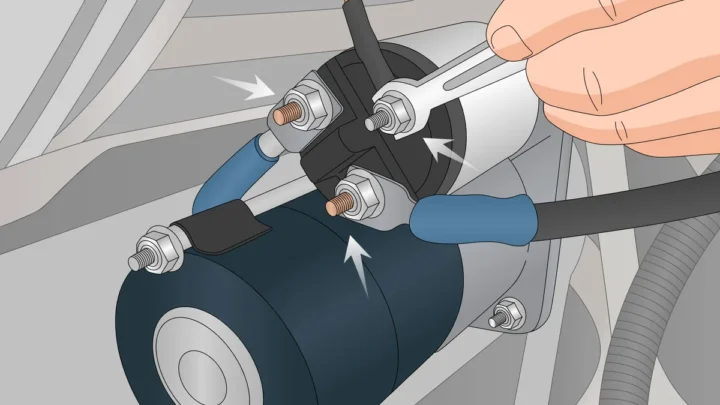
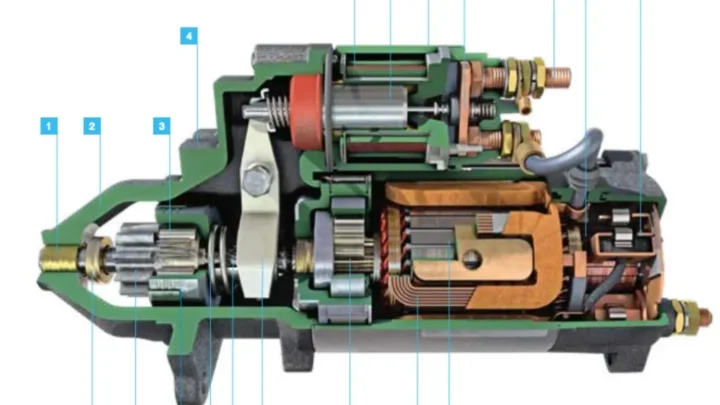
Identify the three studs first:
- B+ (or BAT): the big cable from the battery, always hot.
- M (or motor): the strap that feeds the starter motor itself.
- S: the small trigger wire from the ignition circuit.
Back-probe the S terminal with your red multimeter lead and ground the black to the engine block. Turn the key to Start. You want at least 10.5V during crank.
Below that, the fault is upstream: ignition switch, starter relay, neutral safety switch, or wiring.
If S sees full voltage but the starter still won't respond, the solenoid or motor is at fault. That's when you move to the bypass test.
Step 5: Bypass the Solenoid (In-Vehicle Jump Test)
Bypassing sends battery voltage directly to the S terminal, cutting the ignition circuit out of the picture. If the starter cranks with a bypass but not with the key, the fault sits upstream of the solenoid.
Use a fused jumper wire, not a screwdriver across the terminals. A screwdriver arc-welds the studs and throws molten copper. Confirm the transmission is in Park or Neutral, parking brake set, wheels chocked.
Touch one end of the jumper to the B+ stud, the other to the S terminal. You should hear a solid clunk and the engine will crank. Three outcomes:
- Cranks normally: the starter and solenoid are fine. Look at the ignition switch, neutral safety switch, starter relay, or the wire feeding S.
- Loud click, no crank: solenoid pulls in but the motor is dead. Usually worn brushes, a bad armature, or burnt solenoid contacts.
- Nothing at all: open circuit inside the solenoid pull-in coil. Starter needs replacement or rebuild.
Never leave the bypass in place. Remove the jumper the moment the engine catches.
Step 6: Bench Test the Starter (Free-Spin and Load)
A bench test isolates the starter from every other variable in the vehicle. If it fails on the bench, the diagnosis is confirmed. If it passes, the fault lives in the car.
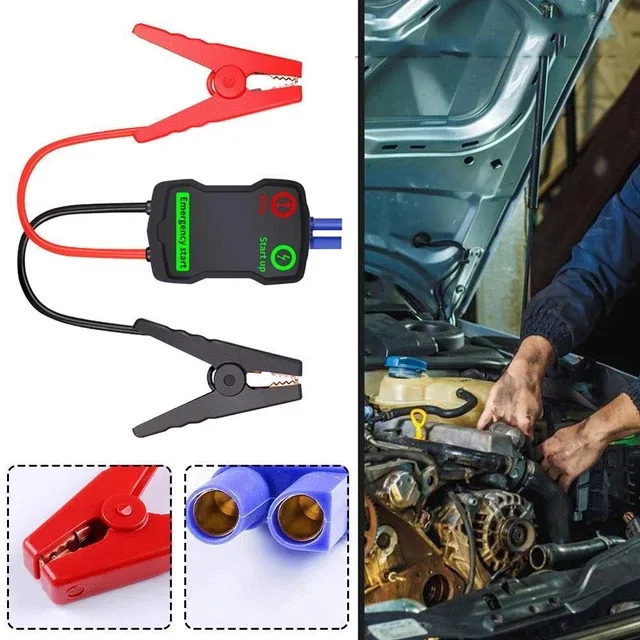
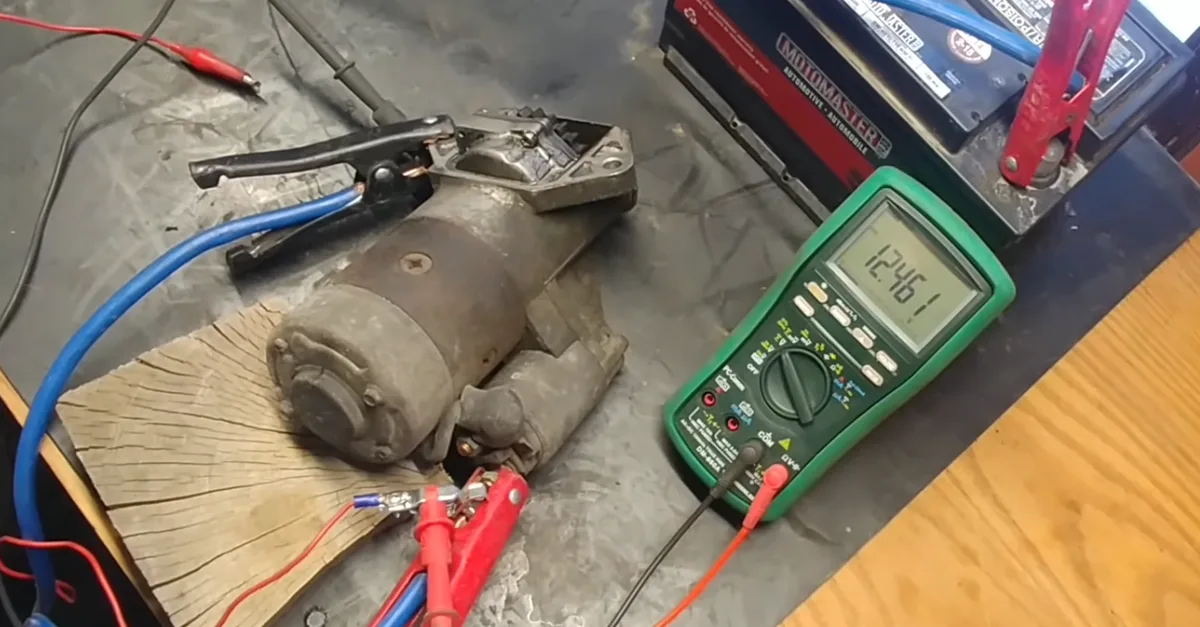
Clamp the starter securely in a vise. This is not optional. Cranking torque will spin an unclamped starter off the bench and take a chunk of drywall with it.
Wire it up like this:
- Heavy jumper from battery positive to the starter B+ stud.
- Heavy jumper from battery negative to the starter mounting flange (case ground).
- Short jumper from B+ to the S terminal to trigger the solenoid.
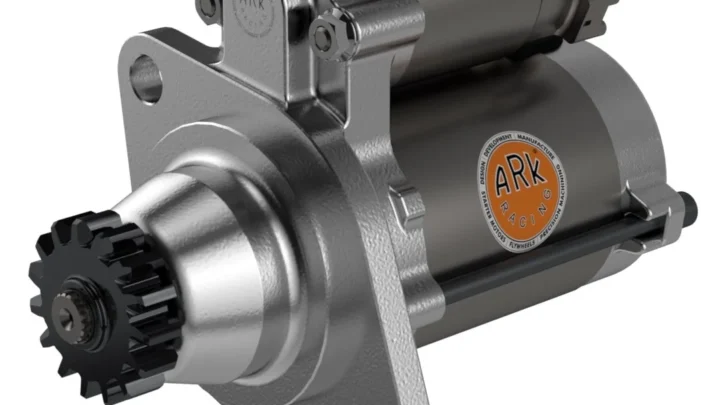
Free-spin (no-load) test: the pinion should snap out and the motor should spin fast and smooth. A healthy 12V starter draws roughly 60 to 100A with no load. Sluggish spin, sparks, smoke, or a burning smell means the motor is done.
Load test with amp clamp: if you have an inductive clamp, measure current draw during a full crank in the vehicle. Gas engines pull 150 to 250A. Diesels pull 500 to 700A.

Similar Posts