Can You Damage a Multimeter Testing a Car Battery?

Worried you'll wreck your meter checking a flat battery? Here's the good news. Can you damage a multimeter testing a car battery?
Yes, but only if you pick the wrong setting. Reading voltage is completely safe on any decent meter.
The danger lives in one spot: the amps setting. A car battery can shove 300 to 600 cranking amps through leads rated for just 10 amps. Quality meters follow the IEC 61010 safety standard and use a fuse to stop that surge.
Let's break down what's safe and what fries a meter.
Quick Answer: When It's Safe and When It Isn't
Yes, you can damage a multimeter testing a car battery. It happens when the dial is set to amps. Measuring voltage across the terminals is safe.
High current only flows if you connect in series on the current setting. Most meters blow an internal fuse first, which spares the meter itself.
How a Multimeter Handles a 12V Battery
A multimeter reads a 12V battery in two very different ways, and only one puts the tool at risk. The setting on the dial decides everything. Get it right, and there's nothing to worry about.
Get it wrong, and the meter takes the hit.
A digital multimeter (DMM) is just a measuring instrument with a rotary dial, two probes, and a set of input jacks. How it behaves depends on what you ask it to measure. Voltage and current are read in opposite ways, and that difference is the whole story here.

Voltage Mode vs. Current Mode: The Real Difference
Voltage mode measures pressure across two points. You touch the probes to each terminal and the meter reads the difference. It sits beside the circuit, not inside it.
Almost no current flows through the meter.
Current mode is the opposite. To read amps, the meter has to become part of the circuit. All the current flows through it.
That's fine for a small circuit. It's a disaster if you clip it straight across a battery that can deliver hundreds of amps.
Here's the simple rule:
- Volts = probes in parallel, across the terminals, safe.
- Amps = meter in series, inside the circuit, risky if done wrong.
If you just want to know the state of charge, you only ever need volts. That covers most reasons people reach for a meter, and our guide on checking a battery yourself works through the same idea.
Why 12 Volts Won't Hurt You (or a Decent Meter)
Twelve volts is a low voltage. It won't shock you through dry skin, and it won't stress a meter's voltage circuit. On the DC volts (DCV or V⎓) setting, the meter has very high input impedance, around 10 megohms.
That means it barely draws any current at all.
So when you set the dial to DC volts and touch the terminals, the meter is doing what it's built for. There's no path for a big current to flow. You could sit there reading a battery all day and nothing bad would happen.
If you want to know what a healthy reading looks like, that's a voltage job, start to finish.
The One Setting That Fries Meters: Amps Across the Terminals
The fastest way to kill a meter is to set it to amps and touch it across both battery terminals. That single mistake creates a dead short straight through the tool. Everything the battery can deliver tries to rush through leads never meant to carry it.
Think about the numbers. The 10A jack on most meters is rated for 10 amps. A car battery during cranking can push 300 to 600 amps or more.
That's 30 to 60 times the limit, hitting in milliseconds.

Two mistakes cause almost every blown meter:
- The dial is set to current (amps) instead of DC volts.
- The red lead is left plugged into the 10A jack, not the volts jack.
Either one turns a routine check into a short circuit. The meter's current path has almost no resistance by design, so the battery sees a near dead short. On a cheap, unfused meter, that can melt leads, spit sparks, or even crack the case.
If you actually need to measure current, like a key-off drain test, you never clip across the terminals. You break the circuit and put the meter in line, and even then you respect the fuse limit.
What Happens Inside When It Goes Wrong
When you short a meter on the amps setting, one of two things happens. Usually the internal fuse blows and saves the day. Sometimes, on a poorly built meter, the damage goes further.
Which outcome you get depends on how good the meter is.
The Internal Fuse: Your Meter's Sacrificial Part
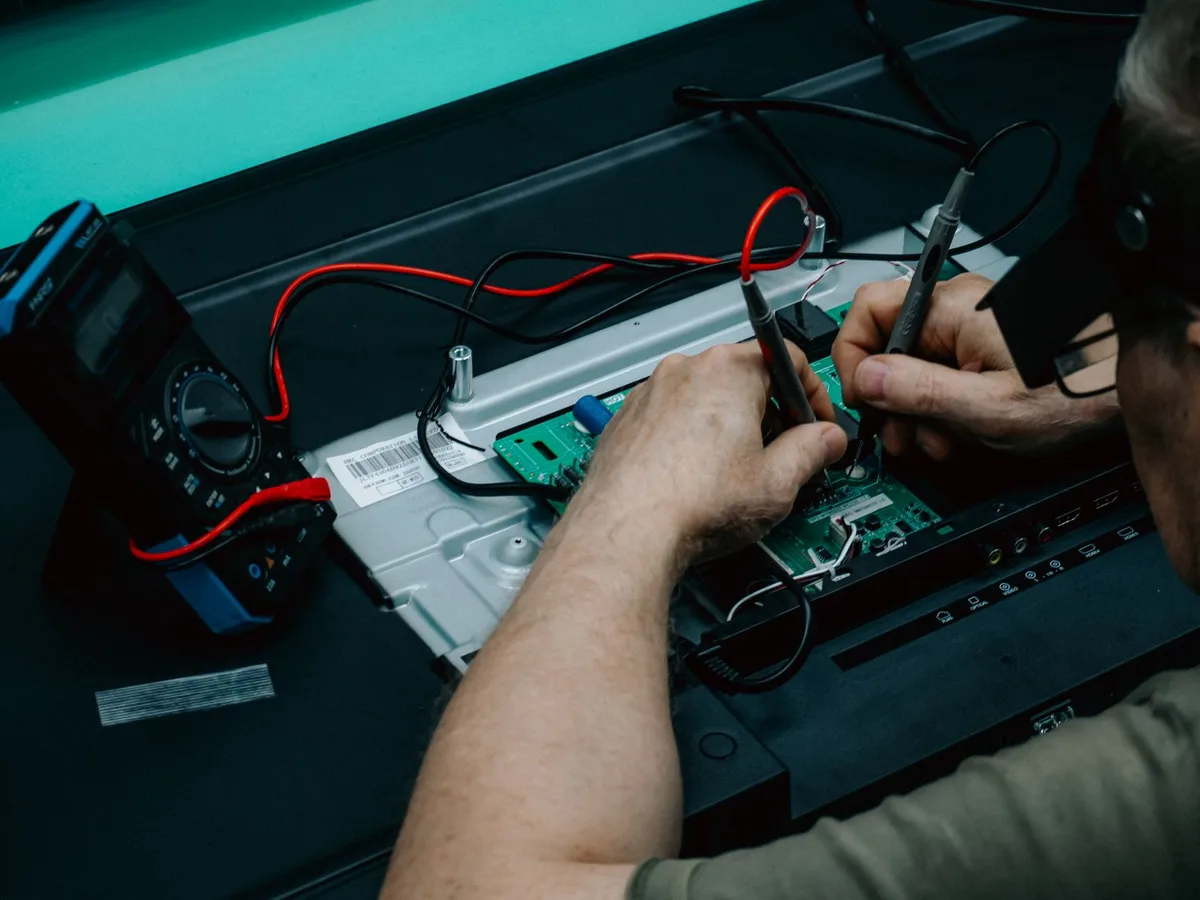
The fuse is a cheap, replaceable part sitting in the current path. It's designed to fail first. When too much current flows, the fuse element melts in milliseconds and breaks the circuit.
The meter goes quiet, but the electronics survive.
Most quality meters use two fuses, often a small one for the mA range and a larger 10A or 11A fast-blow fuse for the high-current jack. Better meters use HRC (high rupturing capacity) fuses that can safely interrupt a big surge. Meter makers like Fluke build their tools to the IEC 61010 standard for exactly this reason.
Replacing a fuse is a five-minute fix, not a new meter.
When the Fuse Doesn't Save You
A good fuse protects the meter. A missing or wrong fuse doesn't. This is where cheap meters get people into trouble.
Some budget meters skip the current-jack fuse entirely, or fit an undersized one that can't handle a real fault.
When there's no proper protection, the energy has nowhere to go but into the meter. You can see:
- Melted probe tips and burnt test leads.
- Scorched circuit traces inside the case.
- Arcing at the jacks.
- In the worst cases, a cracked or blown-apart housing.
That last one is rare, but it's the reason to buy a fused, CAT-rated meter and keep the dial on volts. Voltage testing never triggers any of this. The damage always traces back to the current path.
Decision Guide: Which Test Setting for Which Job
Most meter deaths come down to picking the wrong setting for the task. This quick guide keeps you on the safe side. Match the job to the setting, check your jacks, then touch the terminals.
| What you want to check | Dial setting | Lead placement | Risk to meter |
|---|---|---|---|
| Resting voltage / state of charge | DC volts (20V or auto) | COM + VΩ jack | None |
| Cranking voltage while starting | DC volts | COM + VΩ jack | None |
| Alternator charging voltage | DC volts | COM + VΩ jack | None |
| Parasitic draw (key-off) | DC milliamps | COM + mA jack, in series | Low if under fuse rating |
| Amps across the terminals | Any current setting | 10A jack across posts | High, will short |
Use this if/then logic before every test:
- If you want a voltage reading, set DC volts and keep leads in the volts jack.
- If you need current, break the circuit and wire the meter in series, never across the terminals.
- If the dial is on amps and the red lead is in the 10A jack, stop and switch back to volts before you probe anything.
For voltage jobs, keeping a set of reference numbers handy makes the reading useful. And if you're back-probing a connector rather than a bare post, our notes on working with probe pins show how to get a clean contact without shorting anything.
Testing a Car Battery Safely, Step by Step
Safe testing comes down to three habits: right dial, right jacks, then probe. Do those in order and the meter never sees a current it can't handle. Here's the routine for the two checks people run most.
Checking Resting and Cranking Voltage
Start with the engine off and the car sitting untouched for a few hours. That gives you a true resting reading.
- Turn the dial to DC volts, 20V range or auto.
- Plug the black lead into COM and the red lead into the VΩ jack.
- Touch red to the positive (+) post, black to the negative (−).
- Read the number. Around 12.6V means fully charged.
For cranking voltage, leave the leads exactly where they are. Have a helper start the engine while you watch the display. A healthy battery holds above 9.6V during the crank.
If it dives lower, the battery is likely weak, and a reading that drops hard on start-up points the same way.
Reverse polarity won't hurt a digital meter here. It just shows a minus sign. Still, get in the habit of red to positive so your readings stay clean.
Running a Parasitic Draw Test Without Blowing the Fuse
This is the one current test worth doing, and it's where fuses die if you rush. The meter goes in series, never across the posts. You're measuring the tiny drain that flattens a battery overnight.
- Switch the dial to DC milliamps or the 10A range to start.
- Move the red lead to the current jack (mA or 10A).
- Turn everything off and shut the doors.
- Disconnect the negative battery cable.
- Connect the meter between the cable end and the battery post.
Start on the high (10A) range so a big draw doesn't cook the mA fuse. Once the reading settles low, switch down to mA for detail. A normal key-off draw sits around 20 to 50 milliamps.
If you're chasing what counts as an abnormal drain, that's the number to beat.
Common Mistakes That Kill Multimeters
Nearly every damaged meter traces back to a handful of slip-ups. Knowing them is half the battle. Here are the ones our research sees again and again.
- Leaving the red lead in the 10A jack after a current test, then reading volts.
- Setting the dial to amps and clipping straight across the terminals.
- Measuring resistance or continuity on a live battery.
- Using a cheap meter with no fuse on the current jack.
- Confusing AC volts with DC volts on the dial.
The resistance mistake catches a lot of beginners. Ohms and continuity modes send a tiny test current out of the meter. They only work on a dead, disconnected circuit.
Point them at a live 12V battery and you can overload the input.
The "lead left in the amps jack" trap is the sneakiest. You finish a draw test, forget to move the lead back, then go read voltage. Now the red lead sits in a near-zero-resistance path across the battery.
Move that lead back to the volts jack every single time.
What the Numbers Should Read
Voltage tells you the state of charge at a glance. These figures are for a resting 12V lead-acid battery, engine off, measured on DC volts. Temperature shifts them slightly, but the ranges hold.
| Resting voltage | State of charge | What it means |
|---|---|---|
| 12.6V or higher | 100% | Fully charged, healthy |
| 12.4V | ~75% | Good, minor top-up |
| 12.2V | ~50% | Weak, recharge soon |
| 12.0V | ~25% | Nearly flat |
| Below 12.0V | Discharged | Charge and test load |
A reading of 12.4V is still a solid battery, and our breakdown of what that mid-range figure signals explains when to act. Slip to 12.2V and you're at half charge, which our notes on a half-charged reading cover in detail.
One catch: voltage isn't the whole picture. A battery can read 12.6V and still fail under load. If yours shows a full charge but won't turn the engine, the problem is capacity, not charge.
That's when a load test earns its keep.
Multimeter vs. Load Tester vs. Clamp Meter
Each tool answers a different question, so the best choice depends on what you're diagnosing. A multimeter reads voltage and small currents. A load tester checks capacity under strain.
A clamp meter reads big currents without breaking the circuit.
| Tool | Best for | Limitation |
|---|---|---|
| Digital multimeter | Voltage, charging, small draws | Can't read cranking amps safely |
| Battery load tester | Capacity under load | Won't diagnose charging faults |
| DC clamp meter | High current, no series wiring | Costs more, less precise at low mA |
Who's each one for? The multimeter suits most DIY owners doing voltage and draw checks. The load tester is for anyone tracking down a battery that reads fine but dies under start.
The clamp meter shines when you want cranking or alternator current without unhooking anything.
If your battery reads healthy yet the car still cranks slow, a load test settles it. Our guide on a battery that tests fine but won't start walks through that exact split.
Cheap Meters vs. Fused, CAT-Rated Meters
The gap between a $10 meter and a properly rated one shows up the instant something goes wrong. Both read 12.6V just fine. The difference is what happens during a fault.
A fused, CAT-rated meter carries a safety category (CAT II, III, or IV) and protected current jacks. When you short it, the HRC fuse interrupts the surge cleanly. The meter survives, and so do you.
Cheap unfused meters cut that protection to hit a price. Aggregate user reviews report melted leads, popped cases, and scorched jacks on budget units pushed past their limit. For automotive work, look for these traits:
- A fuse on both the mA and 10A jacks.
- A clear CAT II or CAT III rating on the face.
- Fast-blow or HRC fuses listed in the manual.
- Solid, well-insulated test leads.
You don't need a $400 meter for battery checks. A mid-range fused unit is plenty. The point is protection, not brand.
When you're deciding whether a meter is the right tool at all, a fused one makes the answer an easy yes.
Battery Safety You Shouldn't Skip
The meter isn't the only thing at risk near a battery. Lead-acid cells vent hydrogen gas, which is flammable. A stray spark at the terminal can ignite it, so avoid sparking your leads.
Keep these habits every time:
- Wear eye protection near the battery.
- Watch for spilled sulfuric acid around old or swollen battery cases.
- Remove rings and watches before probing.
- Never lay tools across both terminals.
The U.S. Occupational Safety and Health Administration flags battery gas and acid as real hazards for good reason. Treat a car battery with the same respect.
How to Tell If You've Already Damaged Your Meter
The clearest sign is simple: the meter reads voltage fine but shows nothing on the amps setting. That points straight to a blown current fuse. The voltage circuit is separate, so it keeps working.
Other red flags:
- The display shows OL or a blank on current tests that worked before.
- Burnt smell or discoloration near the jacks.
- Readings that jump around or never settle.
If only the amps function is dead, you got lucky. The fuse took the hit, and that's a cheap fix.
Replacing a Blown Fuse
Open the meter's back cover and check the fuse in the current path. Match it exactly to the rating printed inside, often a 10A or 11A fast-blow, plus HRC type if specified. Never fit a nail, foil, or a slow-blow substitute, since that removes your protection.
Pop the new fuse in, close it up, and test on a known good battery. If amps still won't read, the damage went past the fuse, and the meter likely needs replacing.
Frequently Asked Questions
Can you test a car battery on the ohms setting?
No, never test a live battery on ohms or continuity. Those modes send a small current out of the meter and expect a dead circuit. Point them at 12 volts and you risk overloading the input.
Stick to DC volts for any powered battery.
Will reverse polarity damage my multimeter?
No, swapping the leads on a digital multimeter won't hurt it during a voltage test. The display just shows a minus sign in front of the number. Analog meters are less forgiving, since the needle slams backward.
For digital models, it's harmless.
Why did my multimeter fuse blow testing a battery?
Almost always because the meter was on the amps setting, or the red lead sat in the current jack, while touching both terminals. That creates a short through the meter. The fuse blew to stop the surge.
Switch to DC volts and move the lead back.
Do I need a special meter for car batteries?
No, any fused DC multimeter with a 20V range handles battery voltage. Look for a CAT II or CAT III rating and fused current jacks for safety. You don't need an automotive-specific model.
Protection matters more than branding.
Bottom Line: Test With Confidence
Voltage testing a car battery is safe on any decent meter. The damage only comes from the amps setting or a lead left in the current jack. Keep the dial on DC volts, mind your jacks, and you'll never blow a thing.
When you do need current, wire in series and respect the fuse limit. Do that, and your meter outlasts the battery.

Similar Posts





















