How to Test Battery Cables With a Multimeter
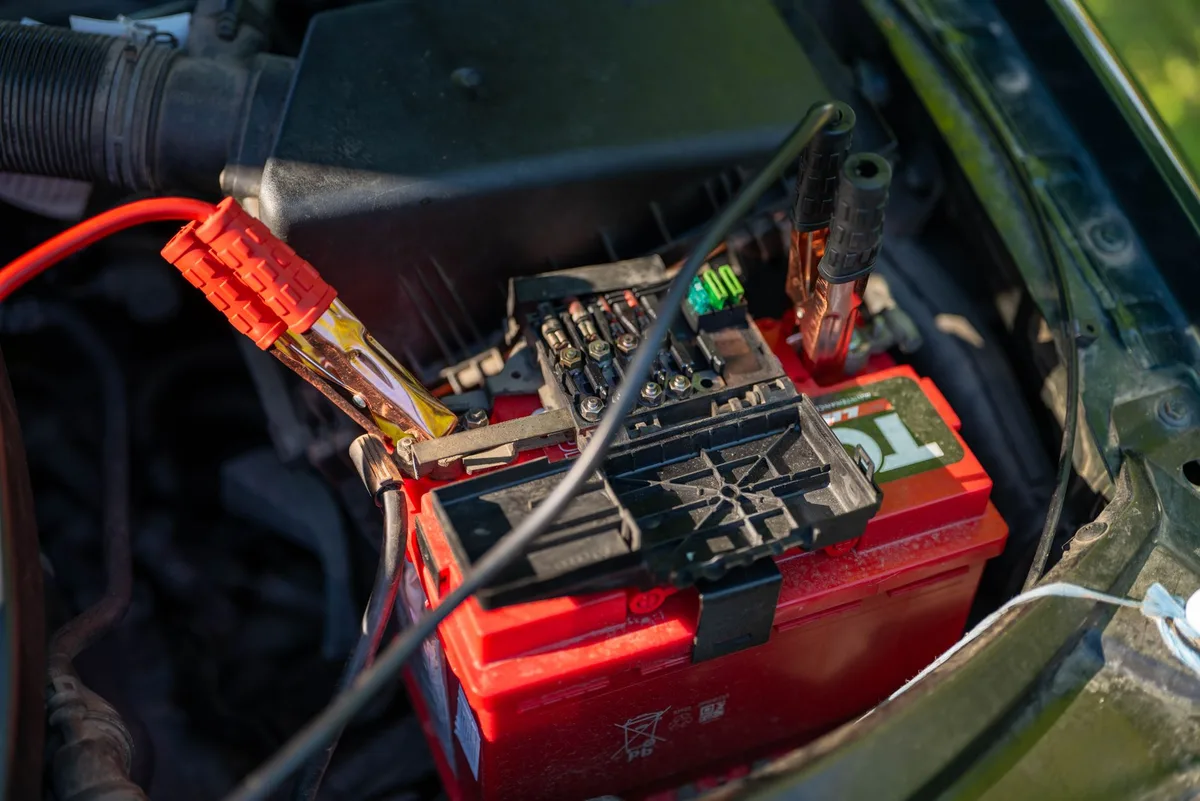
Your engine cranks slow, or you just get a click, and the battery tested fine. Learning how to test battery cables with a multimeter is what tells you whether the cables, not the battery, are the real culprit. A cable can look perfect and still choke off the current your starter needs.
The fault usually hides under the insulation or inside a crusty clamp.
The test that catches it is a voltage drop test, run while the engine cranks. A healthy cable connection should drop under 0.2 volts, and per SAE J1127 battery cable standards, good conductors carry hundreds of amps with almost no loss. As of 2026, a basic digital multimeter is still all you need.
Here's the fast answer before we dig in.
Quick Answer: The Voltage Drop Test Is the One That Actually Matters
You test battery cables with a multimeter using a voltage drop test. Set the meter to DC volts. Probe from the battery post to the cable end while the engine cranks.
A reading under 0.2 volts means the cable is good. Over 0.5 volts means corrosion or a bad connection is eating your current.
What Your Multimeter Reads on a Cable: Volts, Ohms, and Continuity
A multimeter can check a cable three ways. Each answers a different question, and only one is truly reliable on a starter cable.
- DC voltage (volts): Measures voltage lost across a cable while current flows. This is your voltage drop test, and it's the gold standard because it tests under real load.
- Resistance (ohms): Measures how much the cable resists current with the circuit off. Handy for a dead-open cable, but weak on low-resistance parts.
- Continuity (the beep): Tells you the cable isn't fully broken. A cable can beep "good" and still fail hard under 200 amps.
Here's the catch with ohms. A healthy battery cable measures a tiny fraction of an ohm. Your test leads alone add more resistance than that.
So a resting resistance check often can't tell a great cable from a marginal one.
That's why pros lean on voltage drop. Current has to be flowing for a weak spot to reveal itself. Think of it like water pressure.
A half-clogged pipe looks fine until you turn the tap on full.
Tools and Prep Before You Touch a Terminal
You don't need much for this. Most of it is probably already in your garage.
| Tool or item | Why you need it |
|---|---|
| Digital multimeter | Reads DC volts, ohms, and continuity |
| Safety glasses | Batteries vent hydrogen and hold acid |
| Nitrile or work gloves | Protects against acid and shorts |
| Wire brush or terminal cleaner | Clears corrosion before testing |
| A helper or remote starter | Someone to crank while you probe |
Before you probe anything, do a quick visual pass. Look for green or white powder on the terminals, cracked insulation, and loose clamps. Wiggle each cable end by hand.
A connection that moves is already a suspect.
Setting Your Multimeter to the Right Mode
Set the dial to DC voltage, on the 20V range if your meter isn't auto-ranging. The symbol is a V with a straight line and dashes above it, not the wavy AC line.
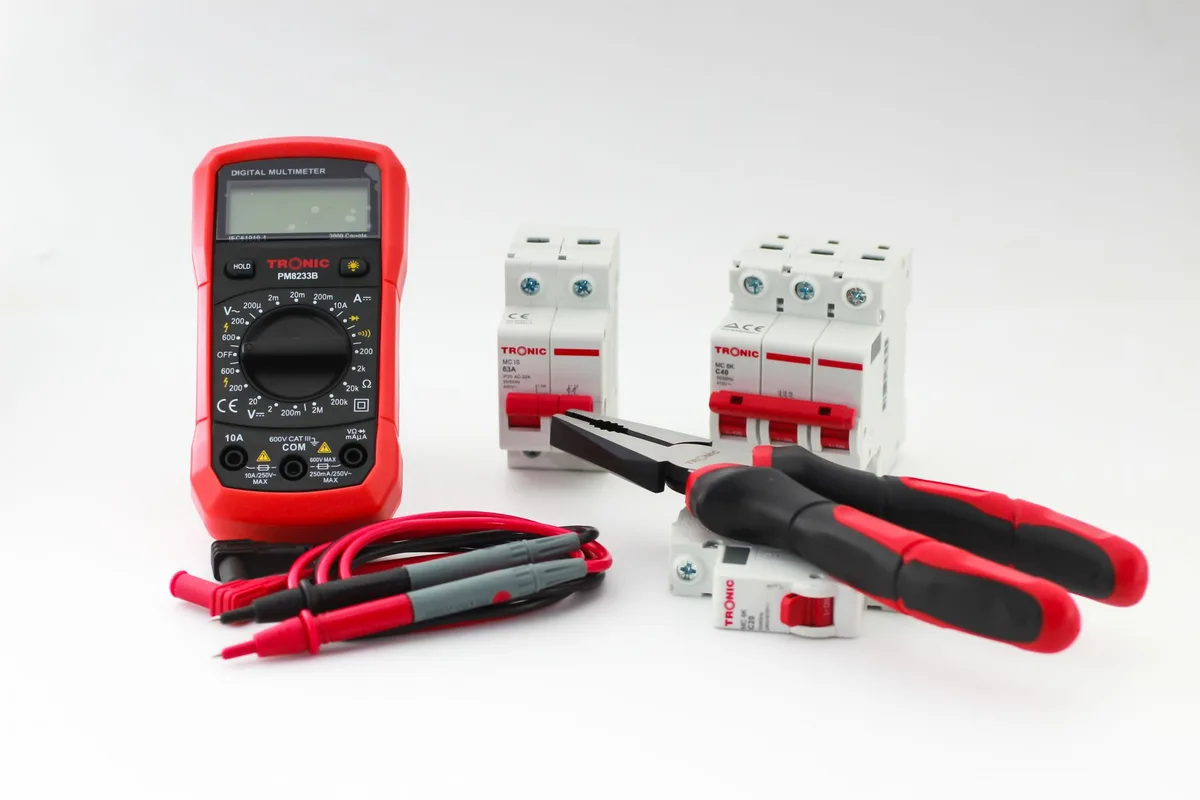
Plug the black lead into COM and the red lead into the VΩ jack. For the voltage drop test you'll stay in DC volts the whole time. For a rough continuity check instead, switch to the ohm or beeper symbol.
One habit worth building: touch the two probe tips together before you start. On ohms, a good meter reads near zero. That baseline tells you the meter and leads are healthy before you trust any cable reading.
Safety Checks Around a Live Battery
A car battery can dump hundreds of amps in a heartbeat. Treat it with respect and this job stays boring, which is exactly what you want.
- Take off rings, watches, and metal bracelets before you lean in.
- Keep wrenches and probes from bridging both posts at once.
- Work in a ventilated spot with no sparks or open flame nearby.
- Wear eye protection, because vented hydrogen and acid mist are real risks.
You're leaving the battery connected for a voltage drop test, so stay tidy. If you ever disconnect terminals, pull the negative (ground) cable first. That one step prevents most accidental shorts.
Start Here: Resting Voltage and What It Rules Out
Before you blame the cables, confirm the battery. A weak battery mimics bad-cable symptoms, and you don't want to chase the wrong part. Put the meter on the two battery posts with everything off.
| Resting voltage | What it tells you |
|---|---|
| 12.6V or higher | Fully charged, healthy battery |
| 12.4V | Around 75% charged |
| 12.2V | Roughly half charged, worth charging |
| 12.0V or lower | Discharged or failing, charge and retest |
If the battery reads low, charge it, then come back. Running a cable test on a flat battery gives you junk numbers. For the full walkthrough on reading these levels, our guide on confirming your battery's state of charge breaks each one down.
Once the battery reads 12.6V and holds, the cables take center stage. A charged battery that still cranks slow points straight at the connections between the battery and the starter. To rule the battery out under load, a proper battery health check covers the cranking side of that test.
So the logic is simple. Good resting voltage plus a slow crank equals a cable problem until proven otherwise. That's the branch we chase next.
The Voltage Drop Test, Step by Step
This is the test that settles it. You're measuring how much voltage disappears across a cable while the starter pulls its full load. Keep the battery connected and the meter on DC volts.
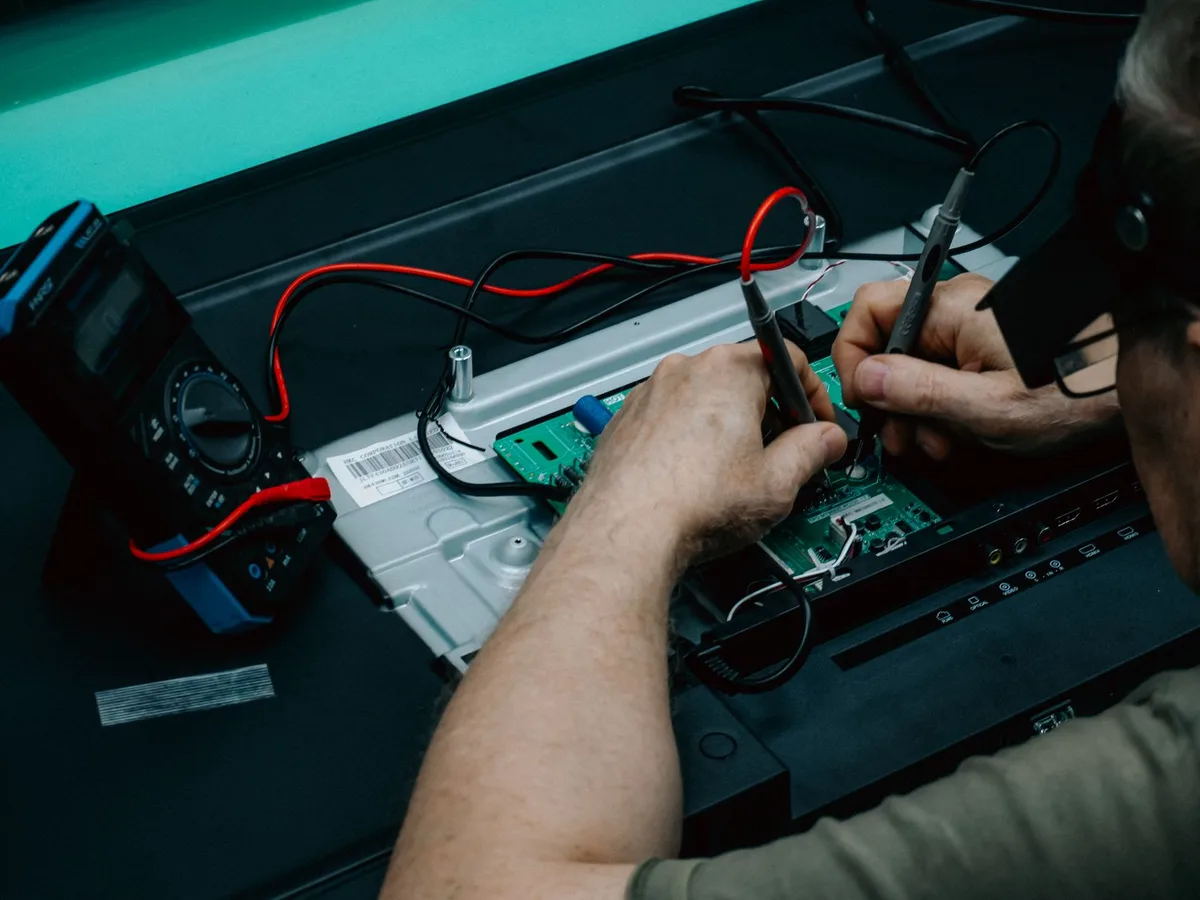
First, stop the engine from actually starting so you can crank freely. On most gas engines, pull the fuel pump fuse or the ignition fuse. On diesels, disable the injectors or fuel solenoid per the service manual.
Testing the Positive Cable Under Crank
Put the red probe on the battery's positive post. Put the black probe on the far end of the positive cable, right where it bolts to the starter.
Have your helper crank for a few seconds. Watch the meter while it spins. A good positive cable reads under 0.2 volts during the crank.
If the number climbs past 0.5 volts, current is fighting through corrosion or a bad crimp. The bigger the reading, the worse the loss.
Testing the Negative and Ground Cables
The ground side fails just as often, and people forget it. Move the red probe to the negative battery post and the black probe to a clean spot on the engine block. Crank again and read.
Under 0.2 volts is healthy here too. Also test the engine-to-chassis ground strap the same way. A rusty ground strap is a classic slow-crank cause that a battery test never catches.
Reading the Numbers: 0.2V, 0.5V, and the Fail Line
Here's the cheat sheet for every reading you'll see.
| Voltage drop | Verdict | Action |
|---|---|---|
| Under 0.2V | Healthy | Leave it alone |
| 0.2V to 0.5V | Marginal | Clean and retest |
| Over 0.5V | Failed | Re-terminate or replace |
Test one cable and one connection at a time. If a whole cable reads high, break it into segments. Probe post-to-clamp, then clamp-to-far-end, to find exactly where the drop lives.
When to Use a Resistance or Continuity Check Instead
Reach for ohms or continuity only when the cable is disconnected or you suspect a full break. With the cable off the vehicle, set the meter to ohms and probe end to end. A broken conductor reads OL (open loop) or infinite resistance.
Continuity mode is your quick triage. If the meter beeps, the cable isn't severed. If it stays silent, the copper inside is broken and the cable is scrap.
Just don't trust a low ohm reading as proof of health. A marginal cable and a perfect cable read nearly the same at rest. If the cable is on the car and cranking is the symptom, use voltage drop, not ohms.
Decision Branches: What Your Reading Tells You to Do Next
Your numbers point to a clear next move. Follow the branch that matches what you saw.
- Battery under 12.4V, slow crank: Charge the battery first. Retest everything once it holds 12.6V.
- Battery good, positive drop over 0.5V: Clean the positive terminal and starter connection. Retest. Still high means replace the cable.
- Battery good, negative or ground drop over 0.5V: Clean the ground strap and its mounting bolt. Bare metal to bare metal. Retest.
- All drops under 0.2V, still slow crank: Cables are fine. Look at the starter motor or the battery under load.
- Continuity fails, no beep: The cable is broken internally. Replace it.
Notice the pattern. Bad cables get cleaned or replaced. Good cables send you deeper into the circuit.
That's how you avoid throwing parts at a problem.
Voltage Drop vs. Resistance vs. a Dedicated Load Tester
Each method has a job. Picking the right one saves you time and false alarms.
| Method | Best for | Weakness |
|---|---|---|
| Voltage drop test | Finding weak cables under real load | Needs cranking or a load applied |
| Resistance (ohms) | Confirming a fully broken cable | Blind to marginal cables |
| Dedicated load tester | Testing the battery's amp capacity | Tests the battery, not the cables |
Who should use what? For a slow-crank chase, voltage drop wins every time. It's the only one that stresses the cable the way the starter does.
A carbon pile or electronic load tester is a battery tool, not a cable tool. It confirms whether the battery can deliver its rated cranking amps. Use it after your cables pass, not before.
A clamp meter is a nice bonus if you also want to measure actual current draw or hunt a parasitic drain.
Mistakes That Give You a False Pass
The most common error is testing without a load. A resting cable hides its faults, so a static ohm check often waves a bad cable through. Always load the circuit by cranking or switching on a heavy draw.
Second big miss: forgetting the ground side. Ground and strap faults get overlooked constantly. Test negatives with the same care as positives.
Watch these other traps too:
- Probing insulation, not metal. Push the probe tip onto bare terminal or lug, never through plastic.
- Dirty probe contact. Corrosion under the tip adds false voltage. Scratch to clean metal first.
- Not nulling the leads. Skip the touch-tips baseline and your ohm readings drift high.
- Testing a low battery. Weak voltage fakes cable symptoms. Charge to 12.6V first.
- Reading AC instead of DC. Wrong dial setting gives nonsense numbers.
One more trap on cheap meters. Slow auto-ranging models can lag during a two-second crank. If your reading never settles, crank a beat longer or use a meter with a fast update rate.
Corroded, Crimped, or Cooked: Spotting the Real Cable Fault
Once your numbers flag a bad cable, find out why it failed. The three usual killers are corrosion, a bad crimp, and heat damage. Each looks different up close.
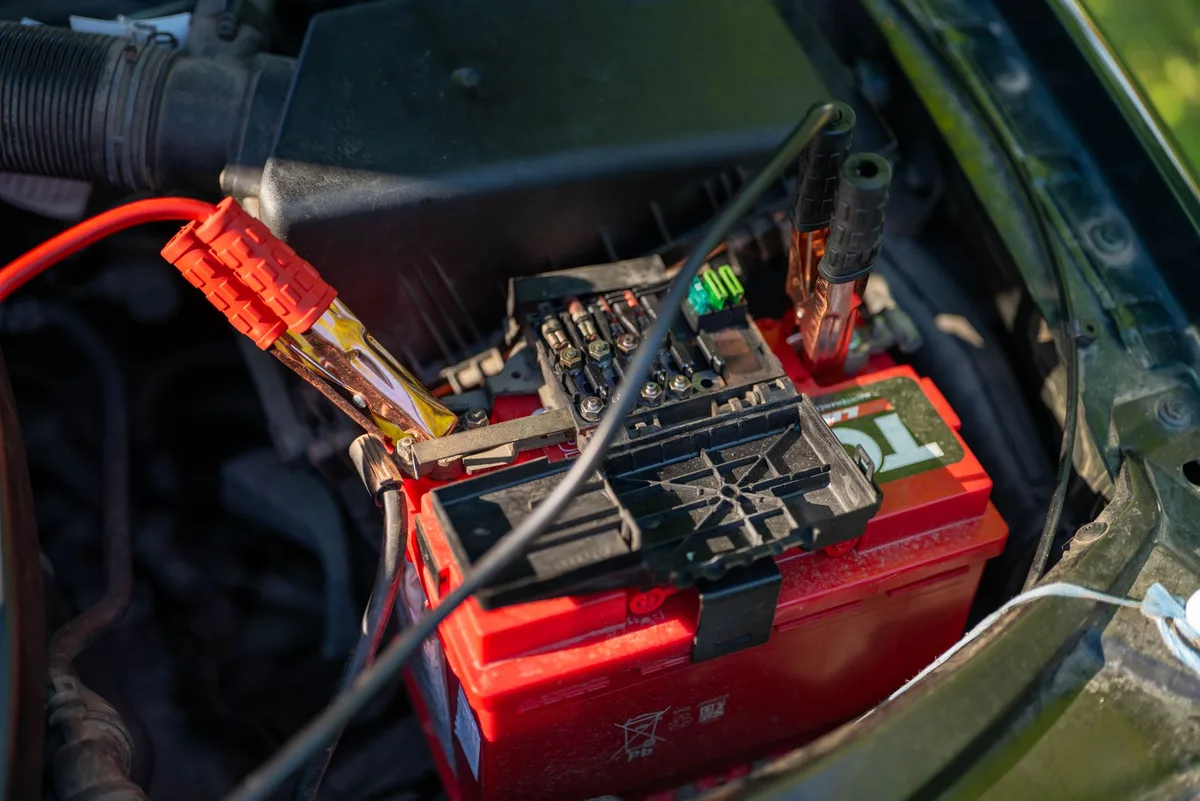
Corrosion shows as green, white, or blue powder around the terminal. It creeps under the insulation too, turning bright copper a dull green. That hidden corrosion is why a clean-looking cable still fails a drop test.
A bad crimp is subtle. The lug feels loose or the cable pulls out with light tugging. Cut a suspect end open and you'll often find dark, oxidized strands instead of shiny copper.
Cooked cables come from a past high-resistance connection. Look for melted or discolored insulation and stiff, brittle wire. Heat-damaged copper never recovers, so that cable gets replaced, not cleaned.
Pro Tips for Faster, More Accurate Cable Diagnosis
A few small habits sharpen your results. These are the moves seasoned techs lean on.
- Wiggle-test while cranking. Have a helper flex each cable during the crank. A jumping reading points to an intermittent break.
- Feel for heat. After a failed start attempt, carefully touch each connection. A hot terminal is a high-resistance connection wasting energy.
- Test both ends of every cable. Faults hide at the clamp, the lug, or mid-run. Segment testing pins the spot.
- Log your baseline. Note a healthy cable's drop when the car runs well. Future comparisons get easy.
If two cables share a ground point, clean that shared bolt first. A single dirty ground can throw off readings on several circuits at once.
Cleaning, Re-Terminating, and Re-Testing to Confirm the Fix
A repair isn't done until the retest passes. Clean, reconnect, then measure again to prove the drop is gone. Skip that step and you're just guessing.
Follow this quick flow:
- Disconnect the negative cable first for safety.
- Scrub terminals and clamps to bright metal with a wire brush.
- Replace any damaged lug with a proper crimp or solder.
- Reconnect snugly, negative last, and apply dielectric grease to block new corrosion.
- Run the voltage drop test again while cranking.
Your target stays the same. Under 0.2 volts across each connection means the fix held. Still over 0.5 volts after cleaning?
The cable itself is done. Replace it with the correct gauge, matching the original 4 AWG, 2 AWG, or 1/0 AWG size.
Dielectric grease and a light anti-corrosion spray add years to a fresh connection. It's cheap insurance against the same slow crank next winter.
FAQs on Testing Battery Cables With a Multimeter
What multimeter setting do I use for battery cables?
Use the DC voltage setting for a voltage drop test, on the 20V range if your meter isn't auto-ranging. That's the reliable check on a live cable. Switch to ohms or continuity only when the cable is disconnected and you suspect it's fully broken.
Can a battery cable be bad even if it looks fine?
Yes, and this trips up a lot of people. Corrosion spreads under the insulation where you can't see it. The copper turns green and resistance climbs, even though the outside looks perfect.
Only a voltage drop test under load reveals that hidden fault.
What voltage drop means a battery cable is bad?
A drop over 0.5 volts across a single cable or connection means it's bad. Anything under 0.2 volts is healthy. Readings between the two are marginal, so clean the connection and test again before replacing anything.
Do I test battery cables with the engine running or off?
You test with the engine cranking, not idling. The starter's huge current load is what exposes a weak cable. Disable the ignition or fuel first so it cranks without starting, then read the meter during the crank.
Should I test the ground cable too?
Absolutely. The negative and ground cables fail as often as the positive, yet get skipped constantly. Test the battery-to-body ground and the engine-to-chassis strap the same way.
A corroded ground strap is a top cause of slow cranking.
Your Cable Test Decision Guide at a Glance
Keep this simple loop in mind and you'll diagnose cables fast every time. Start with the battery, then load-test the cables, then act on the number.
- Step 1: Confirm resting voltage at 12.6V. Low? Charge and retest.
- Step 2: Run a voltage drop test on each cable while cranking.
- Step 3: Under 0.2V is good. Over 0.5V is bad. In between, clean and recheck.
- Step 4: Clean or re-terminate the failed connection, then retest to confirm.
- Step 5: All cables pass but still slow? Move on to the starter or a load test on the battery.
The whole job takes about 15 minutes with a helper. That's a small price to skip a wrong part and a shop bill. Trust the load, read the number, and let the cable tell you the truth.

Similar Posts





















