How to Test a Starter Relay: Step-by-Step Guide That Works
A no-start morning almost always comes down to one of four things: the battery, the cables, the starter, or the relay that ties them together. Knowing how to test a starter relay is the fastest way to pin the fault before you throw parts at it. A replacement relay runs $10 to $45.
A starter motor can hit $200 or more.
Manufacturer specs for a standard ISO 4-pin relay put coil resistance around 50 to 120 ohms, with voltage drop across the energized contacts under 0.2 volts. Those two numbers are the fingerprints of a healthy relay as of 2026. Miss either, and the relay is done.
Let's start with the fastest confirmation, then walk through the full diagnostic tree.
Quick Answer
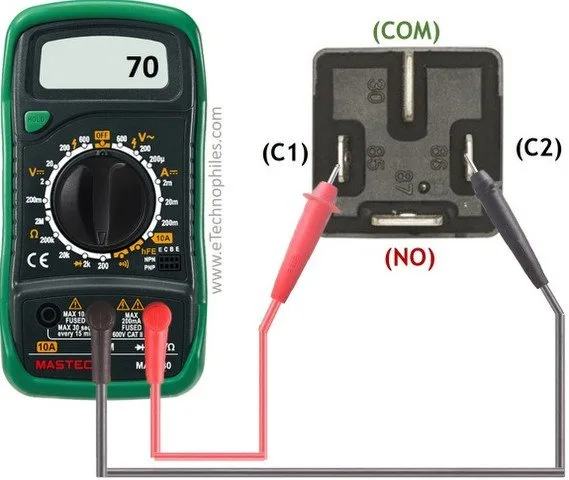
Set a digital multimeter to DC volts. Confirm battery voltage reads 12.4V or higher at rest. With the key held in start, check 12V at trigger terminal 86.
Verify a solid ground at terminal 85. Measure coil resistance between 85 and 86 (should land inside 50 to 120 ohms). Energize the coil off a 12V source.
Contacts 30 and 87 should read near 0 ohms and click audibly.
Why a Starter Relay Fails (and Why the Symptom Fools You)
A starter relay lives a rough life. Every crank slams high current across a small pair of contacts. Over thousands of cycles those contacts pit, burn, and eventually weld or open up.
Heat under the hood, road salt, and moisture finish the job.
Here's the trap. A dying relay often clicks. That click sounds healthy, so you swap the starter, only to end up with the same no-start.
The click just means the coil is pulling the plunger in. It says nothing about whether the contacts pass current to the starter motor.
Aggregate reviews from independent shops report the four most common failure modes:
- Burned or pitted contacts that click but drop most of the voltage before it reaches the starter
- Open coil from a snapped internal winding, giving zero click at all
- Corroded terminals at the 30 or 87 stud, mimicking a bad relay
- Weak ground at terminal 85, starving the coil of the current it needs to pull in
None of those show up on a static continuity test. That's why testing under load matters, and why we run the full sequence below instead of swapping parts blind.
What a Starter Relay Actually Does in the Cranking Circuit
The relay is a remote control switch. Your ignition key can't safely carry the 150 to 250 amps a starter motor draws. So the key sends a small trigger signal (a few amps at most) to the relay's coil.
The coil pulls a set of heavy contacts closed, and those contacts feed battery voltage straight to the starter.
Think of the relay as a middleman. Small signal in, big current out. On a 4-pin ISO relay you'll see four terminals:
- 30: battery positive input (constant hot)
- 87: output to the starter solenoid trigger wire
- 86: coil trigger from the ignition switch
- 85: coil ground
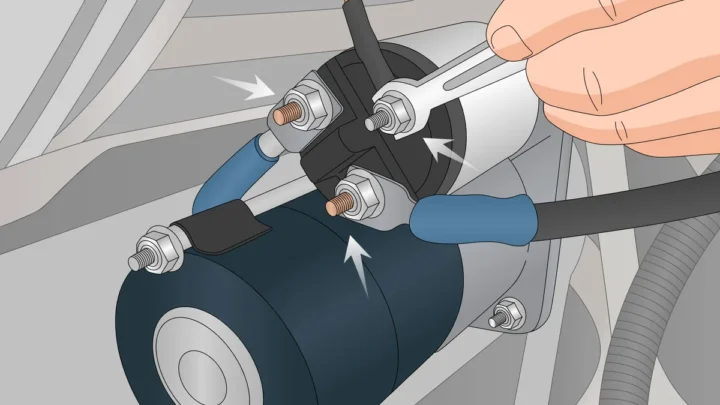
Some vehicles use a 5-pin version with an extra terminal (87a) that's normally closed. On classic Fords, the fender-mounted "starter relay" is really a heavy solenoid that carries the full starter current itself. GM buried the solenoid on top of the starter and used a smaller signal relay in the fuse box.
The test method changes with the layout.
If you want a refresher on the wider charging and starting system, our breakdown of the alternator's role in powering the car explains where the relay fits in.
Tools You Need Before You Touch Anything
You don't need a shop's worth of gear. Five items cover 95% of starter relay diagnostics.
| Tool | Purpose | Rough Cost (2026) |
|---|---|---|
| Digital multimeter (auto-ranging) | Voltage, resistance, continuity | $20 to $60 |
| Test light with alligator clip | Quick 12V presence check | $8 to $15 |
| Fused jumper wire, 10 to 14 AWG | Bench energize and bypass tests | $10 |
| 8mm and 10mm sockets or wrenches | Remove most relay hold-downs | Already in your kit |
| Wire brush or terminal cleaner | Clean corroded studs | $5 |
A basic auto-ranging meter is the workhorse. If you're not sure which mode to use for battery and coil checks, our guide to picking the right meter mode for 12V work walks through it in plain language.
A few extras that speed things up: safety glasses (mandatory near any battery), nitrile gloves for greasy relay boxes, a phone flashlight, and a cardboard sheet to lay parts on.
One warning before you dig in. Never use an unfused jumper on a starter circuit. A slip on the wrong terminal shorts battery positive to ground, and 500-plus amps of unfused current will weld your jumper to the chassis and cook the harness.
Read the Symptom First: Click, No Click, or Chatter
The sound your car makes when you turn the key is the biggest diagnostic clue you'll get. Before touching a meter, listen. The symptom tells you which branch to follow.
Single Click, No Crank
You turn the key, hear one distinct clunk, and nothing else happens. That single click usually comes from the starter solenoid or the relay itself trying to pull in but failing to pass enough current. Prime suspects: burned relay contacts, weak battery, or a bad cable connection.
Test battery voltage first. A resting reading under 12.4V or a crank-test drop below 9.6V puts the battery ahead of the relay on your suspect list. Our walkthrough on checking resting and cranking voltage covers the exact probe placement.
Rapid Clicking
A machine-gun chatter almost always means the coil is trying to pull in, dropping out from voltage sag, then pulling in again. That's a low-voltage symptom, not usually a bad relay. Check the battery, the ground straps, and the positive cable end at the starter.
If the battery is strong, a chattering relay can also point to a corroded terminal 85 ground on the relay socket. Clean it and retest.
Silent Key-On, Nothing at All
No click, no dash lights dimming, no starter engagement. Either the relay isn't getting a trigger signal (bad ignition switch, blown starter fuse, or an open neutral safety switch), or the coil inside the relay is open.
Check for 12V at terminal 86 while a helper holds the key in start. If you see voltage there but the relay stays silent, the coil is dead. No voltage means the fault is upstream.
Cranks Intermittently
The worst kind. Intermittent no-starts usually trace back to a relay with heat-sensitive contacts, a loose terminal 30 stud, or a marginal ground. Wiggle-test the wiring at the relay socket while a helper cranks.
If the behavior changes, you've found your fault zone.
Before blaming the relay, confirm the battery holds voltage under load and rule out a weak charging system. Our guide on sorting a bad battery from a bad alternator helps split those two apart. For recall history on ignition and starter faults, the NHTSA vehicle safety database is worth a two-minute lookup before you spend hours chasing wires.
Find the Relay: Fuse Box, Fender, or Starter Body
Location matters, because the test procedure changes with the layout. On most modern cars and trucks (roughly 1995 to present), the starter relay lives inside the under-hood fuse and relay box. Pop the cover and check the lid diagram for a "STARTER," "ST," or "START RLY" label.
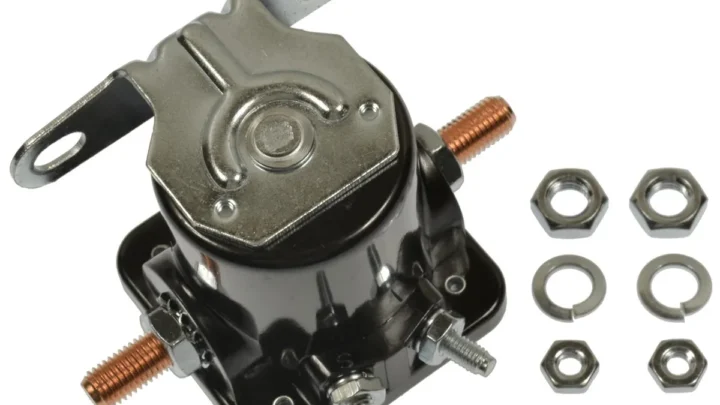
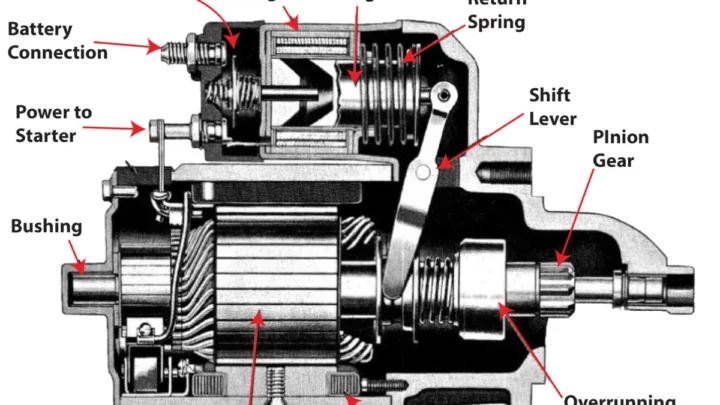
On classic and heavy-duty Ford applications, it's the shiny cylinder bolted to the inner fender, wired directly to the battery. GM V8s from the carburetor era through the mid-1990s often have no separate relay at all. The starter-mounted solenoid does the job of both switch and current pass-through.
- Modern passenger cars: under-hood fuse box, small ISO relay
- Classic Ford (1965 to 1991): fender-mounted heavy solenoid
- GM trucks and muscle cars: starter-mounted solenoid on the motor itself
- Motorcycles, ATVs, lawn tractors: under the seat, side cover, or near the battery box
If the lid diagram is missing or unreadable, the factory service manual has the exact location.
Decode the Pinout: 30, 85, 86, and 87
Every ISO relay uses the same numbering scheme, and once you know it, you never guess again. The numbers are stamped on the plastic housing next to each spade.
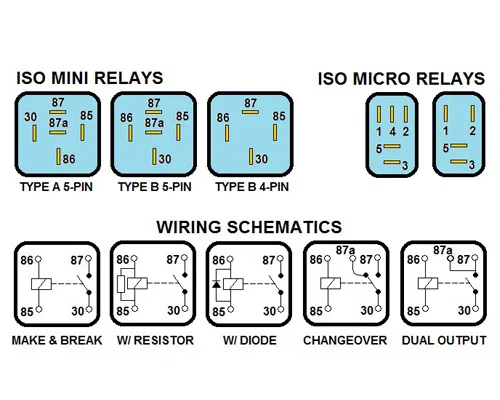
| Terminal | Function | Wire Size (typical) |
|---|---|---|
| 30 | Battery positive input | 10 to 12 AWG |
| 87 | Switched output to starter | 10 to 12 AWG |
| 85 | Coil ground | 18 to 20 AWG |
| 86 | Coil trigger (from ignition) | 18 to 20 AWG |
On a 5-pin relay, terminal 87a is a normally closed contact that opens when the coil energizes. Starter circuits rarely use 87a, so ignore it for this test. If the housing shows a small schematic on top, you'll see the coil drawn between 85 and 86 and a switch drawn between 30 and 87.
That drawing is your cheat sheet.
Step-by-Step: Testing a Starter Relay In-Vehicle
Work through these checks in order. Skipping ahead is how good relays get replaced by mistake.
Check Battery Voltage First
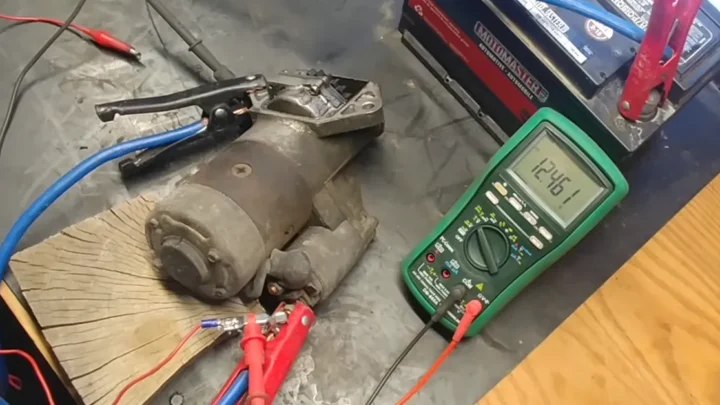
Set your multimeter to DC volts. Touch the red probe to the positive post, black to negative. A rested battery should read 12.6V.
Anything below 12.4V, charge it and retest. If you're unsure about probe placement, our quick reference on where to clip your leads for a clean reading covers it.
Verify the Trigger Signal at Terminal 86
Pull the relay from its socket. Back-probe or use a test light on the socket's terminal 86 cavity. Have a helper turn the key to start.
You should see 12V briefly. No voltage means the fault is upstream: ignition switch, starter fuse, or neutral safety switch.
Confirm the Ground at Terminal 85
With the meter still on DC volts, put the red probe on battery positive and the black probe on socket terminal 85. You want a reading within 0.2V of battery voltage. A big drop means a corroded ground path, and the relay never sees full coil current.
Voltage Drop Test Across 30 and 87 Under Load
Reinstall the relay. Set the meter to DC volts, red probe on terminal 30, black on terminal 87. Have a helper crank.
The reading should stay under 0.2V. Anything higher means burned contacts, even if the relay clicks perfectly.
Step-by-Step: Bench Testing a 4-Pin Relay
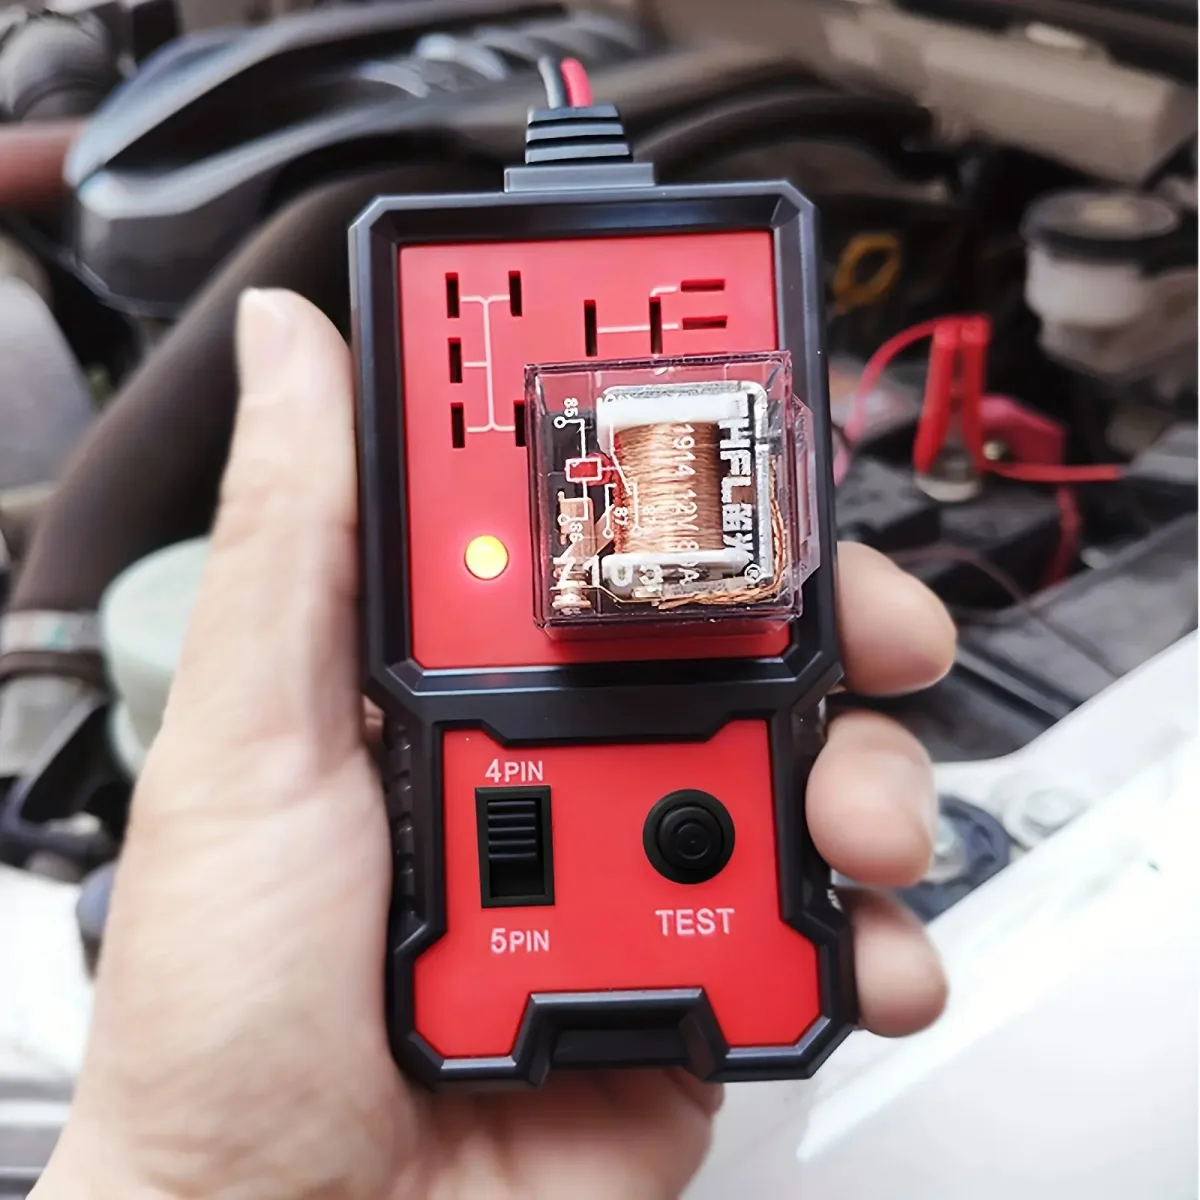
If the in-vehicle results are ambiguous, pull the relay out and test it on the bench. Bench tests remove wiring, socket, and ground variables from the equation.
Coil Resistance Check
Set the meter to ohms (200 range). Touch one probe to terminal 85, the other to 86. A healthy coil reads 50 to 120 ohms.
Zero ohms means a shorted coil. Infinite (OL) means an open coil. Either result condemns the relay.
Energize the Coil and Listen for the Click
Connect a fused jumper from a 12V source to terminal 86. Connect another jumper from terminal 85 to ground. You should hear and feel a sharp click.
No click after passing the resistance test points to a stuck plunger from corrosion or debris.

Similar Posts