How to Test a Starter With a Multimeter: Easy Guide
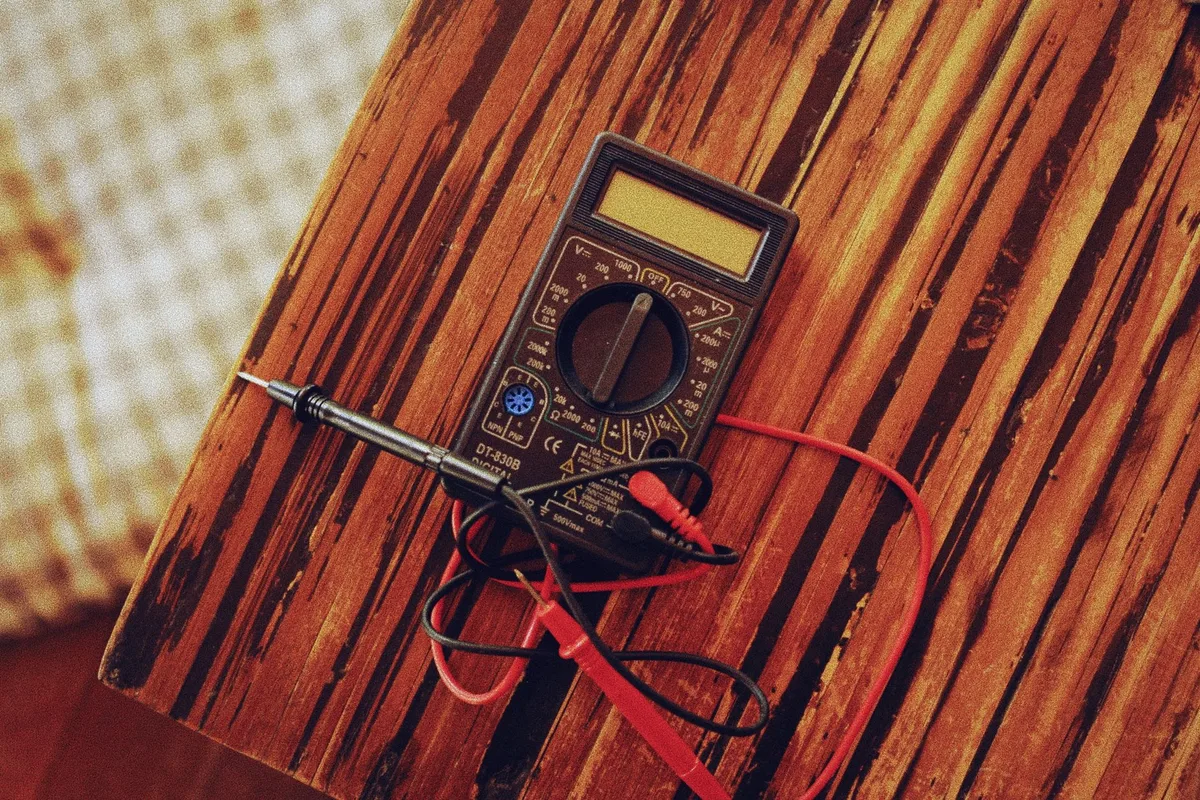
To test a starter with a multimeter, you don't need a shop full of gear. You need one meter, a charged battery, and a clear idea of where the probes go. That last part is where most people slip.
Set the leads on the wrong post and a perfectly good starter reads like a dead one.
Here's the thing: a multimeter measures volts, ohms, and continuity, and as of 2026 a basic model still costs less than a single starter. Manufacturer specs commonly list cranking draw at 150 to 250 amps, which your meter won't read without a clamp. But voltage and continuity tests catch the vast majority of no-start faults.
Let's start with what your meter can actually tell you.
Quick Answer
Testing a starter with a multimeter takes three checks. Set the meter to DC volts, 20V range. Confirm the battery reads 12.6V at rest.
Check for battery voltage at the S terminal while a helper cranks. Then run a voltage-drop test on the cables during cranking. A drop above 0.5V points to bad connections, not the starter.
What a Multimeter Actually Tells You About Your Starter
A multimeter reads three things that matter here: voltage, resistance, and continuity. Each one answers a different question about your starting system.
Voltage tells you whether power is reaching the right spot. Resistance and continuity tell you whether a circuit is complete or broken inside the solenoid. Together they separate a bad starter from a bad connection.
What your meter can't do is measure the big cranking current. That job needs an inductive amp clamp, since starters pull 150 to 250 amps under load. Most home diagnoses never need that number.
Voltage-drop testing gets you the same answer for free.
Here's what each mode is good for:
- DC voltage (20V range): confirms battery health, checks the signal at the S terminal, and runs voltage-drop tests while cranking.
- Continuity (beep mode): confirms the solenoid contacts close and the circuit isn't open internally.
- Resistance (ohms): measures coil windings on the bench when you want a hard number.
If you've already worked through a proper battery voltage check, you're halfway there. The same meter and the same DC volts setting carry straight over to the starter.
The 3 Terminals That Trip People Up: B+, S, and M
Most bad diagnoses start at the wrong terminal. A starter has three connection points, and they do very different jobs. Get them straight and the rest of the test is easy.
How to Spot Each Terminal on Your Starter
- B+ terminal (battery): the big stud with the thick red cable running straight from the battery positive. It's always hot.
- S terminal (signal): the smaller spade or stud fed by a thin wire from the ignition switch or starter relay. This is the trigger.
- M terminal (motor): the internal link between the solenoid and the motor windings. On many starters it's a short strap you won't touch during a basic test.
The S terminal is the one people miss. It only sees voltage for the split second you turn the key to crank. If no signal arrives there, the starter can be perfect and still do nothing.
Where the Red and Black Probes Go
Red is your positive probe. Black is ground. For most on-vehicle checks, black clamps to a clean spot on the engine block or the battery negative post.
Then red goes to whatever you're measuring: the B+ stud, the S terminal, or the far end of a cable. A labeled diagram of your specific starter helps here, since layouts differ between direct-drive and gear-reduction units.
Before You Touch a Probe: Battery and Setup Checklist
A weak battery fakes almost every starter symptom. So the battery gets checked first, every time. Skip this and you'll chase ghosts.
Run through this before any probe touches metal:
- Charge and confirm the battery. A healthy 12V battery reads 12.6V at rest and should hold above 9.6V while cranking.
- Clean the terminals. Corrosion adds resistance and throws off every reading.
- Set transmission to Park or Neutral. Set the parking brake too.
- Disable start if you're bench-triggering. Pull the fuel pump fuse or ignition feed so the engine can't fire.
- Grab a helper. Cranking tests need one person on the key and one on the meter.
If your battery won't hold 12.6V, stop and sort that first. A quick under-load battery test tells you whether the battery is dragging the whole system down. You can also confirm cranking capacity with a proper amp reading if you own a clamp.
One safety note worth repeating: a charging battery gives off hydrogen, and sparks near it are a real hazard. Battery-handling guidance from OSHA covers eye protection and spark risk, and it's worth a two-minute read before you start.
Reading the Signs: What Clicking, Cranking, and Silence Mean
The sound your car makes when you turn the key narrows the fault before you even lift the meter. Each pattern points somewhere specific.
Here's how the common symptoms line up:
| What you hear | Most likely cause | First thing to test |
|---|---|---|
| Single loud click, no crank | Voltage drop or dead solenoid | Voltage-drop on cables, then S terminal |
| Rapid clicking | Low battery or bad connection | Battery voltage under crank |
| No click, no crank | Open circuit or no signal | S terminal for trigger voltage |
| Slow, lazy crank | Weak battery, high resistance, or worn starter | Ground path voltage-drop |
| Cranks fine when cold, dies hot | Heat-soak failure | Retest starter hot on the bench |
A single click with no crank fools people the most. It feels like a dead starter, but it's usually voltage lost across corroded cables or a tired battery. That's exactly what the voltage-drop test catches.
Rapid clicking almost never means the starter itself. It means the solenoid keeps trying to pull in but the voltage sags too low to hold. Chase the battery and connections first, and you'll save yourself a needless starter swap.
Step-by-Step: The Voltage-Drop Test While Cranking
This is the test that catches most "bad starter" no-starts. It measures voltage lost across your cables while the starter pulls full load. Clean cables barely drop any voltage.
Corroded ones bleed it away.
Set your meter to DC volts, 20V range. You're reading the difference between two points while a helper cranks. Anything above the limits below means resistance is stealing power the starter needs.
Testing the Positive Cable Path
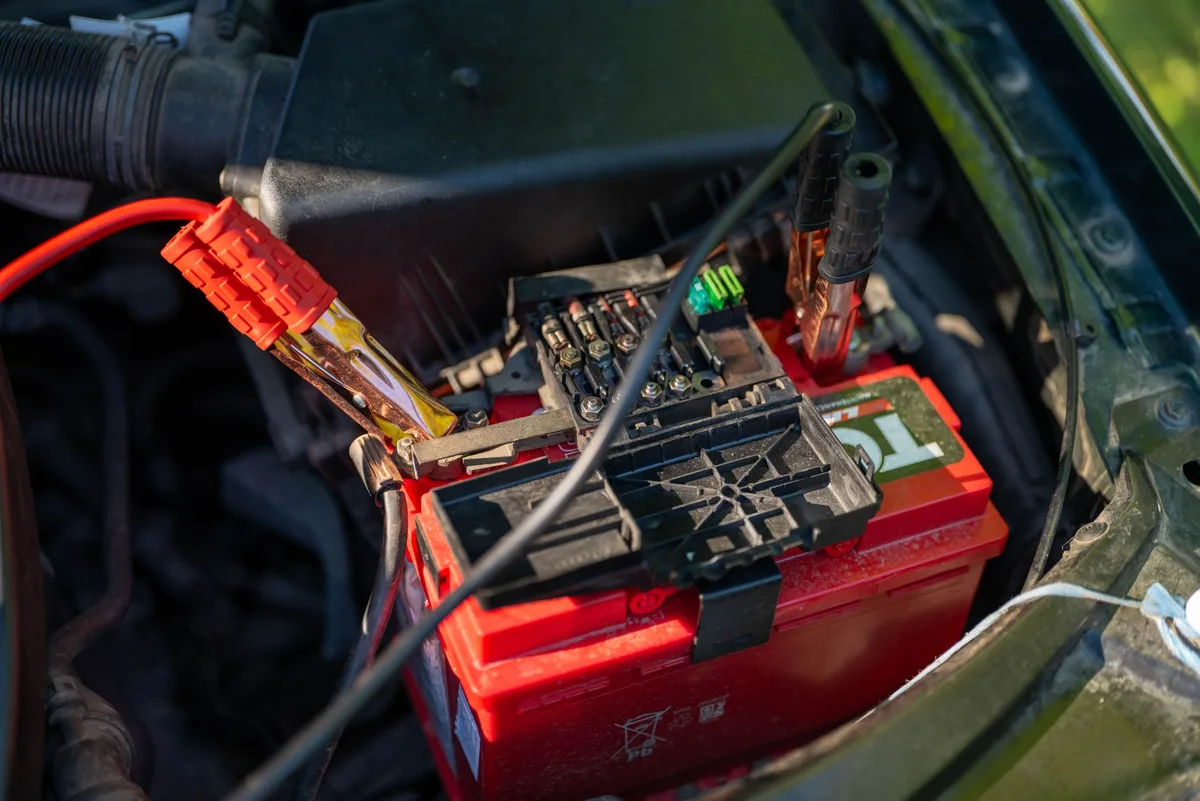
Put the red probe on the battery positive post. Put the black probe on the starter B+ stud. Have your helper hold the key in crank for a second or two and watch the number.
A healthy positive path reads 0.5V or less. See more than that and the cable, a terminal, or the relay contact is corroded. Clean the connections and retest before you condemn anything.
Testing the Ground Path
Now flip it. Red probe on the starter case or engine block, black probe on the battery negative post. Crank again and read.
The ground path should show 0.2V or less. A high ground drop is a sneaky one, since it causes slow, lazy cranking that mimics a dying starter. A bad engine-to-body ground strap is a frequent culprit here.
Step-by-Step: Bench-Testing a Starter Off the Vehicle
Bench testing confirms the starter itself when the cables check out clean. You pull the unit and power it directly, cutting the vehicle wiring out of the picture. If it spins strong on the bench but not in the car, your fault is upstream.
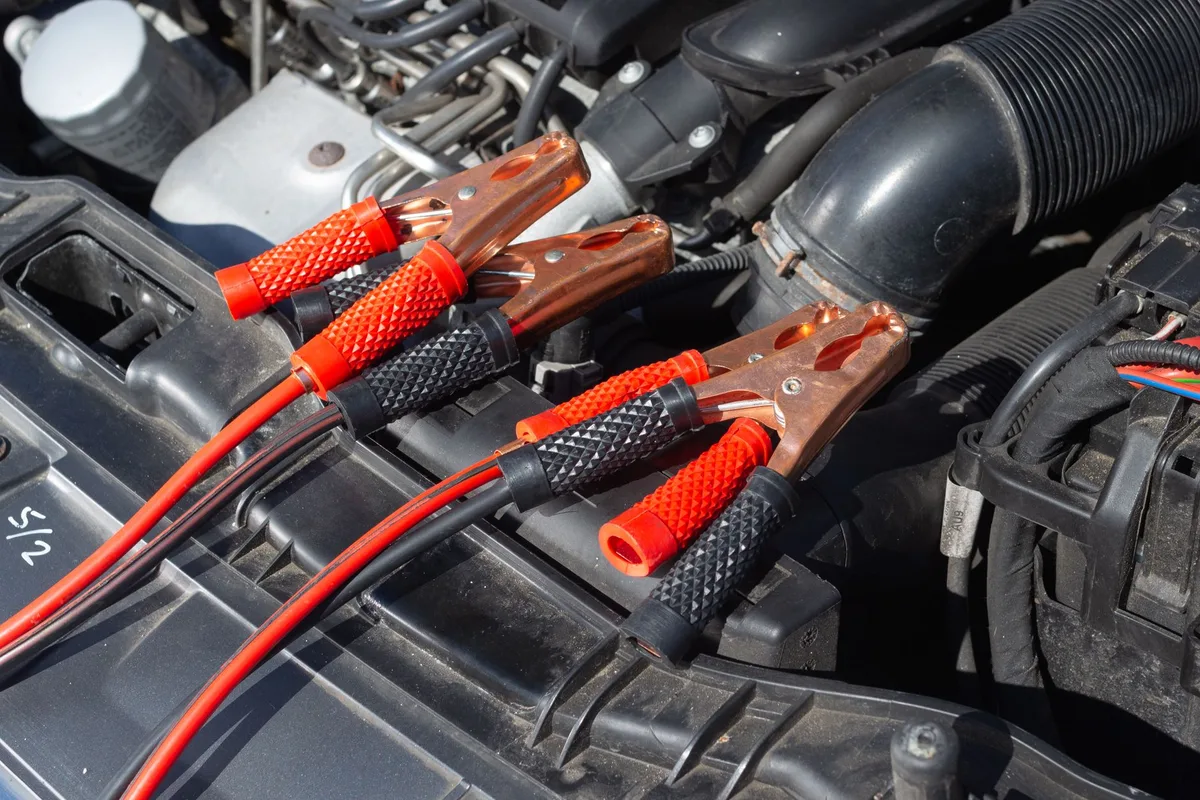
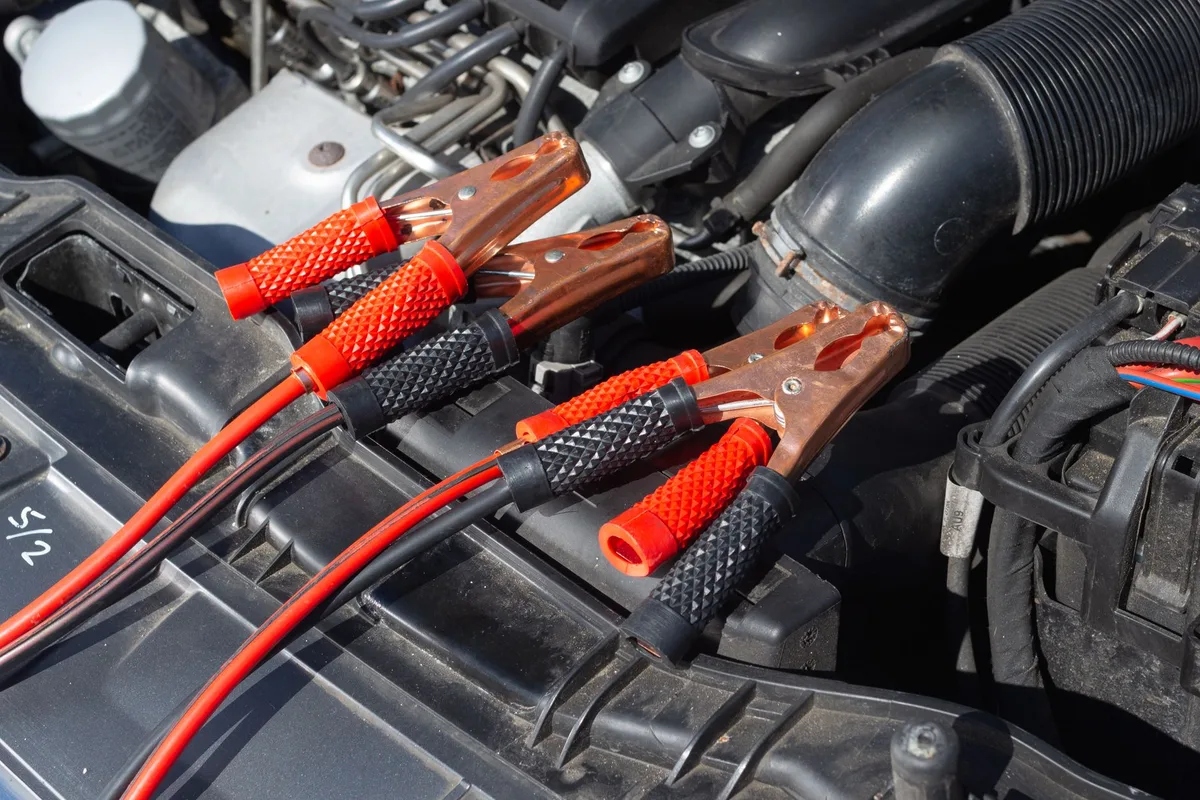
Clamp the starter firmly in a vise or brace it against the floor. These units kick hard when they fire, so a loose starter is a real hazard. Keep hands and cables clear of the drive gear.
Here's the sequence:
- Run a jumper cable from the battery negative to the starter body (ground).
- Run a jumper from battery positive to the B+ stud.
- Briefly jump the S terminal to B+ to trigger it.
A good starter spins fast and throws the pinion gear out with a solid snap. A slow spin, no spin, or heavy sparking means the unit is done. Watch it hot too, since a starter that passes cold can still fail on heat-soak.
Checking the Solenoid With a Continuity Test
The solenoid is the switch that sends battery power to the motor. A continuity test tells you whether its contacts actually close. This one runs with the starter off the car and the battery disconnected.
Set your meter to continuity, the mode with the audible beep. Place one probe on the B+ stud and one on the M terminal. With no signal applied, you should read an open circuit, no beep.
Now trigger the solenoid by jumping the S terminal to B+. The contacts should snap closed and the meter should beep or show near-zero ohms. No beep under trigger means the solenoid contacts are burned or stuck.
That's a common failure on a starter that clicks but won't crank.
Voltage-Drop Test vs. Bench Test: When to Use Each
Reach for the voltage-drop test first, always. It's faster, needs no disassembly, and catches the connection faults that cause most no-starts. The bench test is your second move, used only after the cables come back clean.
| Factor | Voltage-drop test | Bench test |
|---|---|---|
| Starter stays on car? | Yes | No, must remove |
| Best for | Cable and connection faults | Confirming the starter itself |
| Time needed | 5 to 10 minutes | 30 to 60 minutes |
| Tools | Multimeter, helper | Multimeter, jumper cables, vise |
| Answers | Is power reaching the starter? | Does the starter actually work? |
Think of it as a decision path. If the voltage-drop numbers are high, fix the connections and you're likely done. If they're clean but the car still won't crank, pull the starter and bench-test it.
That order saves you from yanking a good starter off the car for nothing.
Multimeter, Test Light, or Amp Clamp: Picking the Right Tool
A multimeter is the right tool for nearly every home starter test. It reads exact voltage, so it catches a 0.4V drop a test light would never show. For diagnosing starting circuits, precision beats a simple on-off signal.
A test light only tells you power is present, not how much. It's fine for a quick "is the S terminal getting a signal?" check. But it can't measure the small voltage drops that reveal a marginal cable.
An amp clamp is the specialist tool. It reads actual cranking current without breaking the circuit, so you can confirm a starter pulling a healthy 150 to 250 amps. Most DIYers don't own one, and the voltage-drop method answers the same question indirectly.
If you already lean on your meter for checking battery health, it handles the starter just as well.
Your Reading Reference Table: Good, Marginal, and Bad Numbers
Keep this table handy while you probe. It turns each reading into a clear pass, watch, or fail. All voltage checks assume the 20V DC range on your meter.
| Test point | Good | Marginal | Bad |
|---|---|---|---|
| Battery at rest | 12.6V | 12.2 to 12.4V | Below 12.0V |
| Battery while cranking | 10.0V+ | 9.6 to 10.0V | Below 9.6V |
| Positive cable drop | 0.2V or less | 0.3 to 0.5V | Above 0.5V |
| Ground path drop | 0.1V or less | 0.1 to 0.2V | Above 0.2V |
| S terminal signal | Near 12V | 10 to 11V | No reading |
| Solenoid continuity (triggered) | Beep, near 0Ω | Weak beep | No beep |
A marginal reading isn't nothing. It's an early warning. A cable sitting at 0.4V today often climbs past 0.5V once corrosion spreads, so clean it now.
Common Testing Mistakes That Fake a "Bad Starter"
Most wrong diagnoses come from a handful of repeat errors. Knowing them saves you a wasted starter and an afternoon.
- Testing with a weak battery. A battery below 12.6V drags every reading down and mimics a dead starter.
- Probing the wrong terminal. Reading the M terminal instead of B+ throws the whole test off.
- Skipping the load. Static readings look fine, then fail the moment the starter draws current. Always test while cranking.
- Ignoring the ground path. People check the positive cable and forget the ground, which causes just as many slow cranks.
- Dirty probe contact. Corrosion or grease under the probe tip adds false resistance to your reading.
The single click, no crank symptom fools people most often. It reads like a dead starter but usually traces back to voltage drop at a connection. Run the cable test before you condemn the unit.
Safety Steps Before You Crank or Jump a Solenoid
Starter testing puts you near high current, spinning gears, and battery gas. A few habits keep it uneventful. None of them slow you down.
- Wear eye protection near the battery and any sparking connection.
- Disconnect the negative battery terminal before you remove the starter.
- Disable fuel or ignition so the engine can't fire during a bench trigger.
- Brace the starter hard on the bench, since it jerks with real torque when it fires.
- Keep loose sleeves, rings, and tools away from the drive gear and belts.
Never bridge terminals with a wrench near the fuel lines. A dropped tool across live posts throws a heavy spark, and that spark near hydrogen off a charging battery is the real danger. Slow down for that one step.
Pro Tips for Heat-Soak and Cold-Weather No-Starts
Temperature exposes weak starters that pass every test cold. These two patterns trip up a lot of people.
Heat-soak failure shows up after the engine warms. The starter cranks fine cold, then just clicks once the bay heats up. Internal resistance rises with heat, so retest the unit hot on the bench to catch it.
A starter that spins strong cold and slows when hot is telling you it's on the way out.
Cold weather does the opposite. It thickens oil and cuts battery output, so a marginal starter that scraped by in summer struggles in winter. Aggregate user feedback shows many "sudden" winter failures were really slow-cranking units all along.
If your cranking voltage sits near 9.6V, cold mornings will find that weakness fast.
When It's Worth Replacing vs. Testing Again
Replace the starter when it fails the bench test with clean cables. If it spins slow, sparks heavily, or won't throw the pinion, more testing won't save it. That's a worn unit, and no amount of cleaning brings it back.
Retest instead of replacing when your numbers are marginal or your connections are dirty. A high cable drop, a loose ground strap, or a battery under 12.6V all deserve a second pass after cleanup. Fix the cheap stuff first, then retest.
One rule keeps you honest: never swap parts to diagnose. If the voltage-drop and bench tests both point at the starter, replace it with confidence. If they don't, keep testing until the meter tells you where the fault really lives.
Frequently Asked Questions
Can I test a starter without removing it?
Yes. The voltage-drop test runs entirely on the vehicle while a helper cranks. You only need to pull the starter for a bench test, and that's your second step.
Check the cables and S terminal signal in place first.
What multimeter setting do I use?
Use DC volts on the 20V range for battery, cable, and S terminal checks. Switch to continuity, the beep mode, for testing the solenoid contacts off the car. You won't need the ohms scale for a basic starting-system diagnosis.
Why does my starter click but not crank?
A single click usually means voltage is dropping across a bad connection, not a dead starter. Run the positive and ground voltage-drop tests first. If those read clean and the battery holds 12.6V, then suspect burned solenoid contacts.
Do I need an amp clamp to test a starter?
No. An amp clamp reads exact cranking current, but the voltage-drop method answers the same question without one. Most home diagnoses never measure amps directly.
A standard multimeter and a helper cover nearly every no-start you'll meet.
How do I know if it's the starter or the battery?
Check the battery first. It should read 12.6V at rest and hold above 9.6V while cranking. If the battery passes but the starter won't spin with clean cables, the starter is your culprit.

Similar Posts





















