How to Do a Voltage Drop Test With a Multimeter

A voltage drop test finds the hidden resistance that's quietly choking your circuit. Learning how to do a voltage drop test with a multimeter is the fastest way to catch a corroded ground, a loose terminal, or a tired cable before it leaves you stranded. It beats an ohm reading because it checks the circuit while power actually flows through it.
The trick is simple once you see it. You measure the tiny voltage lost across a connection while current is moving. As of 2026, most technicians still follow the same rule: a healthy full circuit should drop less than 0.5 volts total, and a single clean connection should stay near 0.1 volts.
Let's start with what that number really tells you.
Quick Answer
Set your multimeter to DC volts. Turn the circuit on so current flows. Touch the red probe to one end of the connection.
Touch the black probe to the other end. The reading is your voltage drop. Under 0.1 volts per connection is good.
Over 0.3 volts means a bad joint.
What a Voltage Drop Test Actually Tells You
A voltage drop test measures the voltage lost across a wire, terminal, or connection while the circuit is working. That lost voltage points straight to unwanted resistance.
Here's the logic. In a healthy circuit, almost all the battery's voltage reaches the component that needs it. When a connection corrodes or loosens, it fights the current.
That fight burns off voltage as heat, and your meter reads it as a drop.
Think of it like a kinked garden hose. The pressure at the tap is fine. But the kink steals pressure before it reaches the nozzle.
A bad connection does the same thing to your electricity.
This is why the test is so useful for real problems:
- A starter that clicks but won't crank
- Dim or flickering headlights
- A charging system that seems weak for no reason
- Trailer lights that work sometimes and die other times
The reading doesn't just say something's wrong. It shows you exactly where the resistance lives. If you already know your battery is fine after you check the resting voltage, a drop test tells you whether the cables and grounds are letting that power through.
Why This Test Needs a Live Circuit and a Picture in Your Head
The biggest thing to understand is this: no current, no drop. The circuit has to be under load and working when you take the reading. Test a dead circuit and your meter reads zero, even if the connection is badly corroded.
That's the mistake that fools most beginners. Resistance only reveals itself when current tries to push through it. So the starter needs to crank.
The headlights need to be on. The load has to be pulling power.
You also need a mental picture of the circuit. This is a spatial test. You measure across one specific segment, from the source side of a connection to the load side.
Picture the path: battery positive, through the cables, into the component, then back through the ground to battery negative.
If you imagine that loop, probe placement makes sense instantly. You're not measuring the voltage at one point. You're measuring the difference between two points on either side of a suspect connection.
That difference is the drop.
Keep this rule in your head: your two probes must span the thing you're testing. One probe before it, one after it, current flowing between them.
The Tools: Multimeter, Probes, and Meter Settings That Matter
You don't need fancy gear. A basic digital multimeter (DMM) that reads DC volts down to the millivolt handles this job fine.

Here's what actually matters when you pick and set up your meter.
| Feature | What to Look For | Why It Matters |
|---|---|---|
| DC voltage range | Reads to 0.001V (millivolts) | Drops are tiny, often under 0.2V |
| Resolution | 3.5 digits or better | Lets you see small differences clearly |
| Probes | Sharp tips or piercing probes | Reach through grease and paint to bare metal |
| Leads | Long enough to span a cable | You'll test battery-to-starter distances |
| Auto-range | Helpful but optional | Manual 2V range gives finer readings |
A few practical notes on setup:
- Set the meter to DC volts, shown as V with a straight line and dashes (V⎓).
- If your meter is manual-range, pick the lowest range above 2 volts for the sharpest reading.
- Use sharp tips or back-probe pins to reach the actual metal. Painted or greasy surfaces give false readings.
- Check that your leads are fully seated in the COM and V jacks.
Alligator clips help a lot. They free up your hands so you can crank the engine or flip a switch while the probes stay put. A quality meter also carries a CAT safety rating built to the IEC 61010 standard, which you can read about through the International Electrotechnical Commission.
For 12V automotive work, almost any modern meter is safe.
Power Side vs. Ground Side: Where to Place Your Leads
Every circuit has two halves, and you test both. The power side carries current from the battery to the component. The ground side carries it back to the battery negative.
Bad grounds are sneaky. They cause weird, hard-to-trace faults far more often than most people expect. So don't just test the feed wire and stop.
Here's how to place your leads for each half.
Power side test:
- Red probe on the battery positive post
- Black probe on the component's power input
- Reading shows total drop across the whole feed path
Ground side test:
- Red probe on the component's ground point or case
- Black probe on the battery negative post
- Reading shows total drop across the whole return path
If the polarity looks backward and you get a negative number, don't panic. Swap the probes or read the value without the minus sign. The size of the number is what counts, not the sign.
Once you find a high drop on one side, narrow it down. Walk your probes along that side, connection by connection, until the drop shows up across one joint. That joint is your culprit.
This load-based thinking is what separates a drop test from a simple battery health check, which only tells you the battery's condition, not the wiring feeding off it.
How to Do a Voltage Drop Test, Step by Step
Follow these steps in order. Work slowly the first few times. The motion becomes second nature fast.
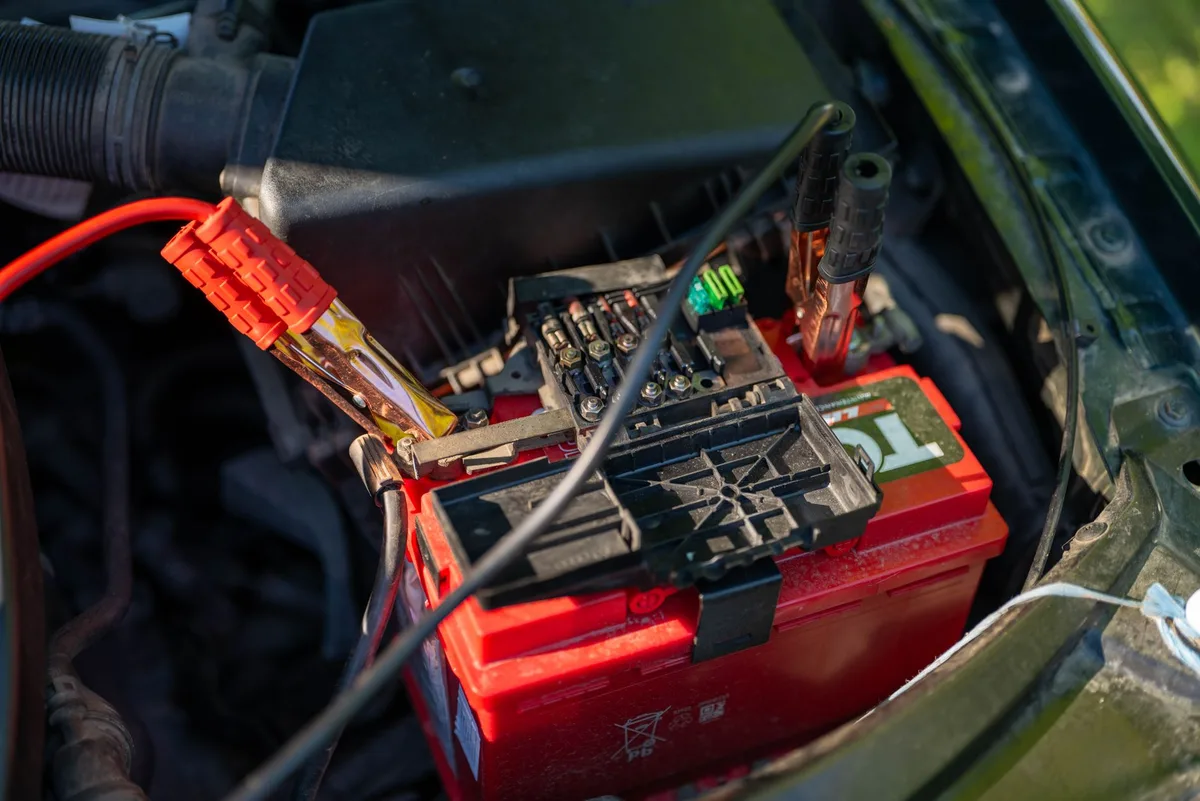
- Set your meter to DC volts, lowest range above 2V.
- Make sure the circuit is off to start, so nothing surprises you.
- Place your probes across the connection or section you want to test.
- Turn the circuit on so current flows and it's under load.
- Read the number while the load is running.
- Record it, then move to the next connection.
Testing the Positive (Feed) Side
Start at the battery. Put the red probe on the clean battery positive post, not the clamp. Put the black probe at the next connection down the line.
Now load the circuit and read the drop. Then move the black probe further along, connection by connection, toward the component. A jump in the reading between two points tells you the bad connection sits between them.
Testing the Ground (Return) Side
Grounds fail more often, so give this half real attention. Put the black probe on the battery negative post. Put the red probe on the component's ground point.
Load the circuit and read. If the ground path shows a high drop, walk the red probe back toward the battery, one bolt and strap at a time. When the number falls off sharply, you just passed the bad ground.
Isolating One Bad Connection in a Series
A circuit is a chain of connections in series. The total drop is the sum of every small drop along the way. Your job is to find which single link steals the most.
Test each segment on its own. A good connection barely moves the needle. A bad one spikes.
When one joint reads far higher than its neighbors, you've found it. No guessing.
Reading the Numbers: What's a Good Drop and What's a Red Flag
Small numbers are good news. A clean connection barely registers on your meter. Anything past a few tenths of a volt is waving a red flag.
Here are the working limits most technicians rely on:
| Connection Tested | Acceptable Drop | Red Flag |
|---|---|---|
| Single clean connection | 0.1V or less | Over 0.2V |
| Ground connection | 0.1V max | Over 0.2V |
| Battery cable or terminal | 0.2V max | Over 0.3V |
| Switch or relay contacts | 0.2V or less | Over 0.3V |
| Starter cable under crank | 0.3V to 0.5V | Over 0.5V |
| Whole circuit total | Under 0.5V | Over 0.6V |
Notice the starter gets more slack. It pulls huge current, so a slightly higher drop is normal under crank. A ground strap gets none.
Even 0.2 volts on a ground usually means corrosion.
Remember that millivolts and volts sit on the same scale. A reading of 50 mV is 0.05 volts, which is excellent. A reading of 300 mV is 0.3 volts, which needs attention.
Voltage Drop vs. Ohms, Continuity, and a Test Light
A voltage drop test wins because it checks the circuit under real load. The other methods test a dead circuit, and dead circuits hide their worst faults.
Here's how the common methods stack up:
- Ohms test: Measures resistance with no current flowing. A corroded joint can read near zero ohms yet still choke a high-current circuit. Best for open wires, not weak connections.
- Continuity test: Just tells you if a path exists. It won't catch a connection that passes a trickle but chokes real amps.
- Test light: An old-school incandescent light draws some load, so it beats nothing. But it can't give you a precise number.
- Voltage drop test: Loads the circuit and gives an exact figure. Best for finding high-resistance faults.
The lesson is simple. If a component fails only when it's working hard, an ohm reading will lie to you. Voltage drop won't.
Common Circuits Worth Testing: Starter, Ground Straps, Charging, and Switches
Some circuits reward this test more than others. High-current paths show problems clearly, because more current means bigger drops.
The starter circuit tops the list. A slow crank with a healthy battery almost always points to a drop in the starter cables or grounds. Crank the engine and read across each cable and connection.
Ground straps deserve a hard look too. The engine-to-body and body-to-battery straps corrode with road salt and age. A bad engine ground causes symptoms all over the car, from rough running to dim lights.
The charging path is next. Test from the alternator output back to the battery positive with the engine running and loads on. A high drop here starves the battery even when the alternator itself is fine.
Switches and relays round it out. Contacts wear and pit over time. A power window that crawls or headlights that dim often trace back to a drop across tired contacts.
Mistakes That Ruin Your Reading
Most bad readings come from a handful of repeat offenders. Knowing them saves you from chasing ghosts.
- Testing with no load. The circuit must be on and pulling current. No current, no drop, no useful reading.
- Probing the wrong points. Your two probes have to sit on either side of the exact connection you suspect.
- Touching paint or grease. Push through to bare metal or you'll read a false high drop.
- Confusing static voltage with drop. A 12.6V reading at rest isn't a drop test. Drop is the difference across a segment under load.
- Loose probe contact. If the tip wiggles, the number jumps. Use piercing probes or clips for a solid grip.
- Ignoring the ground side. Half the faults live on the return path. Test both halves every time.
One more subtle trap: intermittent drops. Some connections only fail when hot or under heavy load. If a reading looks fine but the symptom is real, load the circuit harder and watch for the number to climb.
Safety Around Batteries and Cranking Circuits
Batteries and cranking circuits deserve respect. A lead-acid battery vents hydrogen gas, which is flammable, so keep sparks and flames away. Wear eye protection whenever you work near the posts.
Watch your probes near moving parts. When you crank the engine or run a circuit, belts and fans spin. Keep leads, hands, and clips well clear.
Never bridge the battery terminals with a tool or probe. A dead short across a 12V battery dumps enormous current in an instant and can burn or explode. Guidance from the [U.S.
Occupational Safety and Health Administration](https://www.osha.gov/) stresses that stored electrical energy stays dangerous even at low voltage.
Keep cranking intervals short. High-current cables heat up fast during long crank tests. And never probe the orange high-voltage cables on a hybrid or EV with a standard meter.
That job needs proper training and rated gear.
Pro Tips for Faster, More Accurate Diagnosis
A few habits sharpen your results and save time. These come from how seasoned technicians work through a circuit.
- Use the Min/Max mode. Set it, then load the circuit. The meter captures the peak drop even if it flashes by quickly.
- Wiggle the wires while reading. A jumping number reveals a loose or broken strand hiding inside the insulation.
- Warm it up first. Some connections only fail after heat expands the metal, so retest a suspect joint after a hard run.
- Compare left to right. On symmetrical circuits like headlights, test both sides. A big gap points straight to the weak side.
- Write down your numbers. Tracking each segment turns guesswork into a clear map of where the resistance lives.
Small habits like these catch faults that a quick single reading would miss.
What to Do Once You've Found the Bad Connection
Found the culprit? Now fix the resistance at its source. The repair depends on what you find at that joint.
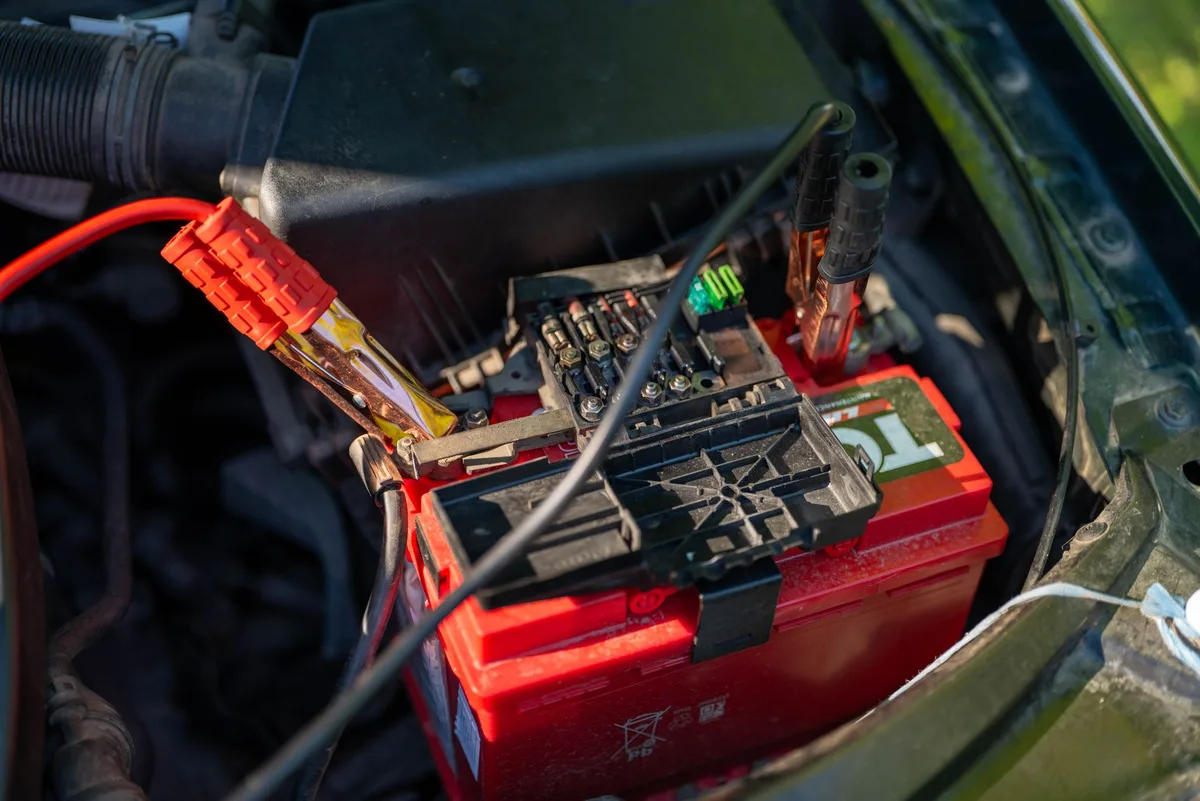
Start with the simple stuff. Loosen the connection, clean both mating surfaces down to bright metal, then re-torque it snug. A wire brush or terminal cleaner handles most corrosion.
If the terminal is heavily corroded or green throughout, replace it. Corrosion wicks up inside the cable and won't fully clean out. A crusty battery clamp or a frayed cable end usually means a new part.
Then retest. Reconnect, load the circuit, and read the drop again. A good repair pulls the number back under 0.1 volts.
If it's still high, the damage runs deeper into the cable, so replace the whole run.
Frequently Asked Questions
Can I do a voltage drop test on a fuse?
Yes. Leave the fuse in place and the circuit loaded. Touch one probe to each end of the fuse.
A good fuse shows almost no drop. A high reading means the fuse or its holder has corroded contacts.
Why does my reading show a negative number?
A negative sign just means your probes are reversed. The red and black sit on opposite ends of the current flow. The value itself is still correct.
Swap the probes or ignore the minus sign and read the number.
Do I need the engine running to test?
Only if you're testing a circuit that runs while the engine is on. Current must flow for the test to work. For a starter, you crank it.
For charging, run the engine. For lights, switch them on.
What's the difference between voltage drop and resistance?
Voltage drop measures lost voltage while current actually flows. Resistance (ohms) is measured on a dead circuit with no current. Drop catches high-resistance faults that an ohm reading misses, because those faults only show up under real load.
How much voltage drop is too much?
For most single connections, anything over 0.2 volts is too much. A whole circuit should stay under 0.5 volts total. Grounds should read near 0.1 volts.
Starter cables under crank can reach 0.3 to 0.5 volts and still be fine.
Can a cheap multimeter do this test?
Yes. Any digital meter that reads DC volts to the millivolt handles voltage drop testing fine. You don't need an expensive tool.
Sharp probes and a solid connection to bare metal matter far more than the price tag.

Similar Posts





















