What Is an Auto-Ranging Multimeter and How It Works
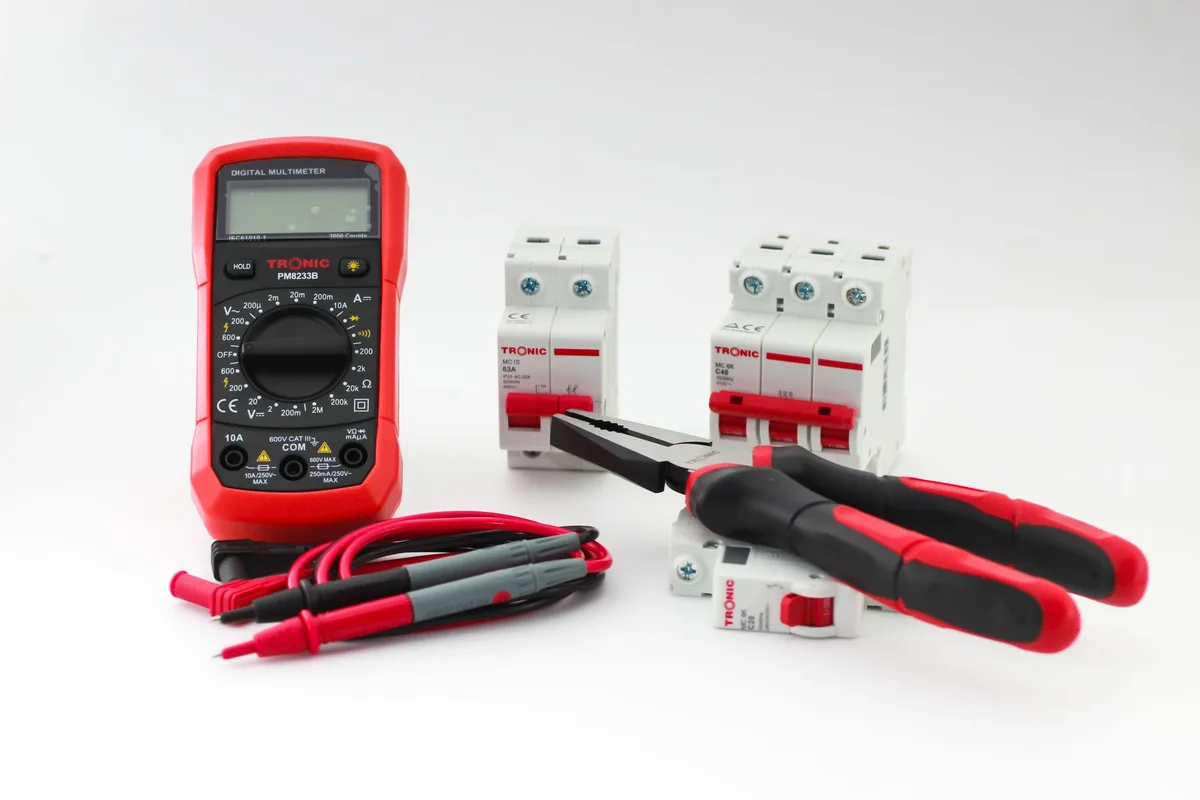
If you've ever fumbled with a meter's dial trying to guess the right setting, you know the frustration auto-ranging was built to kill. So what is an auto-ranging multimeter? It's a digital meter that picks the correct measurement range on its own.
You choose what to measure, voltage, resistance, or current, and the meter works out the scale.
Most auto-ranging models read across wide spans, from millivolts up to 600V or 1000V. They lock onto the right scale in about a second. Quality units are built to the IEC 61010 safety standard, which as of 2026 remains the benchmark for electrical test gear.
That one automatic feature quietly changes how you work, so let's start with what it really is.
Quick Answer
An auto-ranging multimeter automatically selects the correct measurement range. You pick the function, like voltage or resistance. The meter chooses the scale for you.
This removes the guesswork of manual range selection. It suits beginners and anyone measuring unpredictable values.
What Is an Auto-Ranging Multimeter, in Plain Terms
An auto-ranging multimeter is a digital multimeter that sets its own measurement range. You turn the dial to a function like DC voltage. Then you touch the probes to the circuit.
The meter decides whether to display millivolts, volts, or something higher.
Compare that to a manual meter. On a manual-ranging model, the dial has several voltage positions: 200mV, 2V, 20V, 200V, and so on. You pick one before you probe anything.
Guess too low and you get an overload. Guess too high and you lose precision.
Auto-ranging strips that step out. The rotary dial is simpler, with fewer crowded positions. That's why these meters feel friendlier the moment you pick one up.
If you're just checking a household battery or a car terminal, you point and read.
The trade-off is that the meter hides the range from you at a glance. Sometimes that matters, and we'll get into when. For basic voltage work, like confirming a healthy resting battery reading, it's hard to beat the convenience.
Why the Auto-Ranging vs Manual Choice Actually Matters
This isn't a small detail. The choice shapes how fast you work, how much you trust your readings, and how easily a beginner gets started. Auto-ranging and manual-ranging suit different people and different jobs.
Here's who each one tends to fit best:
- Auto-ranging is best for: DIY homeowners, electronics beginners, and field techs who measure wildly different values all day.
- Manual-ranging is best for: bench workers repeating the same measurement, and anyone who needs the fastest response on a known signal.
Most decent meters as of 2026 do both. They auto-range by default, then let you press a RANGE button to lock a scale when you want control. So the real question isn't "which meter." It's "which mode fits the task in front of you."
If you mostly test 12V automotive systems, the difference is small but real. Knowing your meter's habits helps when you're chasing something fussy, like figuring out whether it's the battery or the alternator causing trouble. Get the mode right and the reading comes faster and cleaner.
How Auto-Ranging Works Under the Hood
Auto-ranging works by taking a quick reading, checking if the value fits the current scale, then adjusting up or down until it does. The meter does this in a fraction of a second, so you usually never see it happen. It's a small automatic loop running every time you probe.
The Role of the ADC and Microcontroller
At the heart of every digital multimeter sits an analog-to-digital converter, or ADC. It turns the incoming voltage into a number the meter can process. A tiny microcontroller reads that number and asks one question.
Is this value too big or too small for the current range?
If the reading is too large, the meter jumps to a higher range. If it's tiny and wasting resolution, it drops to a lower one. This back-and-forth is the whole trick.
On a manual meter, you're the microcontroller, and you make that call by hand.
Better meters do this shuffle quickly and quietly. Cheaper ones feel sluggish, taking an extra beat to settle. That lag is the price you pay for the convenience.
What OL and Range Hunting Are Telling You
"OL" on the screen means overload, or out of range. On an auto-ranging meter, a steady OL usually means the meter can't measure what you've connected, or the leads are in the wrong jacks. On a manual meter, OL often just means you picked a range that's too low.
Range hunting is the other quirk. That's when the display flickers between two scales because your reading sits right on the boundary. The meter can't quite decide, so the numbers jump around.
It's annoying, but it's normal, and locking the range by hand fixes it instantly.
Auto-Ranging vs Manual-Ranging: The Real Trade-Offs
Neither type is simply "better." Each wins in different situations, and the honest answer depends on what you measure and how often. Let's break the two big trade-offs down.
Speed and Settling Time
Manual-ranging wins on raw speed. You've already told the meter the scale, so it shows a stable number the instant the probes touch. There's no hunting and no waiting.
For repeated same-value checks on a bench, that speed adds up over a long day.
Auto-ranging needs a moment to think. It samples, decides, and sometimes shifts ranges before showing a steady figure. On a clean 12V reading that delay is barely noticeable.
On a fast-changing or noisy signal, it can lag or hunt.
That's why some techs lock the range before a cranking or starter-draw test, where the voltage dips quickly and they want the number to keep up.
Control, Predictability, and Reading Trends
Manual-ranging gives you control and a predictable display. You always know the scale, because you set it. That helps when you're watching a value trend up or down, or hunting for faint ghost voltage an auto meter might round away.
Auto-ranging trades that control for ease. You don't think about scales, which is great when values are all over the place. The cost is that you can't tell at a glance whether the meter reads in volts or millivolts without checking the unit.
For most everyday voltage jobs, that trade is worth it. If you're new to this and still learning to dial in 20V DC, auto-ranging removes one thing you can get wrong.
Auto-Ranging vs Manual-Ranging Side by Side
Here's the quick comparison, all in one place. Use it to match the meter type to how you actually work.
| Factor | Auto-Ranging | Manual-Ranging |
|---|---|---|
| Setup before probing | Pick function only | Pick function and range |
| Response speed | Slight delay, may hunt | Instant on set range |
| Ease for beginners | Very easy | Steeper learning curve |
| Control over reading | Meter decides scale | You decide scale |
| Fast-changing signals | Can lag | More reliable |
| Dial clutter | Fewer positions | Many positions |
| Best for | Varied, unknown jobs | Repeated known values |
The takeaway is simple. If your measurements jump around or you're still building confidence, auto-ranging saves you steps and mistakes. That covers most home and automotive work, including a basic terminal voltage check.
If you do the same measurement over and over, or need instant response on a moving signal, a manual lock earns its keep. And most modern meters hand you both. You get auto-ranging by default and a RANGE button when you want the reins back.
Bodies like the National Institute of Standards and Technology set the calibration references that keep those readings honest in the first place.
Key Features That Separate a Good Auto-Ranging Meter From a Cheap One
Two auto-ranging meters can look identical and perform worlds apart. The difference lives in a few specs that budget models skimp on. Here's what actually matters.
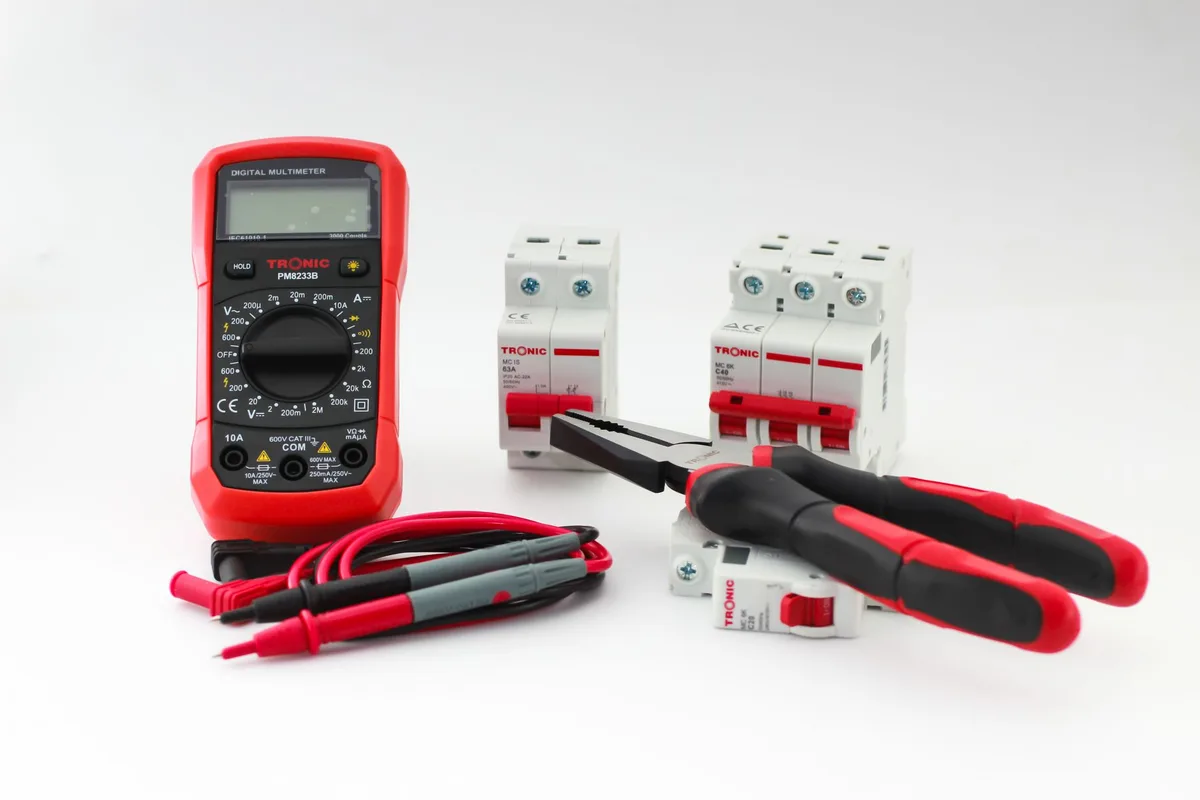
Count and Resolution
Count tells you how many digits the display can show. A 2,000-count meter maxes out at 1,999 before it jumps ranges. A 6,000-count meter shows up to 5,999, so you get finer detail before the scale shifts.
Higher count means less range hunting and sharper readings. For automotive and home work, 4,000 to 6,000 counts is plenty. Bench and lab users often want 20,000 counts or more.
Cheap 2,000-count meters hunt more and round harder.
True RMS, LoZ, and REL Mode
True RMS matters when you measure anything that isn't a clean signal. It reads AC voltage and current accurately even when the waveform is distorted. Averaging meters guess, and they guess wrong on modern electronics.
Low-impedance mode, often labeled LoZ, kills ghost voltage. It stops the meter from picking up phantom readings on wires that aren't really live. REL mode, or relative mode, zeroes out lead resistance so your ohm readings stay honest.
Together these three features separate a serious meter from a toy.
Pros and Cons of Going Auto-Ranging
Auto-ranging isn't perfect, and pretending otherwise helps nobody. Here's the honest scorecard.
Pros:
- No need to know the value before you measure.
- Fewer setup steps, so fewer mistakes.
- Simpler dial with less clutter.
- Great for varied, unpredictable readings.
- Beginner-friendly from the first use.
Cons:
- Slower to settle than a locked manual range.
- Can hunt around threshold values.
- Hides the active scale at a glance.
- May miss faint ghost voltage on some units.
- Cheap models feel laggy under real use.
For most home and car jobs, the pros win easily. The cons only bite when you're doing fast or repetitive precision work. That's exactly when the manual lock comes back into play.
Who an Auto-Ranging Multimeter Is Right For
Different users get different value from auto-ranging. Here's where it shines and where it doesn't.
Beginners, DIYers, and Homeowners
Auto-ranging is ideal here. If you're checking outlets, batteries, or a blown fuse, you don't want to memorize range tables. You point, you read, you move on.
It's the safest entry point for anyone new to a meter.
This crowd also benefits from a continuity beeper and auto-hold. Both let you work without staring at the screen. For a quick sanity check, like reading whether 12.2 volts signals a weak battery, auto-ranging gets you there in seconds.
Automotive, HVAC, and Field Techs
Field work is where auto-ranging really earns its place. Techs jump between 12V systems, control circuits, and resistance checks all day. Manually re-ranging for each one wastes time.
Auto-ranging keeps the workflow moving.
The catch is fast-changing signals, like a starter draw. Many techs auto-range for general checks, then lock the range for dynamic tests. It's the best of both, and it matches how a full multimeter battery test usually flows.
Bench Electronics and Repair Work
Bench users are more split. Repeated measurements on a known voltage favor a manual lock for speed. Diagnostic work with unknown values leans auto.
Most bench techs keep a meter that does both and switch as the task demands.
When You'd Still Lock the Range Manually
Lock the range whenever the reading needs to be fast, steady, or precise on a known value. Auto-ranging's thinking time becomes a liability in a few clear cases. Knowing them makes you quicker.
Here's when to press RANGE and hold a scale:
- Fast-changing signals: cranking tests, inrush current, or anything that dips and spikes.
- Threshold readings: values sitting right on a range boundary that make the meter hunt.
- Repetitive checks: measuring the same voltage across many points on a board.
- Ghost voltage hunting: when you want to see tiny millivolt readings the meter might round off.
The rule is simple. If you know the rough value and want speed, lock it. If the value is a mystery, let the meter range for you.
A 12V system that won't crank is a good example, where a locked range keeps the number stable while you probe.
Common Mistakes People Make With Auto-Ranging Meters
Most auto-ranging errors come from trusting the display without checking the units. The meter shifts scales silently, so a quick glance can mislead you. Slow down for one beat and you avoid the trap.
Watch out for these:
- Misreading the unit: the screen may show mV, not V. Check the label before you judge the number.
- Blaming the meter for hunting: flickering digits near a boundary are normal. Lock the range to steady them.
- Leaving leads in the 10A jack: measuring voltage with probes in the current jack risks a blown fuse or worse.
- Ignoring OL: a steady overload usually means wrong jacks or a value beyond the meter, not a fault to shrug off.
- Skipping REL on ohm readings: lead resistance skews low-value measurements if you don't zero it out first.
None of these are hard to fix. They just need a habit of glancing at the full display, units included. Get that right and the meter rarely lies to you.
If you're still learning the ropes, a refresher on the right meter setting for a battery clears up half these slip-ups.
What You'll Pay: Price Tiers and What You Get
Auto-ranging shows up across every price bracket, so the cost tracks build quality and features, not the auto function itself. Here's the rough map as of 2026.
| Tier | Price Range | What You Get |
|---|---|---|
| Budget | $20 to $40 | Basic auto-ranging, 2,000 count, no True RMS |
| Mid | $60 to $150 | True RMS, 6,000 count, LoZ, solid CAT rating |
| Pro | $200 to $500+ | High count, fast settling, rugged, lab accuracy |
Budget meters handle simple voltage and continuity fine. Spend into the mid tier if you want True RMS and a trustworthy safety rating. Pro meters buy speed, durability, and tighter accuracy for daily professional use.
CAT Safety Ratings and Certifications You Shouldn't Ignore
A CAT rating tells you the highest-energy circuit a meter can safely measure. It's the single most important spec on any meter, and cheap units often fake or omit it. Skipping this can get you hurt.
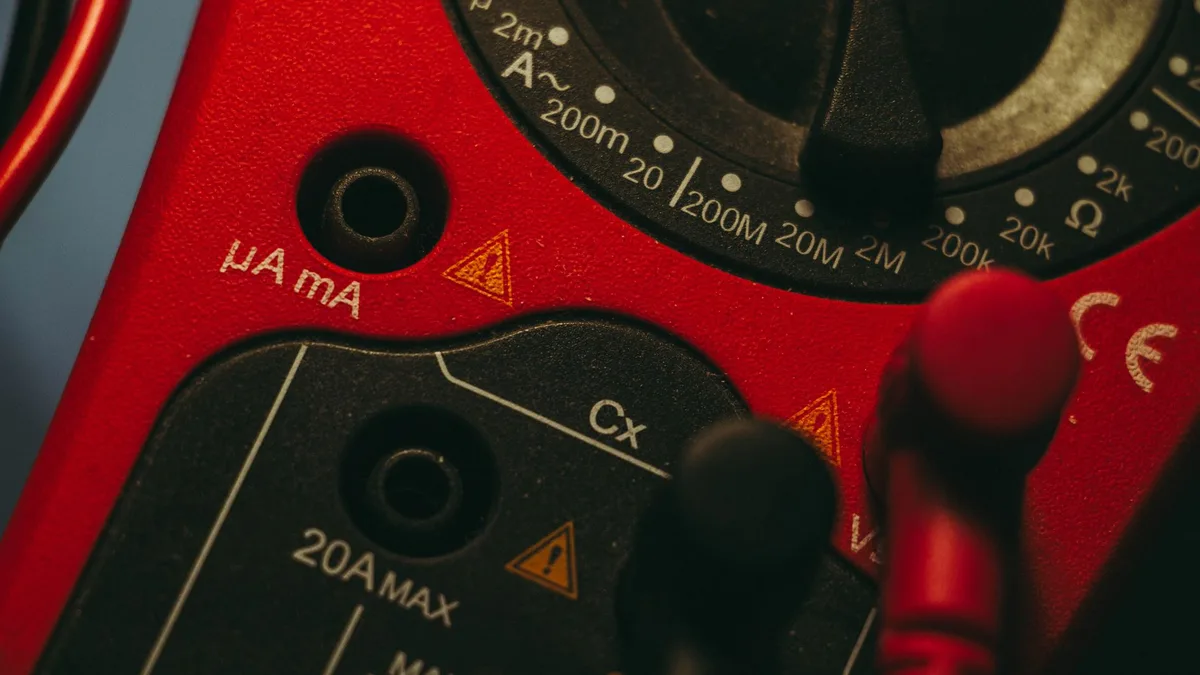
Here's the quick guide:
- CAT II: household outlets and appliances.
- CAT III: distribution wiring, breaker panels, motors.
- CAT IV: service entrances and outdoor lines.
Match the category to your work, and check the voltage next to it, like CAT III 600V. Look for a real UL, CSA, or TÜV listing mark too. A meter built to IEC 61010 with a genuine mark is worth the extra few dollars every time.
Pro Tips for Getting Faster, Cleaner Readings
Small habits make an auto-ranging meter feel quicker and more reliable. These are the ones that pay off most.
- Lock the range with the RANGE button when a reading hunts.
- Use REL mode to zero out lead resistance before ohm checks.
- Switch to LoZ mode to kill ghost voltage on suspect wires.
- Enable auto-hold when you can't watch the screen while probing.
- Keep the leads in the correct jacks before every measurement.
None of these take more than a second. Together they turn a fussy reading into a steady one.
Keeping Your Multimeter Accurate: Leads, Fuses, and Care
Most meter problems trace back to worn leads or a blown fuse, not the meter itself. A little upkeep keeps readings honest for years.
Check the test leads for cracks and loose tips before serious work. Damaged leads cause false readings and pose a shock risk. Replace them if the insulation is nicked.
If the current ranges suddenly read zero, suspect a blown fuse. Auto-ranging meters use fused current inputs to protect you, and those fuses do their job. Swap in the exact rated replacement, never a generic one.
Store the meter dry, and pull the battery if you're shelving it for months.
Frequently Asked Questions
Is an auto-ranging multimeter better than a manual one?
Neither is flatly better. Auto-ranging suits beginners and varied measurements because it removes range guessing. Manual-ranging is faster on known, repeated values and gives you full control.
Most modern meters do both, so you rarely have to choose one and give up the other.
Can you set the range manually on an auto-ranging meter?
Yes, most auto-ranging meters have a RANGE button. Press it to lock the current scale and stop the meter from hunting. Press it again to cycle ranges, or hold it to return to auto mode.
This gives you manual control whenever a reading needs to stay steady.
Why does my auto-ranging meter show OL?
OL means overload, or out of range. It usually signals the leads are in the wrong jacks, or the value is beyond the meter's limit. Double-check that your probes sit in the correct sockets.
A steady OL on voltage often means you're measuring something the meter can't handle.
Are auto-ranging multimeters good for car batteries?
Yes, they work well for basic 12V battery checks. Auto-ranging picks the voltage scale for you, so you just probe the terminals and read. For fast cranking tests where voltage dips quickly, locking the range keeps the number steadier.
For resting voltage, auto mode is perfectly fine.
The Verdict: Which Type Fits Your Bench
For most people, auto-ranging is the smart default. It removes a step, cuts mistakes, and handles the unpredictable jobs that fill a normal day. Beginners, homeowners, and field techs get the most out of it.
Manual-ranging still wins for speed on known values and steady readings on fast signals. The good news is you don't have to pick a side. A mid-tier meter with True RMS, a real CAT rating, and a RANGE button covers both worlds.
Buy the safety rating first, the features second, and the brand last. Get those right and your meter will read true for years, whether you're checking an outlet or chasing a parasitic draw at the battery.

Similar Posts