How to Test a Car Battery With a Multimeter
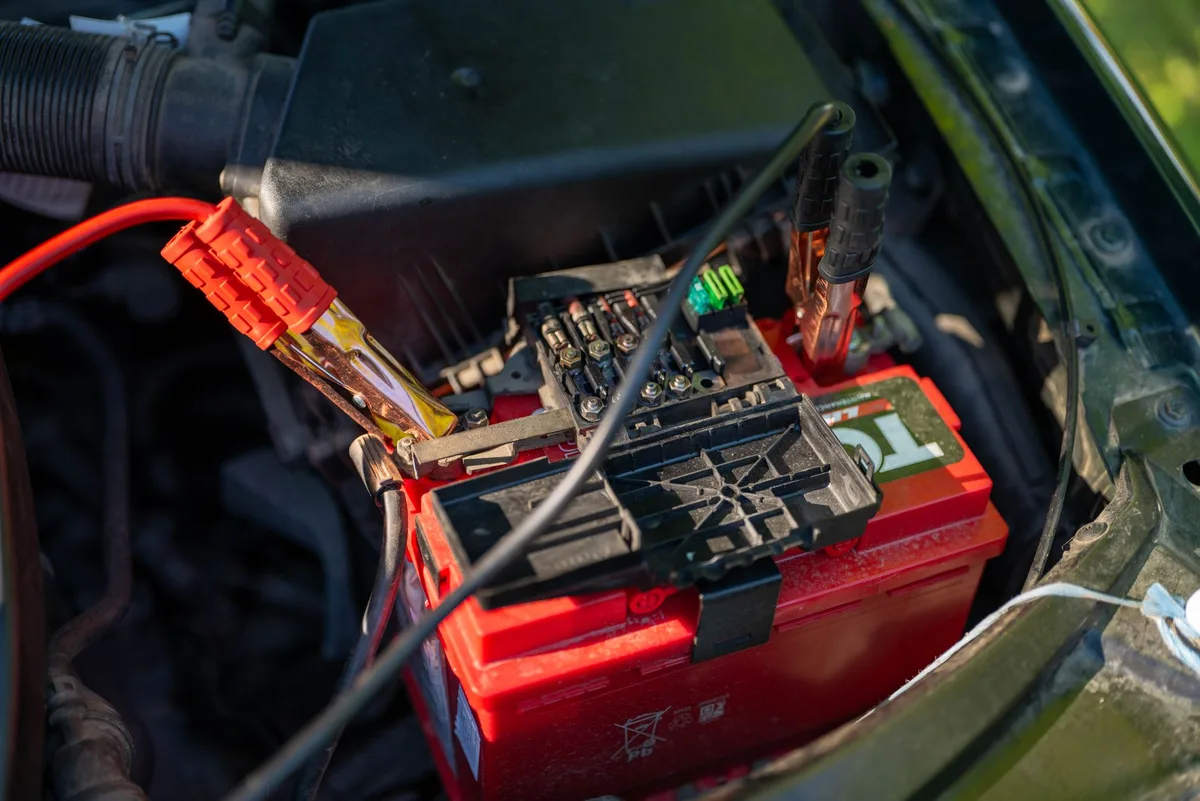
You turn the key, and nothing happens but a slow, tired crank. Before you spend money on a new battery, learning how to test a car battery with a multimeter tells you whether the battery is actually the problem. It's a five-minute check that saves guesswork.
All you need is a cheap meter and a few careful steps.
A fully charged 12V lead-acid battery should read about 12.6 volts at rest, per Battery Council International reference figures. Anything lower points to a partial charge or a fading cell. Get the reading wrong, though, and you'll misread a healthy battery as dead.
So let's start with why the technique matters as much as the tool.
Why Your Multimeter Reading Only Means Something If You Do It Right
A multimeter is only as honest as your setup. Point the dial at the wrong setting, or test at the wrong moment, and the number lies to you.
Here's the catch most guides skip. A battery that just came off a drive holds a "surface charge." That temporary boost can show 12.8V or higher, even on a battery that's actually weak. Rest it first, and the truth comes out.
Think of what a good how-to photo shows. Clean metal posts, probe tips pressed firmly, the display frozen on a steady number. That's the picture you're aiming for.
Loose contact or corroded terminals give jumpy, unreliable readings.
The same logic applies when you're sizing up a secondhand car. A quick voltage check tells you more than the seller ever will. Do it right, and the meter becomes a lie detector for the whole electrical system.
The 30-Second Answer: What a Healthy Car Battery Should Read
Set your multimeter to DC volts, 20V range. Touch the red probe to the positive post. Touch the black probe to the negative post.
A healthy resting battery reads 12.6 to 12.8 volts. Below 12.4V means recharge it, and below 12.0V means it's likely failing.
That's the whole test in one breath. The rest of this guide covers the details that make the number trustworthy.
What a Multimeter Actually Measures on a 12V Battery
A multimeter measures voltage, which is the electrical "pressure" sitting between the two battery terminals. It does not measure how much current the battery can deliver. That difference matters more than people think.
Voltage tells you the state of charge. A reading of 12.6V means the battery is close to full. It says nothing, on its own, about whether the battery can crank a cold engine on a January morning.
That's why we run two kinds of checks:
- Resting voltage: the battery sitting still, engine off. Shows state of charge.
- Cranking voltage: measured while the starter spins. Shows whether the battery holds up under real load.
A battery can pass the resting test and still fail the cranking test. Old batteries often do exactly that. They read fine at rest, then collapse the moment you ask them to work.
Keep that in mind as we move through the steps.
Tools You Need and How to Set the Dial to DC Volts
You don't need much. A basic digital multimeter, safety glasses, and gloves cover it. If your terminals look crusty, grab a wire brush too.
Here's the short kit list:
| Item | Why you need it |
|---|---|
| Digital multimeter | Reads voltage to 0.01V accuracy |
| Safety glasses | Batteries vent explosive hydrogen gas |
| Gloves | Guards against acid residue |
| Wire brush or terminal cleaner | Clears corrosion for a true reading |
| Baking soda and water | Neutralizes acid on dirty posts |

Digital vs. Analog Multimeter for This Job
A digital multimeter (DMM) is the easy choice for beginners. It shows a clear number on screen, so there's nothing to interpret. An analog meter uses a moving needle, which is harder to read precisely for a task this exact.
For battery testing, go digital. You want to see the difference between 12.4V and 12.6V clearly. That 0.2V gap changes your decision.
Setting the Range: Why 20V DC Is Your Starting Point
Set the dial to DC voltage, shown as V with a straight line and dashes above it (V⎓). Never use AC volts (V~), which is for wall outlets. Getting this wrong is the single most common beginner mistake.
Then pick the range. If your meter is manual, choose 20V. A car battery lives around 12 to 14 volts, so the 20V setting sits just above that range.
Auto-ranging meters skip this step and pick the range for you.
Working on the electrical system pairs well with handling your own oil change, since both are simple habits that keep an older car reliable.
Prep Work That Makes or Breaks Your Reading
Skip prep, and every number after it is suspect. Two things throw off more readings than anything else: surface charge and dirty terminals.
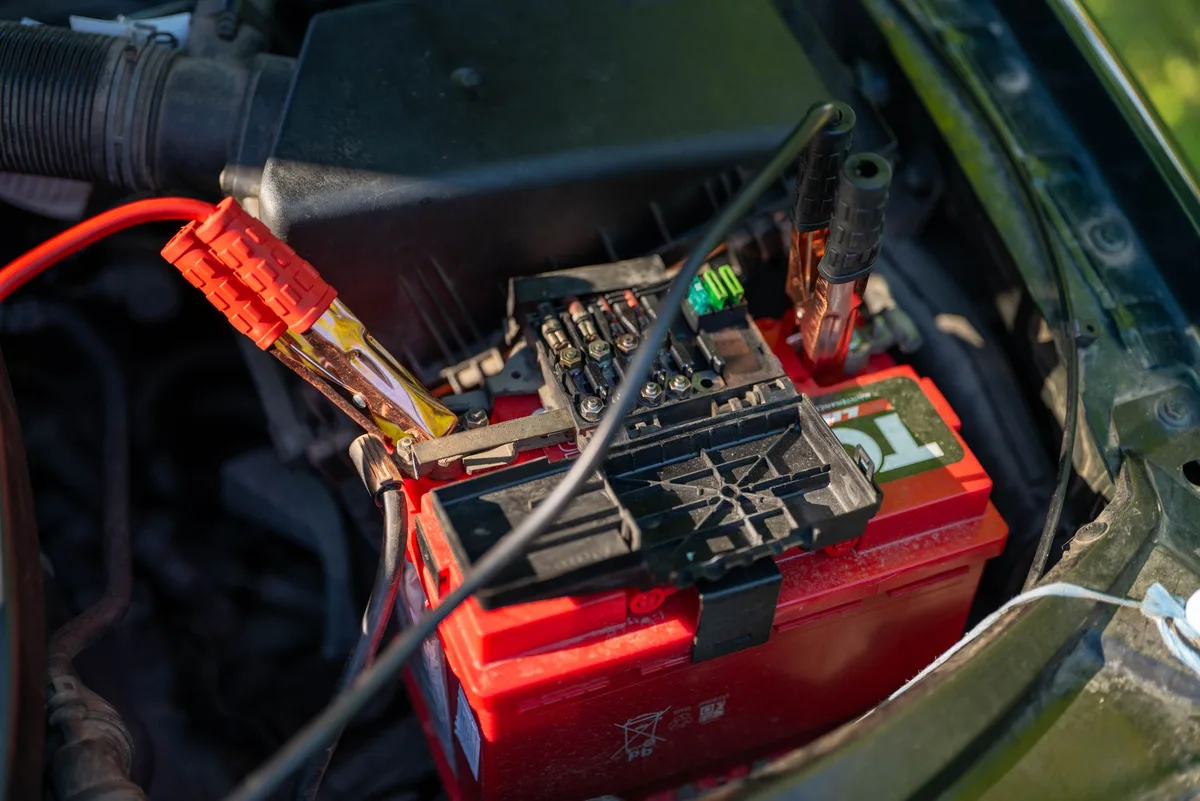
Letting the Battery Rest to Kill Surface Charge
Surface charge is a temporary voltage bump left over from driving or charging. It fades on its own, but it takes time. Test too soon and you'll read an inflated number.
Give the battery a proper rest first:
- Turn off the engine and every accessory, including lights and the radio.
- Wait at least one hour for a rough check.
- For an accurate reading, let it sit four to twelve hours, or overnight.
If you can't wait, there's a shortcut. Turn the headlights on for about 15 seconds, then off, to bleed off the surface charge. Wait a couple of minutes, then test.
Cleaning Corroded Terminals Before You Test
Corrosion is that white, blue, or greenish crust on the posts. It acts like a barrier between your probe and the metal, so the meter reads low or bounces around. Clean it off first.
Scrub the posts with a wire brush. For heavier buildup, a paste of baking soda and water neutralizes the acid, then wipe it dry. Because batteries release hydrogen gas and hold corrosive acid, the OSHA guidance on battery handling is worth following: wear eye protection and keep sparks away.
Once the posts are clean and bright, you'll get a firm probe contact and a steady number. That's when the meter starts telling the truth. Now you're ready to take the actual reading.
Step-by-Step: Testing Resting Battery Voltage
With the battery rested and the terminals clean, the actual test takes under a minute. Work in this order and don't rush the probe contact.
- Set the meter to DC volts, 20V range.
- Open the hood and locate the two posts. Positive is marked (+) and usually has a red cover.
- Press the red probe onto the positive post.
- Press the black probe onto the negative post.
- Hold both firmly and read the number once it settles.

Where the Red and Black Probes Actually Go
Red goes to positive, black goes to negative. That's the rule, and swapping them won't damage anything on a voltage test.
If you reverse the probes by accident, the meter simply shows a minus sign in front of the number. The value is still correct. A reading of "-12.6" just means your leads are backward.
Reading the Display Without Second-Guessing It
Wait for the number to stop moving before you trust it. A good digital meter settles in a second or two.
If the reading flickers or drops fast, your probes aren't making solid contact. Press harder, or re-clean the post. A steady 12.6V and a jumpy 11.8V can be the same battery with different probe pressure.
Reading the Numbers: Voltage-to-State-of-Charge Guide
Once you've got a stable resting number, this table tells you what it means. These figures apply to a standard flooded 12V battery at roughly 77°F (25°C).
| Resting Voltage | State of Charge | What to Do |
|---|---|---|
| 12.6 to 12.8V+ | 100% (full) | Battery is healthy |
| 12.4V | ~75% | Fine, but recharge soon |
| 12.2V | ~50% | Recharge now |
| 12.0V | ~25% | Deeply discharged |
| 11.9V or below | Flat / suspect | Charge, then retest |
A few notes that trip people up. AGM batteries read slightly higher when full, around 12.8 to 12.9V. Cold weather also drops the voltage, so a winter reading of 12.4V isn't as alarming as it looks.
One reading below 12.0V isn't an automatic death sentence. Recharge the battery fully, then test again after a rest. If it still won't hold past 12.4V, the battery is on its way out.
Testing Under Load: The Cranking Voltage Check
The cranking test shows how the battery behaves when the starter pulls hundreds of amps. This is where tired batteries get exposed. You'll need a helper for this one.
Here's the method:
- Keep the meter on 20V DC, probes on the matching posts.
- Have your helper crank the engine while you watch the display.
- Note the lowest number the voltage drops to during cranking.
A healthy battery stays above 9.6 volts while cranking. If it plunges to 8V or lower, the battery can't hold up under load, even if the resting test looked fine. That gap between a good resting number and a poor cranking number is the classic sign of an aging battery.
If the engine starts, watch how fast the voltage recovers too. A strong battery bounces right back toward 12V. A weak one lingers low.
Is It the Battery or the Alternator? The Engine-Running Test
This test answers the question that sends most people to the shop: is my battery bad, or is the alternator not charging it? The multimeter settles it in seconds.
Start the engine and let it idle. Put the probes back on the posts, red to positive, black to negative. Now read the voltage with the engine running.
Here's the if/then logic:
- If the reading sits between 13.7V and 14.7V, the alternator is charging correctly.
- If it stays near 12.4V or lower, the alternator isn't charging. The battery keeps draining.
- If it climbs above 15V, you may have an overcharging or bad voltage regulator problem.
Try one more step for confidence. Turn on the headlights, heater fan, and rear defroster with the engine running. The voltage should still hold above about 13V.
If it sags badly under those loads, the charging system is weak. This quick check fits right alongside other basic under-the-hood diagnostics worth knowing.
Common Mistakes That Give You a False Reading
Most bad readings come from a handful of repeat offenders. Run through this list before you trust any number.
- Wrong dial setting: reading AC volts (V~) instead of DC volts (V⎓). This gives a garbage number.
- Testing too soon: surface charge after driving fakes a high reading. Rest the battery first.
- Corroded posts: crust between probe and metal reads low or bounces.
- Weak probe contact: light pressure gives a jumpy display. Press firmly on clean metal.
- Judging health on voltage alone: a battery can read 12.6V and still fail the cranking test.
- Dead meter battery: a low battery inside the multimeter itself skews results. Swap it if readings look odd.
One more subtle trap. People test a warm battery in summer and a cold one in winter, then compare the numbers as if temperature doesn't matter. It does.
Colder batteries read a touch lower, so factor the weather into your judgment before writing a battery off.
Multimeter vs. Load Tester vs. Free Store Testing
A multimeter checks voltage, but it isn't the only way to judge a battery. Each tool answers a slightly different question. Here's how they stack up.
| Method | What It Shows | Best For |
|---|---|---|
| Multimeter | Voltage and charge state | Quick home checks, alternator tests |
| Load tester | Amp delivery under load | Confirming a battery can crank |
| Conductance tester | CCA and internal health | Precise battery condition |
| Free store test | Basic pass or fail | A second opinion at no cost |
A multimeter is the best all-rounder for home use. It's cheap, and it also diagnoses the charging system. A dedicated load tester goes further by measuring actual current, which voltage alone can't show.
Not sure after your own reading? Many auto-parts stores test batteries for free using a conductance tester. That's a smart backup when your numbers sit in the gray zone.
You can read more about our editorial approach on the team behind these guides.
Safety Rules When Probing a Car Battery
Car batteries hold acid and vent hydrogen gas, so a few rules keep the job safe. Treat every battery as a live electrical and chemical hazard.
- Wear safety glasses and gloves every time.
- No sparks, flames, or cigarettes near the battery.
- Never let a metal tool touch both posts at once. That shorts the battery.
- Remove rings and watches before reaching in.
- Work in a ventilated space, not a sealed garage corner.
If you spot a cracked case, a swollen battery, or leaking fluid, stop. Don't test it. A bulging battery is a sign of internal failure and a burst risk.
Handle disposal through a proper recycling point, since lead-acid batteries are hazardous waste.
When a Reading Says Replace Instead of Recharge
The line between recharge and replace comes down to whether the battery holds a charge. Voltage after a full charge tells the story.
Here's the simple call:
- If it charges to 12.6V and holds, keep it. It was just flat.
- If it won't climb past 12.4V after a full charge, it's failing.
- If it passes resting but drops below 9.6V while cranking, replace it.
- If one cell reads far lower than the rest, the battery is done.
Age matters too. Most car batteries last three to five years. If yours is past that and testing weak, a new one is the safer bet than chasing readings.
Catching this early is part of good routine car upkeep that keeps you off the shoulder.
Pro Tips for More Accurate Battery Testing
Small habits sharpen your readings. These are the details that separate a rough guess from a reliable number.
- Test at a consistent time, like first thing in the morning after an overnight rest.
- Log your readings. A battery slipping from 12.6V to 12.3V over months is fading.
- Check terminal tightness. A loose clamp mimics a weak battery.
- In cold snaps, expect lower numbers and judge accordingly.
- Retest after charging, not just before, to confirm the battery actually recovered.
One more habit pays off. Run the engine-running test every few months, not just when something's wrong. Spotting a charging drift early beats getting stranded.
The same mindset helps when you're checking over any car before you buy.
Frequently Asked Questions
What voltage is too low for a car battery?
Below 12.0 volts at rest means the battery is deeply discharged, sitting near 25% charge. Below 11.9V, it's essentially flat. Recharge it fully, then retest.
If it still won't hold above 12.4V, the battery is failing and needs replacing.
Can I test a car battery without removing it?
Yes. You test the battery right where it sits, engine off, probes on the posts. There's no need to disconnect or remove it for a voltage check.
Removing it only adds work and risk, so leave it in place.
Should the car be on or off when testing the battery?
Both, for different tests. Test with the engine off to read the battery's resting charge, ideally after a rest. Then test with the engine running to check the alternator, which should read 13.7V to 14.7V.
Each state answers a different question.
Why does my battery read 12.6V but the car won't start?
A 12.6V resting reading only shows charge, not cranking power. An aging battery can hold good voltage at rest, then collapse below 9.6V under the starter's load. Run the cranking test with a helper to catch this.
That drop points to a worn-out battery.
How often should I test my car battery?
Check it every three to six months, and before winter or a long trip. Cold weather strains a weak battery hardest, so a fall test saves headaches. If your battery is over three years old, testing more often helps you catch a fade before it leaves you stranded.
Does a multimeter drain the car battery during testing?
No. A multimeter set to DC volts draws almost no current, so it won't drain your battery. Voltage mode is designed to read without loading the circuit.
Just never leave the meter set to amps across the terminals, since that can blow the meter's fuse.

Similar Posts





















