How to Set a Multimeter to 20V DC: Simple Guide
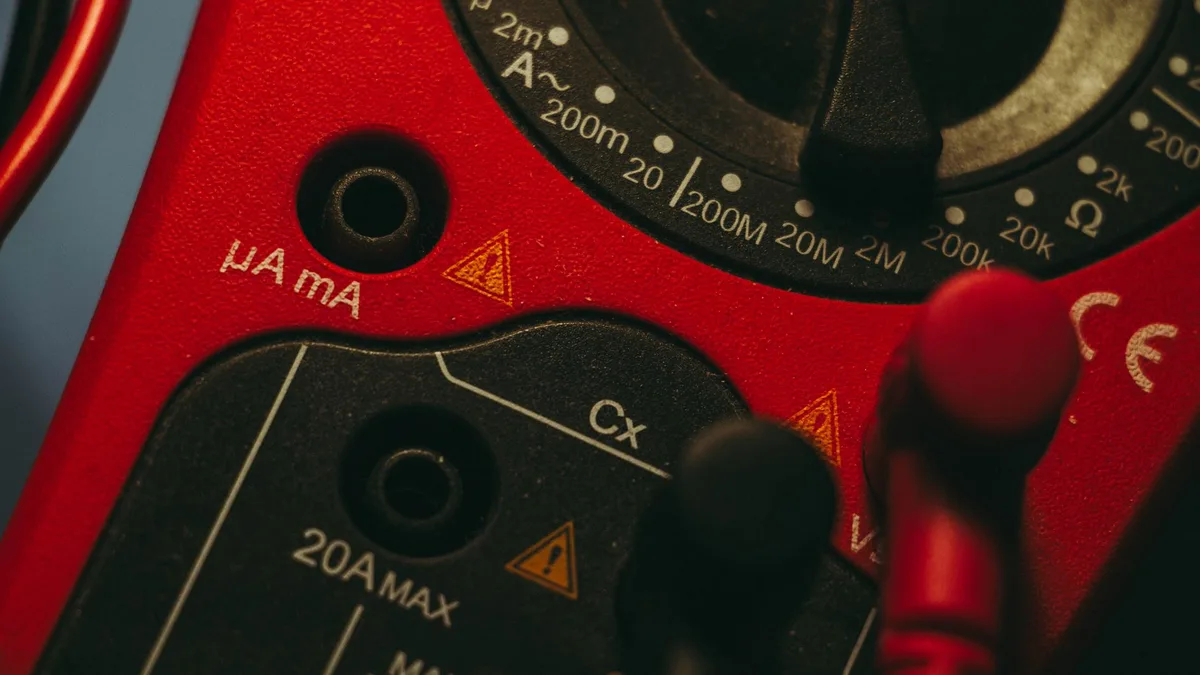
Setting a multimeter to 20V DC trips up more beginners than almost any other measurement, and knowing how to set a multimeter to 20v DC comes down to two things: picking the DC voltage mode, then landing on the right range number. Get those two right and you'll read a car battery, a 9V, or an Arduino rail in seconds. Get them wrong and the display either freezes or feeds you garbage.
The "20" isn't random. It's the range ceiling, meaning the meter reads anything from 0 up to 20 volts on that setting. Per measurement conventions used by bodies like NIST, a manual-ranging meter always rounds up to the next range above your expected voltage.
That's why 12V jobs live on the 20 setting. Here's exactly where to turn the dial and why.
Quick Answer
To set a multimeter to 20V DC, plug the black lead into COM. Plug the red lead into the VΩmA jack. Turn the dial to the DCV section, marked V with a solid line over a dashed line.
Select the "20" position. The meter now reads any DC voltage from 0 to 20 volts.
What 20V DC Actually Means on Your Multimeter
The "20" is a maximum, not a target. On this setting, your meter reads any DC voltage between 0 and 20 volts. A fresh AA shows 1.5V.
A car battery shows around 12.6V. Both fit comfortably under the 20V ceiling.
"DC" stands for direct current, the steady one-direction voltage that batteries and most electronics use. That's different from AC (alternating current), which is what wall outlets carry. Set the mode wrong and your reading falls apart.
It's the number one beginner error.
Manual-ranging meters split DC voltage into several ranges. You pick the smallest range that still sits above your expected reading. The trade-off is simple:
- Too high a range (like 200 or 1000) wastes resolution and gives you fewer decimals.
- Too low a range (like 2) overloads and the display just shows "1" or "OL".
- The 20 range is the sweet spot for anything between roughly 2V and 20V.
That single range covers the bulk of everyday DIY work. If you're new to reading terminals, our walkthrough on how to check car battery voltage pairs nicely with this setting.
Reading the Dial: DCV, V⎓, and the Numbers That Matter
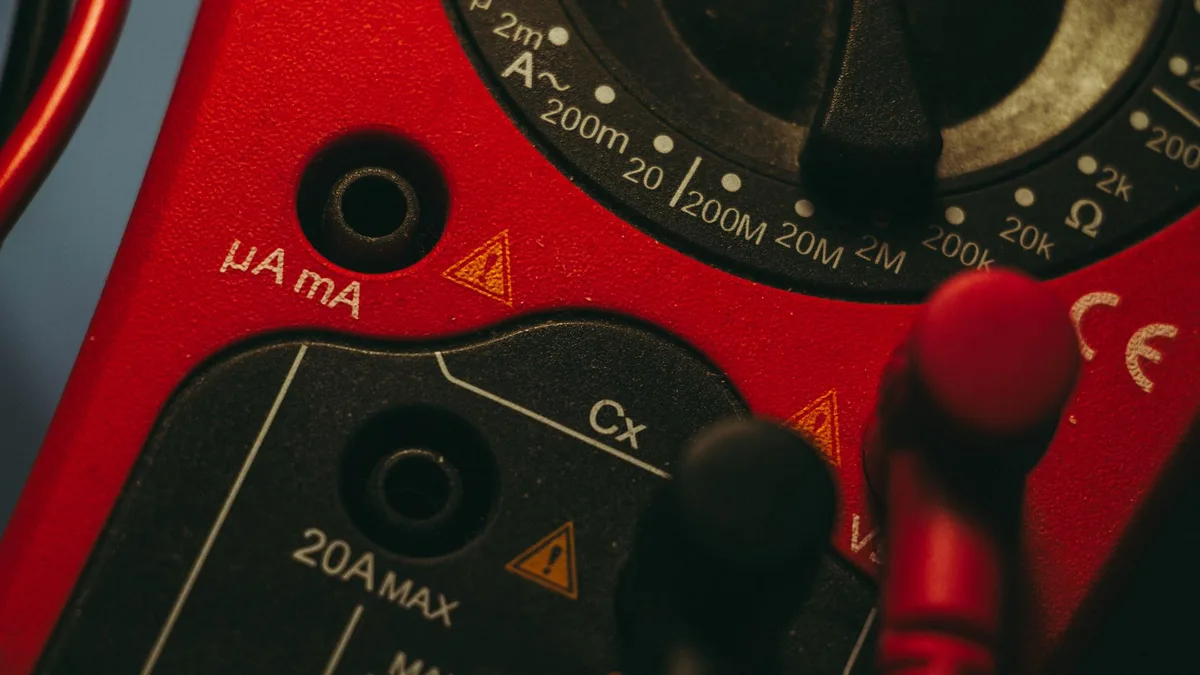
The dial is where people freeze. There's a lot printed on it, but you only care about one zone right now. Look for the cluster of numbers next to a V with a straight line above a dashed line.
That's DC voltage.
Spotting the DC Symbol vs. the AC Symbol
Two symbols look almost identical, and mixing them up wrecks your reading.
- DC voltage: a V with a solid line and a dashed line beneath it (V⎓). Some meters print it as "DCV".
- AC voltage: a V with a wavy line (V~). Some meters print "ACV".
For a battery or any electronic circuit, you always want the DC symbol. Land on the AC side and the number will drift, flicker, or read near zero. If you've ever seen a multimeter give a jumpy voltage on a known-good battery, this mix-up is usually why.
The Range Numbers: 200m, 2, 20, 200, 1000
Inside the DCV zone you'll see a short arc of numbers. Each one is a range ceiling. Here's what each covers and when to use it.
| Range setting | Reads up to | Best for |
|---|---|---|
| 200m | 0.2 V | Tiny signals, sensor outputs |
| 2 | 2 V | Single 1.5V cells |
| 20 | 20 V | 9V batteries, 12V car/RV batteries, hobby circuits |
| 200 | 200 V | Larger battery banks, some appliances |
| 1000 | 1000 V | High-voltage DC only |
The "20" is the one you'll reach for most. It handles the widest band of common voltages with clean decimals, showing values up to 19.99V.
Manual-Ranging vs. Autoranging: Why Your Meter Might Not Have a 20 Setting
Here's the catch nobody warns beginners about: not every meter has a "20" position. It depends on which type you own.
Manual-ranging meters make you pick the range yourself. These have the numbered arc (2, 20, 200, and so on), so you physically turn the dial to 20.
Autoranging meters do the math for you. They have a single "V⎓" position instead of numbers. You select DC voltage, and the meter figures out the range on its own.
| Feature | Manual-ranging | Autoranging |
|---|---|---|
| DC voltage marks | 2, 20, 200, 1000 | One "V⎓" spot |
| You pick the range? | Yes | No, it's automatic |
| "20V setting" exists? | Yes | No, but it covers 20V anyway |
| Best for | Learning, precise control | Speed, convenience |
So if you're hunting for a "20" on an autoranging meter and can't find it, nothing's broken. Just turn to V⎓ and the meter handles the rest. As of 2026, most budget meters sold online are still manual-ranging, which is why the 20V instruction stays so common.
Setting Your Multimeter to 20V DC, Step by Step
Three moves and you're measuring. Follow them in order.
Plugging In the Test Leads (COM and VΩmA)
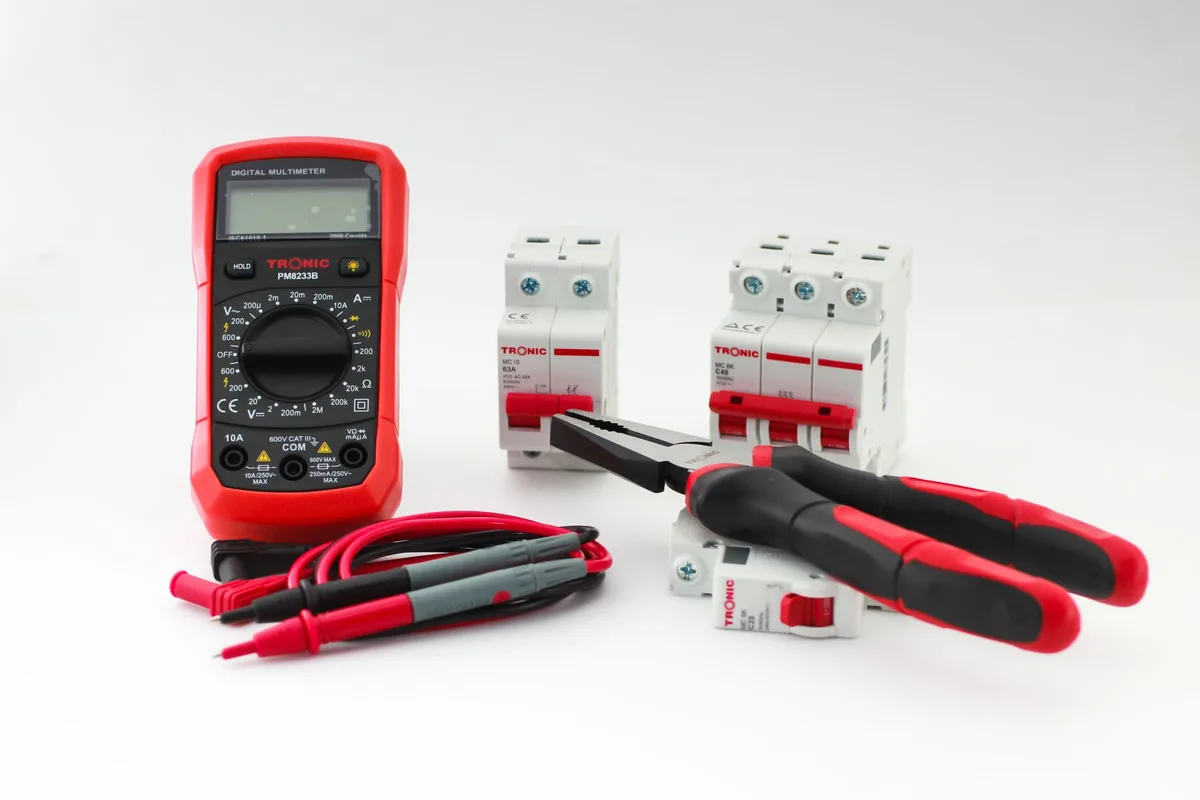
Start with the probes. Most meters have three jacks along the bottom.
- Black lead goes into COM (common, the ground reference).
- Red lead goes into VΩmA, the jack marked for volts, ohms, and small current.
- Leave the 10A (or 20A) jack empty. That one's only for measuring high current.
A red lead left in the 10A jack while reading voltage is a classic mistake. It can blow the meter's fuse or damage the circuit. This same jack setup matters when you measure current draw, so it's worth burning into memory now.
Turning the Dial to 20 in the DCV Zone
Rotate the selector to the DCV section. Confirm you're on the V⎓ symbol, not V~. Then click it onto the "20" mark.
If your meter is autoranging, just stop at V⎓. There's no number to chase.
Touching the Probes and Reading the Number
Now take the reading.
- Touch the red probe to the positive (+) point.
- Touch the black probe to the negative (−) point.
- Read the display. A healthy car battery shows around 12.6V.
If the number shows a minus sign, your probes are just reversed. It's harmless. Swap them, or read the value and ignore the negative.
For a deeper check on whether a battery is genuinely healthy, a full battery test and a look at how it holds up under load tell you more than resting voltage alone.
Why 20V Is the Right Range for 12V, 9V, and 1.5V Jobs
One setting handles almost everything you'll test at home. That's the whole appeal of the 20V range. It sits just above the most common voltages people actually measure.
Think about what lands under 20 volts:
- A single AA or AAA alkaline: about 1.5V.
- A 9V smoke-detector battery: roughly 9V.
- A 12V car, motorcycle, or RV battery: around 12.6V at rest.
- Most breadboard and Arduino rails: 3.3V or 5V.
Every one of those fits with room to spare. Pick the 2 range instead and a 9V battery overloads the meter instantly. Pick the 200 range and you lose a decimal place of precision.
The 20 range gives you two decimals on a 12V reading, like 12.63V. That resolution matters when you're judging battery health, where a tenth of a volt changes the story. For quick checks across cars, hobby gear, and household cells, it's the range that just works.
What the Display Is Telling You: 1, OL, and Extra Decimals
The number on screen tells you whether your range is right. Learn to read the signals and you'll self-correct in seconds.
A lone "1" on the far left (or "OL") means overload. Your voltage is higher than the range can handle. Bump the dial up to the next range, from 20 to 200.
Leading zeros mean the opposite. If a AA cell reads "1.51" on the 20 range, that's fine and precise. But if you're on the 200 range and it shows "1.5", you're wasting resolution.
Drop down to 20 for the extra decimal.
Here's the quick decoder:
| Display shows | What it means | What to do |
|---|---|---|
| "1" or "OL" | Voltage exceeds the range | Move up one range |
| Steady clear number | Range is correct | Read it as-is |
| Minus sign (−) | Probes reversed | Swap leads or ignore the sign |
| Jumpy last digit | Loose contact or noise | Press probes firmly |
A wandering final digit usually points to probe contact, not a bad battery. Press the tips down harder and the reading settles.
Common Setup Mistakes That Give Wrong Readings
Most bad readings trace back to a handful of repeat offenders. Knowing them saves you from second-guessing a healthy battery.
- Selecting ACV instead of DCV. The V~ symbol reads alternating current. On a battery it gives a drifting or near-zero value. Always confirm the V⎓ symbol first.
- Leaving the red lead in the 10A jack. Voltage needs the VΩmA jack. The wrong jack can pop the internal fuse.
- Picking a range that's too low. A 12V battery on the 2 range just shows "1". People assume the meter's broken. It isn't.
- Testing across the wrong points. Touch the actual metal terminals, not painted or corroded surfaces. Corrosion adds resistance and drops the reading.
One sneaky trap is surface charge. A battery that's just been charged can read high for a few minutes, then sag. Let it rest 15 minutes before trusting the number.
Another is worn probe tips. Cracked or bent tips give jumpy figures that look like a failing battery. Our research across aggregate user reviews shows most "faulty meter" complaints come down to leads, not the meter itself.
Testing Real Batteries: Voltage Numbers to Expect
A reading only helps if you know what "good" looks like. So here are the benchmark numbers to compare against on the 20V range.
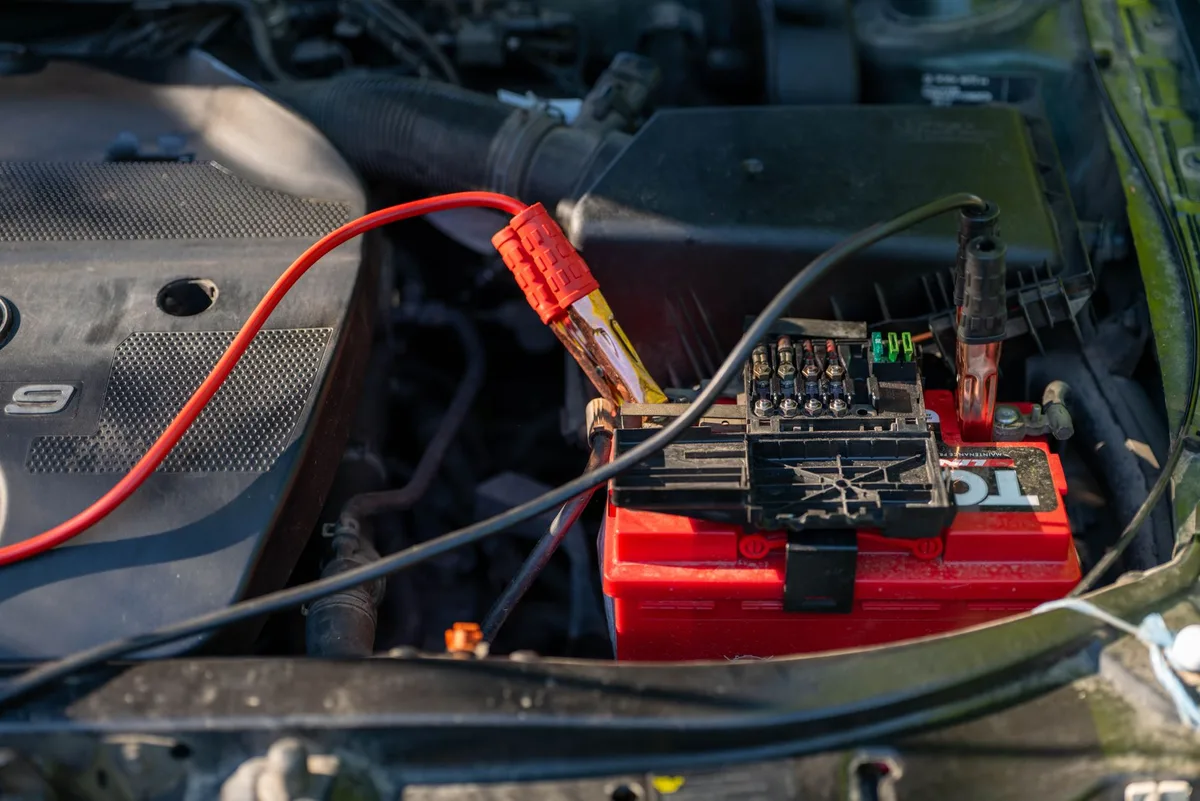
For a 12V car battery at rest (engine off, sat a few hours):
| Resting voltage | Approximate charge |
|---|---|
| 12.6V and up | 100%, healthy |
| 12.4V | About 75% |
| 12.2V | About 50% |
| 12.0V | About 25% |
| Below 11.9V | Deeply discharged |
Start the engine and the reading should climb to roughly 13.7V to 14.7V. That's the alternator charging. If it stays flat at 12.4V while running, the charging system needs a look.
Smaller cells have their own targets. A fresh 9V reads about 9V to 9.6V. A new 1.5V alkaline reads 1.5V to 1.6V.
Once a AA drops under 1.3V under load, it's near the end.
Resting voltage is only half the picture, though. A battery can show 12.6V and still fail the moment it's asked to crank. That's why a proper health check pairs this voltage reading with a load test.
Probe Safety, Lead Checks, and CAT Ratings Before You Measure
Twenty volts DC is low-risk, but good habits protect both you and the meter. A quick inspection takes ten seconds and prevents most accidents.
Before every measurement, run this check:
- Look over the leads. Cracked insulation or exposed copper means retire them.
- Hold the probes by the plastic guards, never the metal tips.
- Confirm both plugs are seated fully in COM and VΩmA.
- Keep fingers behind the finger guards during contact.
Then there's the CAT rating printed near the meter's jacks. CAT ratings (CAT II, CAT III, CAT IV) tell you which circuits the meter is safe for. They follow the IEC 61010 standard, published by the International Electrotechnical Commission.
For simple DC battery work under 20 volts, a CAT II meter is plenty. Higher categories matter when you move to mains wiring or industrial panels. Matching the rating to the job is basic electrical-safety practice.
One last habit: turn the dial to OFF when you're done. It saves the battery and stops the leads catching on the current setting for your next measurement.
Pro Tips for Sharper, More Reliable Readings
A few small habits separate a clean reading from a frustrating one. These come straight from patterns in aggregate user feedback and manufacturer guidance.
- Press firmly and hold steady. A wobbly probe gives a wandering last digit. Let the number settle for a full second before you trust it.
- Test on bare metal. Scrape off light corrosion first. A dirty terminal reads low and fools you into thinking the battery is weak.
- Use the HOLD button if your meter has one. It freezes the reading so you can pull the probes away and still see the value.
- Zero-check your leads. Touch the two probes together on the 20V setting. It should read 0.00V. Anything else hints at a lead or meter issue.
If your display flickers between two numbers, that's usually noise or a loose contact, not a dying battery. Re-seat the probes and try again.
One more for accuracy: let a freshly charged battery rest before reading. Surface charge inflates the number for the first 10 to 15 minutes. A rested reading is the honest one.
Frequently Asked Questions
Why does my multimeter show 1 on the 20V setting?
That "1" means overload. The voltage you're testing is higher than 20 volts, so the meter can't display it. Turn the dial up to the 200 range and read again.
If it still shows "1", check that you're on DCV, not resistance mode.
Is 20V DC the same as 20V AC on the dial?
No, they're different modes for different current types. DCV (V⎓) reads steady battery and electronics voltage. ACV (V~) reads alternating current from wall outlets.
For any battery, always pick the DC side. Choosing AC gives a drifting or near-zero reading.
What if my multimeter has no 20V option?
Then you own an autoranging meter, and that's normal. It has a single "V⎓" position instead of numbered ranges. Just select V⎓ for DC voltage.
The meter automatically covers 20 volts and reads your battery without you picking a range.
Can I test a 12V car battery on the 20V range?
Yes, the 20V range is exactly right for a 12V battery. A healthy one reads around 12.6V at rest, which sits comfortably under the 20V ceiling. You also get two decimal places of precision, so you can judge charge level accurately.
Why is my reading showing a negative number?
A minus sign just means your probes are reversed. The red probe is on the negative terminal and the black on the positive. The value itself is still correct.
Swap the leads to clear the sign, or simply read the number and ignore it.
Does the 20V setting drain my multimeter battery faster?
No, voltage measurement draws almost nothing from the meter's internal battery. The bigger drain is leaving the meter switched on. Turn the dial to OFF when you finish, and the internal 9V cell can last a year or more of normal use.

Similar Posts