How to Find a Parasitic Draw With a Multimeter
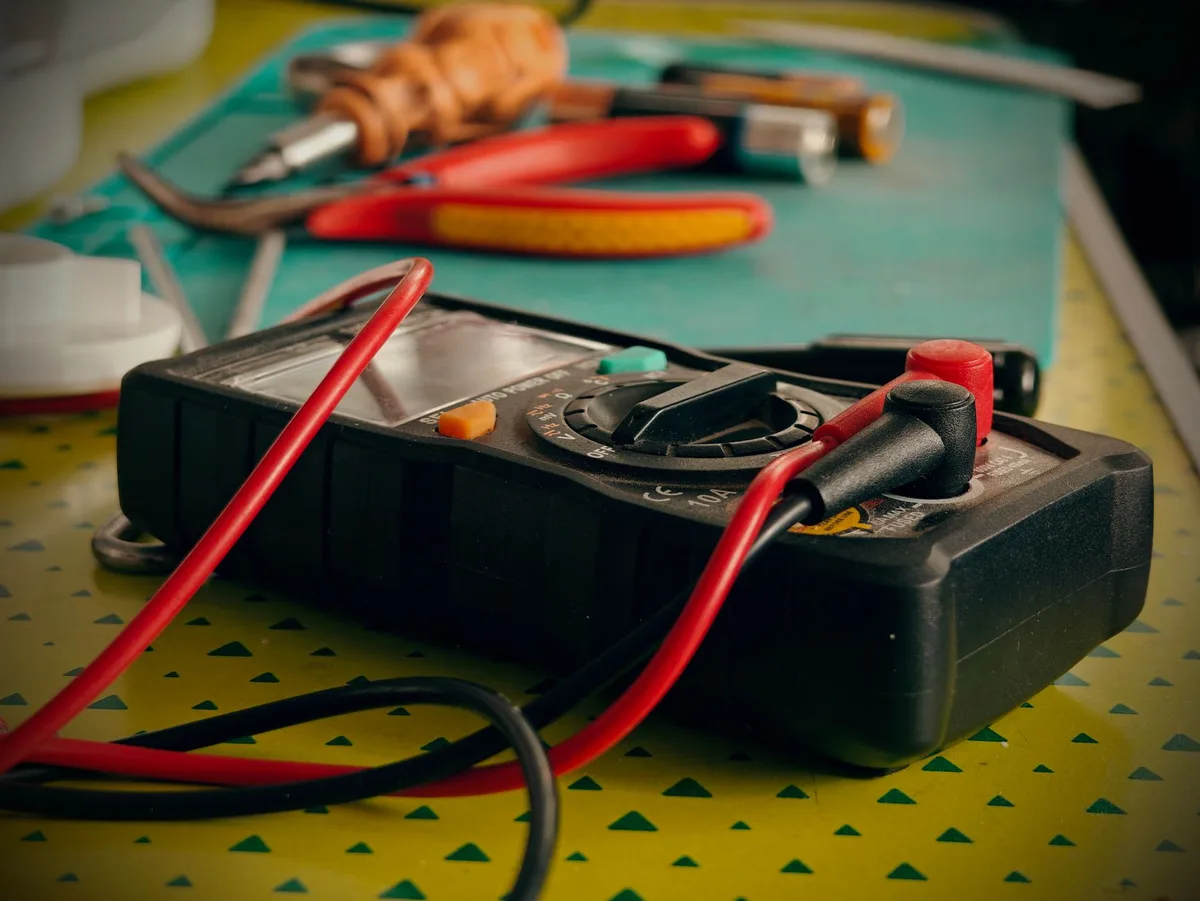
Your car sits fine all day, then the battery's flat by morning. That slow overnight killer usually isn't a bad battery at all. Learning how to find a parasitic draw with a fuse box and multimeter is the quickest way to catch what's quietly draining your charge.
A parasitic draw is any circuit that keeps pulling power after the key is out and everything's switched off.
The good news? You don't need a scan tool or a shop bay. A basic digital multimeter and a few minutes of patience will get you there.
Manufacturer service data and SAE fuse standards give us clear numbers to work against, and as of 2026 the method hasn't really changed. Let's start with the short version, then walk the whole process step by step.
Quick Answer
Set your multimeter to DC amps. Connect it in series between the negative battery terminal and cable. Let the car sleep 20 to 40 minutes first.
A healthy key-off draw sits near 25 to 50 milliamps. Then pull fuses one by one until the reading drops, and you've found the bad circuit.
What a Parasitic Draw Actually Is (And Why Your Battery Keeps Dying)
A parasitic draw is current your car uses while it's parked and switched off. Some draw is normal. Your radio memory, clock, alarm, and control modules all sip a tiny bit of power to stay alive.
The problem starts when something pulls too much. A stuck relay, a trunk light that never shuts off, or a failing module can drain a full battery in a night or two.
Here's the math that matters. A typical car battery holds around 50 to 70 amp-hours. A normal 30mA draw barely touches that over a week.
But a 300mA draw? That can flatten a weak battery in a couple of days.
If your battery keeps dying but tests fine after a charge, a parasitic draw is the prime suspect. It also explains why a brand-new battery still goes dead. You're replacing the victim, not fixing the cause.
How Much Key-Off Draw Is Too Much
For most vehicles, anything over 50mA (0.05A) is worth investigating. Older, simpler cars can drop to 25mA once everything sleeps. Newer vehicles with more modules can sit higher.
Here's a rough guide to work from:
| Vehicle type | Normal key-off draw | Red flag |
|---|---|---|
| Older / basic (pre-2005) | 15 to 35 mA | Over 50 mA |
| Modern (multiple modules) | 30 to 85 mA | Over 100 mA |
| Heavy accessory load | Up to 85 mA | Over 100 mA |
Treat these as starting points, not gospel. Your manufacturer's service manual has the exact spec for your car, and that number wins every time. If you're only a few milliamps over, it's usually not your dead-battery problem.
When you're reading hundreds of milliamps, you've found real trouble.
Tools You Need: Multimeter, Clamp Meter, and What Each One Does
You need surprisingly little. A decent digital multimeter that reads DC amps covers the whole job. A low-current DC clamp meter makes it faster, but it's optional.

Here's what each tool brings:
- Digital multimeter (DMM): Reads current in series and millivolts across fuses. This is your must-have.
- 10A/20A fused jack: The red lead port your meter uses for the amp test. Know its fuse rating before you start.
- DC clamp meter: Clamps around the battery cable and reads draw without breaking the circuit. Fast and safe.
- Fused jumper wire (optional): Keeps modules awake so you don't reset the sleep timer when moving leads.
If you've never set the dial before, our walkthrough on picking the right DC range explains the dial positions for a car battery. And if you want a refresher on reading DC voltage cleanly, the guide to dialing in 20 volts DC covers it in plain terms.
One warning up front. The amp test runs through your meter's internal fuse. Turn on a headlight or crank the engine while the meter's inline, and you'll blow that fuse instantly.
More on avoiding that later.
Before You Test: Rule Out a Bad Battery First
Don't chase a draw until you know the battery is actually good. A worn-out battery that won't hold charge looks exactly like a drain. You'll waste an afternoon pulling fuses for nothing.
Start by fully charging the battery. Then check its resting voltage and see if it holds. A healthy 12V battery should read around 12.6V at rest.
- Charge the battery fully, then let it sit an hour.
- Check resting voltage. Around 12.6V is healthy. Below 12.4V means it's low.
- Load test it to confirm it holds under demand.
- If it fails, replace the battery before hunting a draw.
For the full method, our guide on checking a battery's state of charge walks through the voltage readings, and the under-load test steps confirm whether it can actually do its job. Rule the battery out first. Then, and only then, go looking for what's draining it.
Letting the Car Go to Sleep: The Step Everyone Skips
This is where most DIY tests go wrong. Modern cars keep their modules awake for a while after you shut the door. During that window, the draw reads high because the computer's still busy.
If you test too soon, you might see 300mA or more and panic. Wait long enough and it settles to a normal 40mA. The car simply went to sleep.
Give it 20 to 40 minutes with everything closed up. Some vehicles take longer. Here's how to keep it asleep while you work:
- Shut all doors, the hood, and the trunk fully.
- Disable the interior dome lights or pull their fuse first.
- Leave the key and fob well away from the car.
- Don't open a door mid-test. That wakes everything and restarts the timer.
If your reading is still dropping in steps, the car isn't asleep yet. Wait. Patience here saves you from chasing a draw that was never there.
Method 1: The Inline Milliamp Test at the Battery Terminal
This is the classic method. You break the negative connection and route all the current through your meter. Whatever the car pulls, the meter shows.
It's accurate and cheap. The downside? Disconnecting the battery resets your clock, radio presets, and some adaptive settings.
It can also wake the modules, so timing matters.
Wiring the Meter in Series the Right Way
Connect the meter so current flows through it, not past it. Set the dial to DC amps and move the red lead to the 10A jack.
- Turn everything off and let the car sleep.
- Loosen and remove the negative battery cable.
- Put one meter lead on the negative post, the other on the cable end.
- Current now flows through the meter. Read the display.
Never remove that meter mid-test with loads on. If the leads pop off, the circuit opens and modules wake up.
Reading Total Draw Without Waking the Modules
Watch the number settle before you trust it. It'll start high, then step down as modules power off. Your true key-off draw is the stable reading after everything sleeps.
If it holds at 45mA, you're fine. If it parks at 250mA, you've got a live circuit to hunt. That stable figure is your baseline for the fuse test coming up.
For the full inline walkthrough, our guide on tracking down a battery drain covers the lead placement in detail.
Method 2: The Fuse Voltage-Drop Test (No Battery Disconnect Needed)
Here's the pro move. You never disconnect the battery at all. Instead, you measure the tiny voltage drop across each fuse while it's still in place.
Every fuse has a small resistance. When current flows through it, it creates a millivolt drop. More current means a bigger drop.
So the loaded circuit shows a higher millivolt reading than the dead ones.
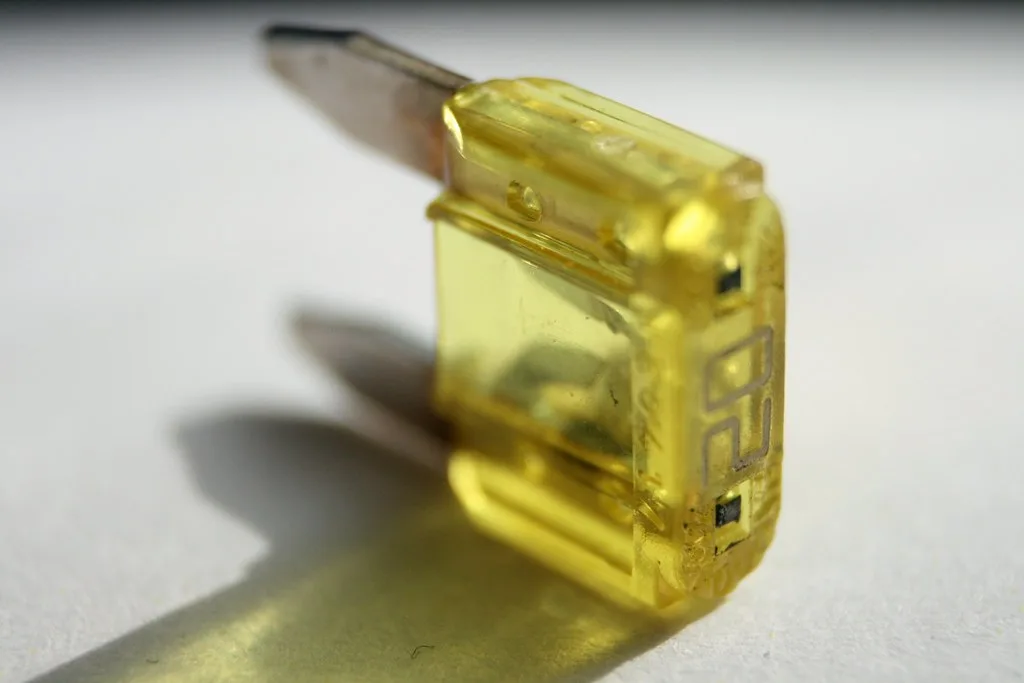
The big win: no reset clocks, no lost radio codes, no woken modules. This keeps the fault live so you can actually catch it. It's the go-to for anything with a security radio or lots of electronics.
Reading Millivolts Across Each Fuse
Set your meter to the lowest DC millivolt range. Touch a probe to each of the two exposed test points on top of the blade fuse. You're reading the drop across the fuse element.
- Set the meter to DC millivolts (mV).
- Let the car sleep so only real draws remain.
- Probe both metal tabs on each fuse in turn.
- Note any fuse showing a much higher mV reading than the rest.
Most sleeping circuits read near zero. The circuit with the draw stands out. That's your suspect.
The core skill is the same one in our voltage-drop testing guide, just applied to fuses.
Turning That Reading Into an Amp Draw
The millivolt number tells you which circuit, not the exact amps. To get amps, use the fuse's known resistance and Ohm's law. Manufacturers publish voltage-drop charts for standard blade fuses.
For hunting a draw, you rarely need the exact amps. The highest millivolt reading points to the guilty circuit. That's usually all you need to move to the next step.
Method 3: The DC Clamp Meter Shortcut
A low-current DC clamp meter is the fastest and safest option. You clamp the jaws around the negative battery cable and read the draw instantly. Nothing gets disconnected.
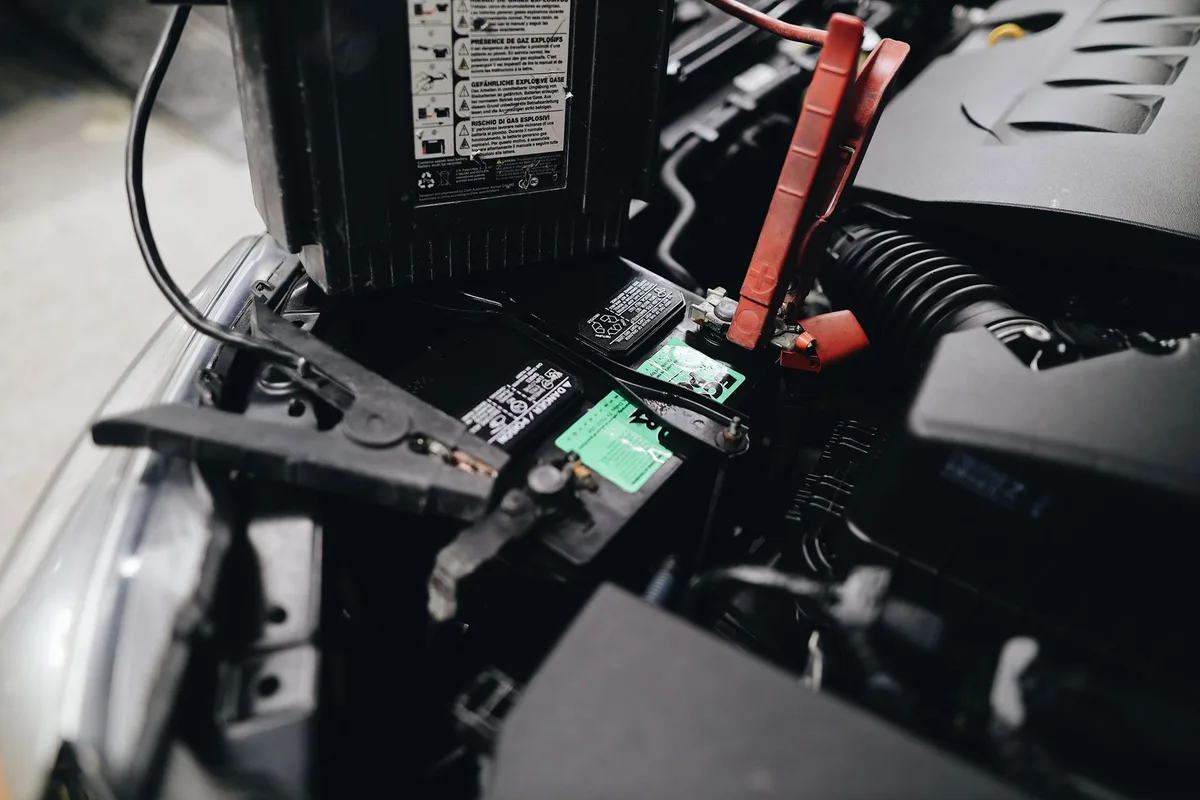
The catch is sensitivity. A standard clamp meter built for big amps won't resolve a 40mA draw. You need one rated for milliamp DC current, and those cost more.
Here's when each method fits best:
- Clamp meter: Best for quick checks and cars you can't disconnect. No broken circuit, no blown meter fuse.
- Inline milliamp: Best when you want an exact total and don't mind resetting the radio.
- Fuse voltage-drop: Best for pinpointing the circuit without waking modules.
If your clamp reads a high draw, move to the fuse box to isolate it. The clamp tells you there's a problem. The fuse test tells you where.
Fuse-by-Fuse: Isolating the Bad Circuit
Once you know the draw is real, the fuse box is where you corner it. Work through fuses one at a time and watch what happens to your reading. When the number drops, you've found the circuit.
Pulling Fuses and Watching the Number Drop
Keep your meter connected inline or clamped on the cable. Pull one fuse, check the reading, then reseat it before moving on. When a pulled fuse makes the draw fall to normal, that circuit holds your fault.
- Note your baseline draw first.
- Pull one fuse. Watch the meter.
- No change? Reseat it and move to the next.
- Big drop? That's your circuit. Label it.
If you're using the millivolt method instead, you already spotted the high-reading fuse. Same result, less disturbance.
Narrowing From Circuit to Component
Now find out what's on that circuit. Check the owner's manual fuse map to see what it feeds. It might cover the radio, an interior light, or an aftermarket accessory.
Unplug parts on that circuit one by one until the draw disappears. Common offenders are stuck relays, aftermarket alarms, amplifiers, and a glovebox or trunk light that never shuts off. A back-feeding alternator diode can also mimic a draw, so our alternator diode check is worth a look if the circuit points at the charging system.
Inline vs. Voltage-Drop vs. Clamp: Which Method to Use When
Pick your method based on the car and the tools you own. Each one gets you to the same answer with different trade-offs. Here's the quick call:
| Method | Best for | Watch out for |
|---|---|---|
| Inline milliamp | Exact total draw, simpler cars | Resets clock/radio, can wake modules |
| Fuse voltage-drop | Cars with security codes, fast isolating | Only points to the circuit, not exact amps |
| DC clamp meter | Speed, no disconnect needed | Needs a milliamp-rated clamp |
If your car has a coded radio or lots of modules, go voltage-drop. If you just want the total number and don't care about resets, go inline. If you own a low-current clamp, that's the easiest of the three.
Blade fuse dimensions and ratings follow published standards from SAE International, which is why the same probe method works across almost every make.
Common Culprits Behind a Key-Off Drain
Most parasitic draws trace back to a short list of usual suspects. Knowing them saves time once you've found the circuit. Start here before you tear anything apart.
- Trunk, glovebox, or under-hood lights stuck on
- Aftermarket accessories: dash cams, amps, alarms, remote starters
- Stuck relays that won't drop out
- A failing module that won't sleep
- A back-feeding alternator diode
- Corroded connectors creating leak paths
Aftermarket wiring is the number-one offender in our research. A cheap add-on tapped into the wrong circuit will happily drain your battery overnight. If a draw appeared right after an install, start there.
Mistakes That Wreck Your Test (and Your Meter's Fuse)
The fastest way to ruin a test is to blow your meter's internal fuse. That happens when high current flows through the amp jack. Turning on a headlight or cranking with the meter inline will do it instantly.
Watch for these common slip-ups:
- Cranking or switching on loads while the meter reads amps
- Testing before the car has gone to sleep
- Opening a door mid-test and restarting the sleep timer
- Leaving the red lead in the amp jack, then measuring voltage
- Skipping the battery health check first
If your meter suddenly reads zero amps with the leads connected, check its fuse. A blown internal fuse gives a dead reading and sends you chasing ghosts.
Safety Steps Before You Touch the Battery
A charged battery can spark and vent hydrogen, so treat it with respect. A few habits keep the job safe and your meter alive. None of this slows you down.
- Wear eye protection and remove rings and watches.
- Keep sparks and flames away from the battery.
- Confirm the meter's dial and jack before connecting.
- Never exceed the meter's fused amp rating.
- Reseat every fuse you pull once you're done.
When you disconnect the battery, note that some cars need a radio code or a steering-angle relearn afterward. Confirming your battery ground path is clean first also rules out a bad ground faking a draw.
When to Stop Testing and Call a Pro
Call a pro when the draw hides on a circuit you can't safely isolate. Some modules only draw when they refuse to sleep, and catching that needs a scan tool. If you've pulled every fuse and the draw won't budge, that's your cue.
Also stop if the draw sits on a hardwired circuit with no fuse to pull. Airbag, ABS, and some body modules fall here. Poking around those systems risks setting fault codes or worse.
You've done the hard part already. You've confirmed a real draw and narrowed the area. Handing a tech that head start turns a long diagnostic into a quick fix.
The same goes for weaker charging clues, where our alternator output check can tell you if the problem is the charging system, not a drain.
Frequently Asked Questions
How many milliamps is a normal parasitic draw?
Most modern cars settle between 25 and 50 milliamps once the modules sleep. Vehicles with lots of electronics can sit up to about 85mA. Anything over 100mA usually points to a fault worth chasing down.
How long should I wait before taking a reading?
Give the car 20 to 40 minutes with all doors, the hood, and the trunk closed. Modules stay awake after you lock up, so early readings run high. Wait until the number stops stepping down.
Will disconnecting the battery reset my car's settings?
Yes, pulling the negative cable can reset your clock, radio presets, and some adaptive memory. That's why the fuse voltage-drop method is popular. It measures the draw without ever breaking the battery connection.
Why does my meter read zero amps when connected?
A zero reading usually means the meter's internal amp fuse has blown. That happens if current spikes through the amp jack, like cranking the engine mid-test. Check and replace the fuse, then try again.
Your Step-by-Step Decision Guide
Here's the whole process boiled down to a quick flow you can follow:
- Battery weak? Charge and load-test it first. Replace it if it fails.
- Battery good? Let the car sleep 20 to 40 minutes.
- Draw under 50mA? You're likely fine. Look elsewhere.
- Draw over 50mA? Move to the fuse box.
- Pull fuses or read millivolts until the number drops.
- Found the circuit? Unplug parts until the draw disappears.
- No fuse to pull, or draw won't budge? Hand it to a pro.
Work it in that order and you'll rarely go wrong. The battery check keeps you from chasing a fault that isn't there. The sleep wait keeps your numbers honest.
From there, it's just patience and one fuse at a time. Most drains come down to a stuck light, a rogue accessory, or a module that won't rest. Find that circuit, and you've solved the mystery for good.

Similar Posts





















