Car Battery Voltage: What Your Multimeter Should Read
Pop the hood, touch two probes to the battery posts, and you'll get a number. The hard part is knowing what that number actually means. If you're wondering what should a car battery read on a multimeter, the short version is 12.6 volts with the engine off and around 13.7 to 14.7 volts with it running.
But those figures come with real caveats that trip up plenty of DIYers.
A resting reading of 12.4 volts looks close to healthy, yet it means the battery is only about 75% charged. That gap matters, because lead-acid batteries start sulfating below that point. In our research, misreading these small differences is the number one reason people replace good batteries or trust bad ones.
Let's start with the fast answer, then dig into the details.
Quick Answer
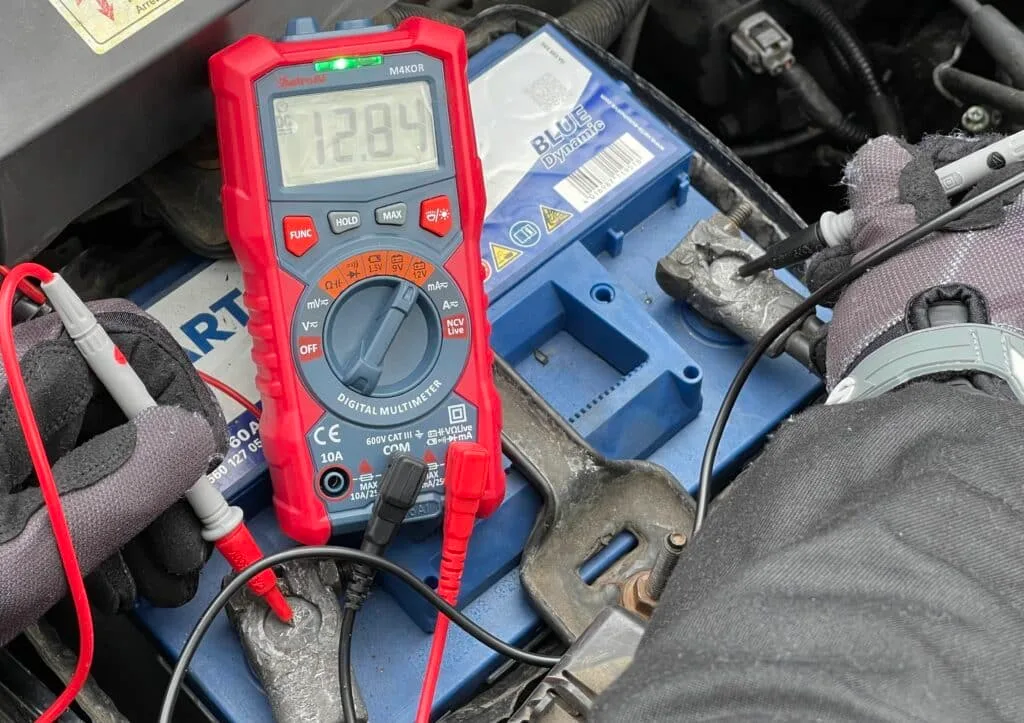
A healthy car battery should read 12.6 to 12.8 volts on a multimeter with the engine off. With the engine running, it should read 13.7 to 14.7 volts. A resting reading of 12.4 volts means about 75% charge.
Anything under 12.0 volts is a discharged battery. Below 10.5 volts usually means a dead cell.
Why 12 Volts Doesn't Actually Mean a Healthy Battery
Here's the trap: a "12-volt" battery reading exactly 12.0 volts is nearly flat. That surprises almost everyone the first time they test one.
The reason sits inside the case. A standard lead-acid battery contains six cells wired in series, and each cell produces about 2.1 volts at full charge. Multiply that out and you get 12.6 volts, not 12.0.
The "12-volt" label is just a nominal rating. If you want the full picture of how those plates and acid create power, we've broken down the chemistry under the hood separately.
Voltage drops fast as charge falls. The difference between fully charged and half charged is only about 0.4 volts. That's why a cheap multimeter that reads to two decimal places beats any dash gauge.
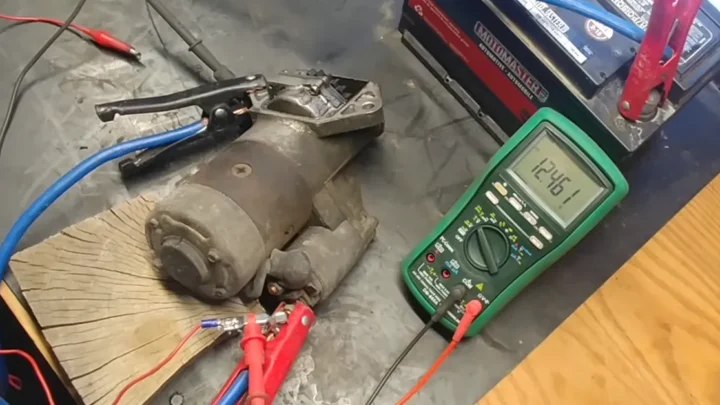
A reading of 12.61 tells a very different story than 12.19, even though both round to "about twelve."
One more wrinkle: voltage measures state of charge, not state of health. A worn-out battery can charge up to 12.6 volts and still collapse the moment the starter demands 150 amps. We'll cover how to catch that with a cranking test later.
For now, remember the rule: voltage tells you how full the tank is, not how big the tank still is.
Car Battery Voltage Chart: What Every Reading Means
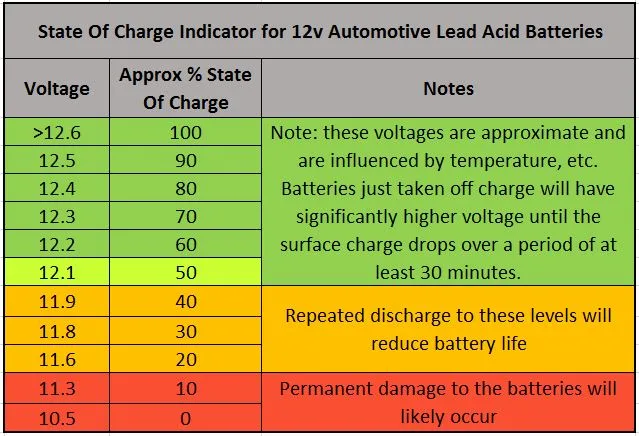
Use this chart with the engine off and the battery rested for at least an hour. As of 2026, these thresholds still follow the same lead-acid chemistry the industry has tested against SAE International standards for decades.
| Resting Voltage | State of Charge | What It Means |
|---|---|---|
| 12.6V to 12.8V | 100% | Healthy and fully charged |
| 12.4V | ~75% | Usable, but recharge soon |
| 12.2V | ~50% | Undercharged, sulfation risk |
| 12.0V | ~25% | Effectively discharged |
| 11.9V or lower | ~0% | Deeply discharged, may not recover |
| Below 10.5V | Fault | Likely dead or shorted cell |
A few if/then rules make this chart practical:
- If you read 12.6V or higher, the battery is charged. Move on to a cranking test if you still have starting trouble.
- If you read 12.2V to 12.5V, charge it fully and retest. A battery living in this zone slowly kills itself through sulfation.
- If you read below 12.0V, don't just jump it and drive. Find out why it drained: age, a parasitic draw, or a weak alternator.
- If you read below 10.5V after resting, one cell has almost certainly failed. Charging rarely brings these back.
Note that AGM batteries run slightly higher, around 12.8 to 13.0 volts at full charge. We'll cover how sealed glass-mat designs differ later in the article.
Setting Up Your Multimeter the Right Way
Half of all "weird" battery readings come from meter setup, not the battery. Two minutes here saves you a wrong diagnosis.
Which Setting to Use (DC Volts, 20V Range)
Set the dial to DC voltage, marked as V with a straight line or "DCV." A car battery is direct current, so the AC setting (V with a wavy line) will show you nonsense. If those markings look cryptic, our guide to every dial position decoded clears it up fast.
On a manual-ranging meter, pick the 20V range. That range reads anything up to 20 volts with two-decimal precision, which is exactly what you need for a 12-volt system. Pick 200V by mistake and you'll only get one decimal place, which hides the difference between 12.6 and 12.4.
Auto-ranging meters skip this step entirely. Just select DC volts and the meter finds the range itself. Either type works fine here, and understanding what DCV actually measures helps if your meter labels things differently.
Where the Probes Go
Plug the black lead into the COM port. Plug the red lead into the port marked V/Ω. Never use the 10A port for a voltage test.
That port is a near-dead short, and touching it across battery terminals will blow the meter's fuse instantly, or worse.
At the battery:
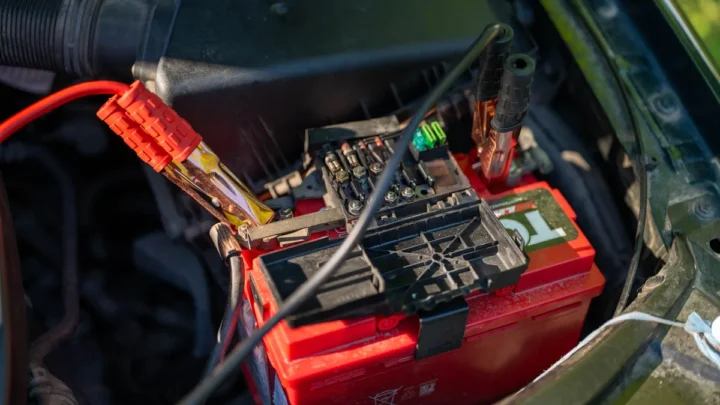
- Touch the red probe to the positive post (marked +, usually with a red cover).
- Touch the black probe to the negative post (marked -).
- Press the probe tips firmly onto clean metal, not onto corrosion.
If the display shows a negative number like -12.6, you've simply reversed the probes. The reading is still valid. Swap them and the minus sign disappears.
First time holding a meter? Our walkthrough for complete first-timers covers the basics in more depth.
Test 1: Resting Voltage (Engine Off)
This is the baseline test, and the number it gives you drives every decision that follows. The catch is that the battery has to be genuinely at rest.
Here's the workflow:
- Turn the ignition off. Close the doors so interior lights shut down.
- Let the car sit for at least one hour. Overnight is better.
- Set the meter to DC volts, 20V range.
- Probe the posts: red to positive, black to negative.
- Read the display and compare it to the chart above.
Why the waiting period? Any electrical load, even a dome light, drags the reading down slightly. And a battery fresh off the alternator reads artificially high.
Both errors push you toward the wrong conclusion.
Why You Need to Remove Surface Charge First
Surface charge is a thin layer of extra voltage sitting on the battery plates right after charging. It fades over a few hours, but until it does, the meter lies to you. A tired battery can show 12.8 volts ten minutes after a drive, then sag to 12.3 by morning.
If you can't wait an hour, burn the surface charge off manually. Turn the headlights on for two minutes with the engine off, switch them off, wait five minutes, then test. That brief load strips the false voltage and exposes the battery's true resting state.
This one step is why so many people think their battery "tested fine" the day before it died. They measured surface charge, not charge. The morning reading, before the first start of the day, is the most honest number a battery will ever give you.
Test 2: Cranking Voltage (What the Battery Reads While Starting)
Cranking voltage is the test that catches batteries the resting test misses. It measures how badly voltage sags under the massive load of the starter motor.
You'll need a second person for this one, or a meter with a min/max capture mode. Here's the process:
- Connect the probes to the posts exactly as before.
- If your meter has MIN/MAX, activate it now.
- Have your helper crank the engine for a few seconds.
- Watch for the lowest number the display hits during cranking.
The pass mark is 9.6 volts at roughly 70°F. If voltage stays above that during the crank, the battery is delivering current under load like it should. If it plunges to 8 volts or lower, the battery can't back up its resting voltage with real power.
This is the test that exposes the "12.6 but dead" battery. High internal resistance or a failing cell lets the battery hold voltage with no load, then buckle when the starter demands 100 to 200 amps. That current delivery capability is what the cold cranking rating on the label promises, and this test checks whether the battery can still keep that promise.
One caveat: a cold morning drops the pass threshold. At freezing temperatures, a dip to 9.1 or 9.2 volts can still be acceptable. Chemistry slows down in the cold, and even good batteries sag deeper.
Test 3: Running Voltage (Checking the Alternator at the Same Time)
With the engine running, you're no longer testing the battery. You're testing the charging system that keeps it alive. Same probe placement, engine idling.
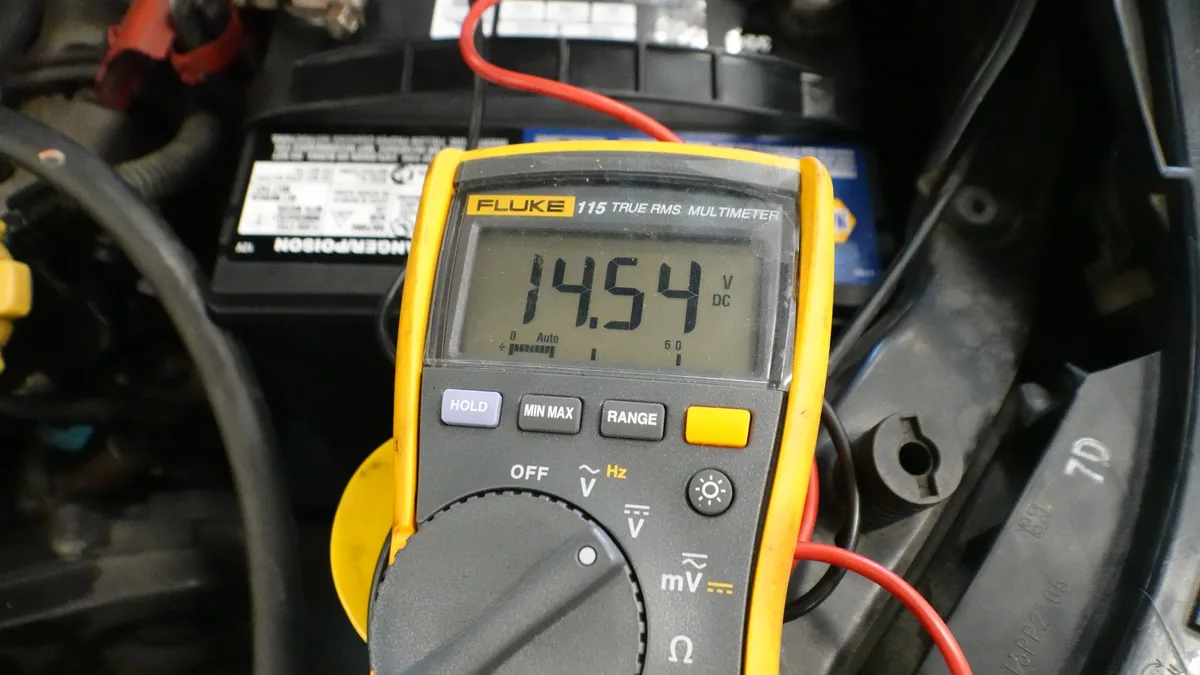
A healthy charging system reads 13.7 to 14.7 volts at idle. That's the alternator pushing current back into the battery through the voltage regulator. Here's how to interpret what you see:
| Running Voltage | Diagnosis | Next Step |
|---|---|---|
| 13.7V to 14.7V | Charging system healthy | No action needed |
| 13.2V to 13.6V | Weak charging | Check belt tension and connections |
| Below 13.2V | Alternator not charging | Test alternator, inspect wiring |
| Above 15.0V | Overcharging | Replace voltage regulator or alternator |
Now add load. Turn on the headlights, blower fan, and rear defroster with the engine still idling. Voltage should dip slightly but hold above 13.0 volts.
If it collapses toward 12 volts under accessory load, the alternator can't keep up.
This test settles the classic dead-battery argument. If the car needed a jump but the running voltage reads 14.2, the alternator is fine and the battery (or a parasitic drain) is your problem. If running voltage reads 12.4, the alternator isn't charging, and a new battery would just die the same slow death.
Two minutes with a meter saves you from replacing the wrong part.
Overcharging deserves its own warning. Sustained voltage above 15 volts boils electrolyte, warps plates, and can kill a new battery in months. If you see it, park the car until the regulator is fixed.
Reading 12.6V but the Car Won't Start? Here's What's Going On
A full-voltage battery with a no-start condition means one of four things. Voltage only measures electrical pressure, not the battery's ability to deliver current, so work through this list in order.
First: dirty or loose connections. Corrosion between the post and the clamp acts like a partial roadblock. The meter reads fine directly on the posts, but the starter can't pull big current through the crust. Test for it by measuring from the battery post to the cable clamp during cranking.
Any reading above 0.2 volts across that joint means resistance is stealing your power. Clean both surfaces with a wire brush and retest.
Second: high internal resistance. An aged battery holds surface voltage but can't flow amps. The cranking test exposes this instantly. If resting voltage is 12.6 and cranking voltage crashes below 9 volts, the battery is done regardless of how healthy it looks at rest.
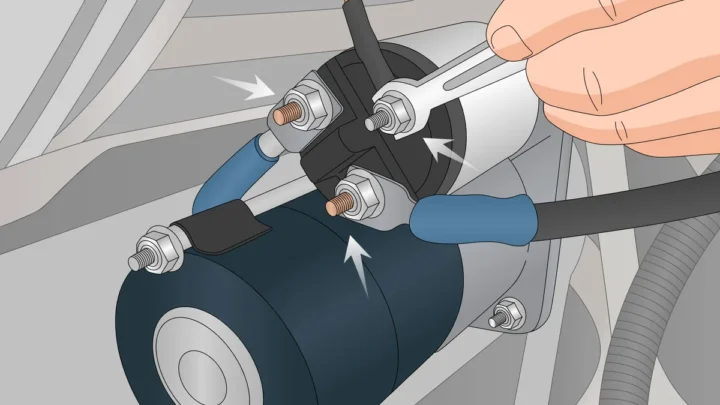
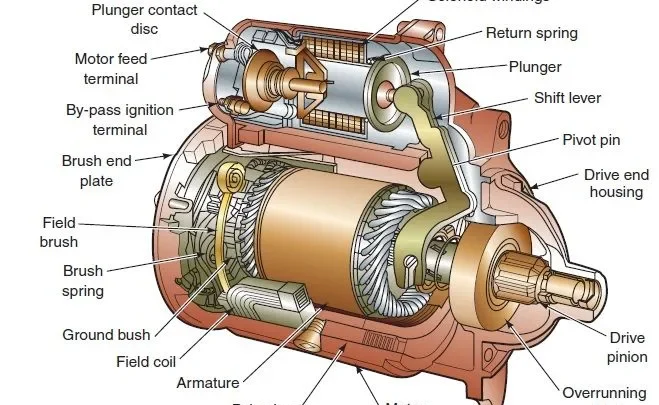
Third: the starter circuit itself. If cranking voltage stays strong at 10.5 volts but the engine barely turns, the battery is doing its job. Suspect the starter motor, its solenoid, or the ignition switch circuit instead.
Fourth: nothing electrical at all. A car that cranks vigorously but won't fire has fuel or spark problems, not battery problems. The battery only gets blamed because it's the easiest thing to see.
The if/then shortcut: if voltage is good at rest AND under cranking load, stop testing the battery. Your problem lives somewhere else in the car.
What Different Readings Tell You to Do Next: Recharge, Retest, or Replace
You've got a number. Here's the action plan for each range, built around one principle: never judge a battery on a single reading. Charge it fully, let it rest, and let the second reading make the call.

Similar Posts