How to Use a Multimeter: A Beginner’s Guide
Picking up a multimeter for the first time can feel like staring at an airplane cockpit. There's a dial with a dozen symbols, three ports, two probes, and a screen flashing numbers you don't recognize yet. The good news?
Learning how to use a multimeter for the first time comes down to three basic measurements: voltage, resistance, and continuity. Master those, and you've got 90% of everyday testing covered.
A multimeter is simply a tool that measures electrical values so you can tell if a battery, wire, or fuse is good or bad. Quality meters are built to the IEC 61010 safety standard, which sets the rules for how much voltage a meter can safely handle. As of 2026, a solid beginner meter costs between $15 and $40.
Let's start with why that first attempt trips so many people up.
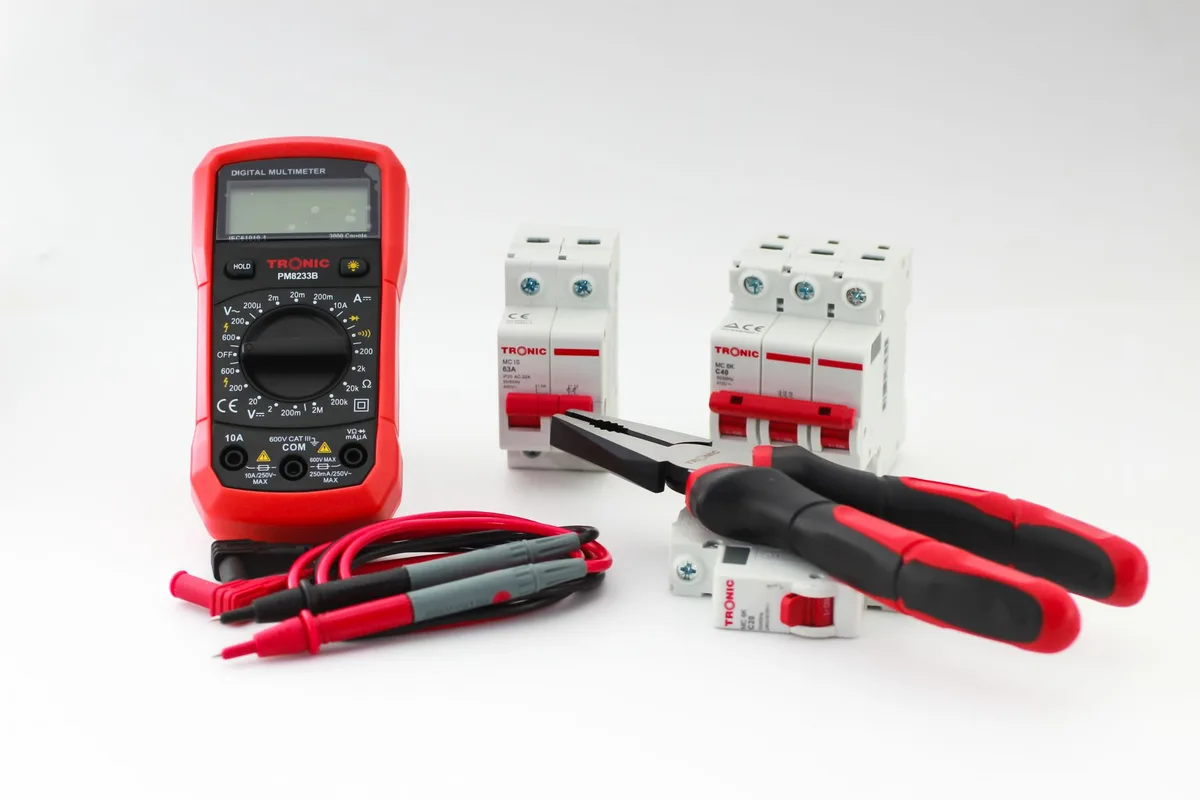
Quick Answer
To use a multimeter, plug the black probe into COM. Plug the red probe into the VΩmA jack. Turn the dial to the measurement you need, like DC volts.
Touch the black probe to negative and red to positive. Read the number on the screen.
Why Your First Multimeter Feels Confusing (and How to Fix That Fast)
The confusion is real, and it's almost always visual. Beginners don't struggle with the math. They struggle to match the symbol on the dial to the thing they're testing.
Look at any multimeter and you'll see cryptic marks: a V with a wavy line, a V with dashes, an Ω, a tiny sound-wave icon. None of it means anything until someone shows you what each mark does. That's the whole hurdle.
Here's the fix. Instead of memorizing everything, you only need four settings at first:
- DC voltage for batteries and car electronics
- AC voltage for wall outlets
- Continuity for finding breaks and blown fuses
- Resistance for checking components
Get comfortable with those four, and the rest of the dial stops looking scary. Everything else is a variation on the same routine: probes in, dial set, touch, read.
Get to Know Your Multimeter: The Parts That Actually Matter
Before you measure anything, spend two minutes learning the layout. A multimeter has four parts you'll touch every time: the dial, the jacks, the probes, and the display.
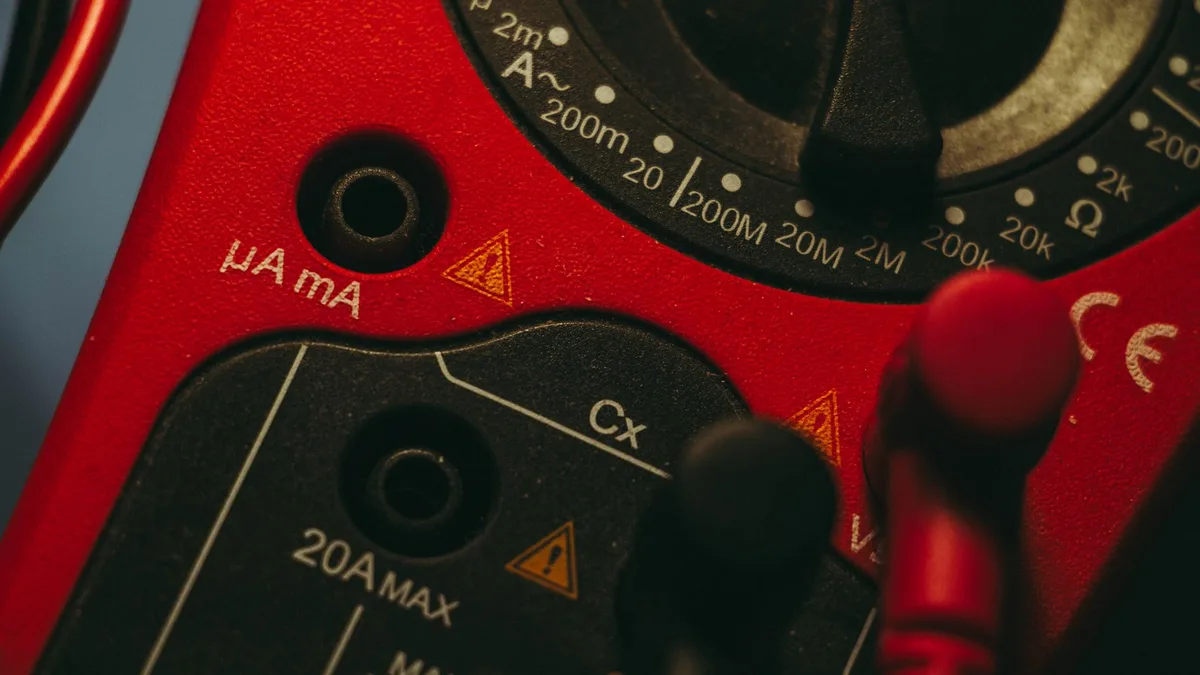
The Dial: Every Symbol Decoded
The rotary dial in the center selects what you're measuring. Turn it, and the meter switches modes. Here's what the common symbols mean.
| Symbol | What It Measures | When You Use It |
|---|---|---|
| V⎓ (V with solid + dashed line) | DC voltage | Batteries, car systems, USB |
| V~ (V with wavy line) | AC voltage | Wall outlets, appliances |
| Ω | Resistance (ohms) | Components, sensors |
| Sound-wave icon | Continuity | Wires, fuses, switches |
| A⎓ / A~ | Current (amps) | Draw testing (advanced) |
Start every session by checking the dial points at the mode you actually want. Half of all beginner errors happen right here.
The Three Jacks: COM, VΩmA, and the 10A Trap
Below the dial you'll see two or three input jacks. Each one has a job.
- COM is the common (ground) port. The black probe always goes here.
- VΩmA is for voltage, resistance, and small current. The red probe lives here most of the time.
- 10A (or 20A) is only for measuring high current.
That 10A jack is the trap. Leave the red probe in the 10A port, then try to measure voltage, and you can blow the internal fuse or cause a spark. When in doubt, keep the red probe in the VΩmA jack.
Red vs Black Probes and Where They Go
The probes are your fingers into the circuit. Black is negative, red is positive. That color code is standard across nearly every meter.
Black plugs into COM and stays put. Red moves depending on what you're testing, but for voltage, resistance, and continuity it belongs in the VΩmA jack. Hold each probe by the plastic guard, never the metal tip, so your fingers don't affect the reading.
Reading the Display: What OL, "1," and the Minus Sign Mean
The screen tells you more than a number. Three readouts confuse beginners the most, so let's clear them up.
- OL (or a lone "1" on the left) means overload or open. The value is higher than the range can show. On a continuity test, OL just means no connection.
- A minus sign means your probes are reversed. The reading is still correct in size, you've just got red and black swapped.
- A steady number is your live reading. Give it a second to settle before you trust it.
Set a manual meter to too low a range and you'll see OL even on a good circuit. Bump the range up a notch. On an auto-ranging meter, this sorts itself out.
Knowing what a healthy reading looks like makes these numbers click faster.
AC vs DC: How to Tell Which One You Need
Pick the wrong one and your reading will be zero or nonsense. The rule is simple: batteries and electronics are DC, wall power is AC.
DC (direct current) flows one direction. Think 12V car batteries, 1.5V AAs, 5V USB. Set the dial to V⎓.
AC (alternating current) flows back and forth. Think household outlets at roughly 120V in the US and 230V in the UK and EU. Set the dial to V~.
The symbols back this up. The straight line with dashes under the V means DC. The wavy line means AC.
The National Institute of Standards and Technology, the US authority on measurement at nist.gov, maintains the reference standards behind these electrical units. Testing anything with a plug? Choose AC.
Runs on a battery? Choose DC. Getting comfortable with the right dial setting for a 12V battery removes most of the second-guessing.
How to Measure DC Voltage (Start Here With a Battery)
DC voltage is the friendliest first test, and a battery is the perfect practice target. There's no shock risk with a AA or a 9V, and the numbers are easy to read.

Follow these steps in order:
- Plug the black probe into COM.
- Plug the red probe into VΩmA.
- Turn the dial to V⎓ (DC voltage).
- If manual-ranging, pick a range just above the expected voltage. For a 9V battery, use 20V.
- Touch the black probe to the negative terminal.
- Touch the red probe to the positive terminal.
- Read the screen.
A fresh AA should read about 1.5V. A healthy 9V reads near 9V. A USB port reads about 5V.
See a minus sign? Your probes are just reversed.
Here's a reference for common DC readings:
| Source | Healthy Reading | Notes |
|---|---|---|
| AA / AAA | 1.5V | 1.2V if rechargeable |
| 9V battery | ~9V | Below 7V is weak |
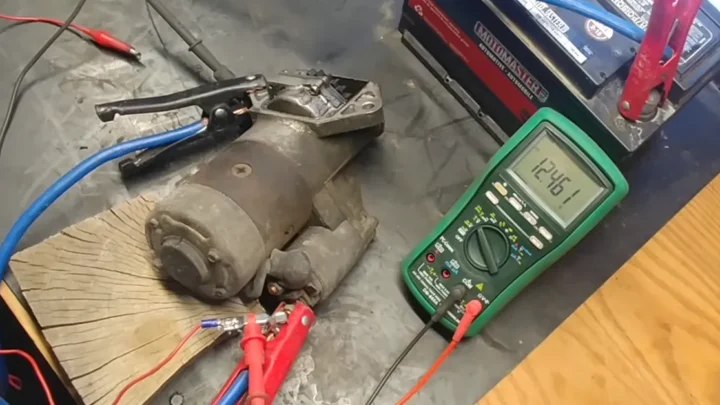
| Car battery (off) | 12.6V | 12.4V is about 75% charged |
| Car battery (running) | 13.7V to 14.7V | Alternator charging |
| USB port | 5V | Standard output |
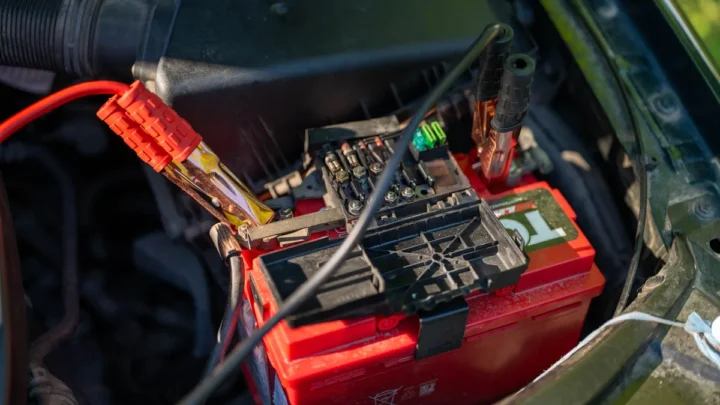
Cars are where DC testing gets genuinely useful. A 12V battery that reads low often explains a slow crank, and knowing what's normal with the engine running helps you tell a tired battery from a charging fault. If your meter shows a suspiciously low number, our guide on the signs of a flat battery walks through what each voltage means.
When you're ready to test a vehicle directly, checking a car battery uses the same seven steps, only on bigger terminals.
How to Test Continuity and Hear the Beep
Continuity is the fastest test on the meter, and it works by sound. When two points are electrically connected, the meter beeps. No beep means the path is broken.
Set the dial to the continuity symbol, that little sound-wave icon. Some meters share it with the diode mode, so you may need to press a function button. Touch the two probe tips together first.
A good meter beeps instantly and reads near 0 ohms. That confirms it's working.
Now use it. Power off and unplug whatever you're testing. Touch one probe to each end of a wire, fuse, or switch.
- Beep = continuous path (good wire, good fuse)
- No beep + OL = broken path (blown fuse, cut wire)
This is how you find a blown fuse in seconds. A good fuse beeps. A dead one stays silent.
The same trick checks extension cords, switches, and appliance leads without ever watching the screen.
How to Measure Resistance the Right Way
Resistance tells you how much a component fights current flow, measured in ohms. The one rule that saves your meter: the circuit must be dead. Never measure resistance on a powered circuit.
Live voltage can damage the meter.
Turn the dial to Ω. Plug black into COM and red into VΩmA. Touch a probe to each end of the component.
A few readings to expect:
- Near 0 ohms means almost no resistance, like a solid wire
- OL means infinite resistance, an open or broken part
- A specific number matches the component's rating, like a 220Ω resistor
Don't pinch both metal tips with your fingers during the test. Your body has resistance, and it'll skew low readings. Hold the plastic guards.
For anything with stored charge, like a capacitor, let it discharge first or the reading jumps around.
How to Check Voltage at a Wall Outlet Safely
Testing a live outlet is your first real shock risk, so respect it. Set the dial to AC voltage (V~) before you go near the socket. A US outlet reads about 120V, a UK or EU outlet about 230V.
Keep your fingers behind the probe guards at all times. Insert the black probe into the neutral slot (the larger one in the US) and the red probe into the hot slot (the smaller one). A working outlet reads close to line voltage.
Here's the quick logic:
- Full voltage between hot and neutral: outlet is live and wired
- Voltage between hot and ground too: ground is present
- Zero across the board: dead circuit or tripped breaker
Only test outlets if you're confident and your meter carries the right safety rating for mains work. If any of this feels shaky, stop and call an electrician. No reading is worth a burn.
Auto-Ranging vs Manual-Ranging: Which Is Easier to Learn On
Auto-ranging is easier for beginners, full stop. You pick the measurement type and the meter figures out the range on its own. No guessing whether to use 2V or 20V.
Manual-ranging asks you to select the range yourself. Set it too low and you get OL. Set it too high and you lose precision.
More steps, more chances to fumble early on.

Similar Posts