How to Spot a Bad Car Battery With a Multimeter
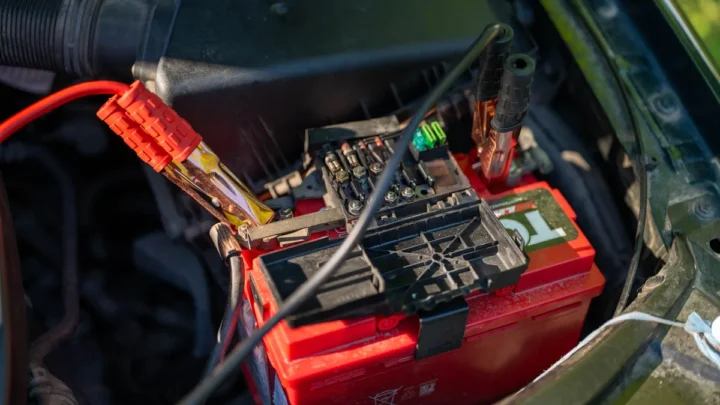
Your car cranks slow, the dash lights flicker, and you're staring at a battery wondering if it's toast. The good news: the signs of a bad car battery a multimeter reveals are clear once you know which numbers to trust. A $20 meter tells you in ten minutes what a guessing game never will.
The catch is that a single reading rarely proves anything. A battery showing 12.6 volts at rest can still collapse below the 9.6-volt cranking threshold that SAE J537 testing uses as the pass/fail line. That's why the sequence matters as much as the numbers, and it starts with understanding what your meter can actually see.
Quick Answer
A bad car battery shows clear warning numbers on a multimeter. Resting voltage below 12.4 volts signals a weak charge. A reading under 10.5 volts usually means a dead cell.
Voltage dropping below 9.6 volts while cranking confirms a failing battery. If the battery won't hold 12.4 volts after a full recharge, replace it.
Why Your Multimeter Beats Guessing When a Car Battery Acts Up
Symptoms lie. A slow crank can come from a dying battery, a weak alternator, corroded cables, or a parasitic drain that empties a healthy battery overnight. Swap the battery on a hunch and you might spend $150 to $300 fixing nothing.
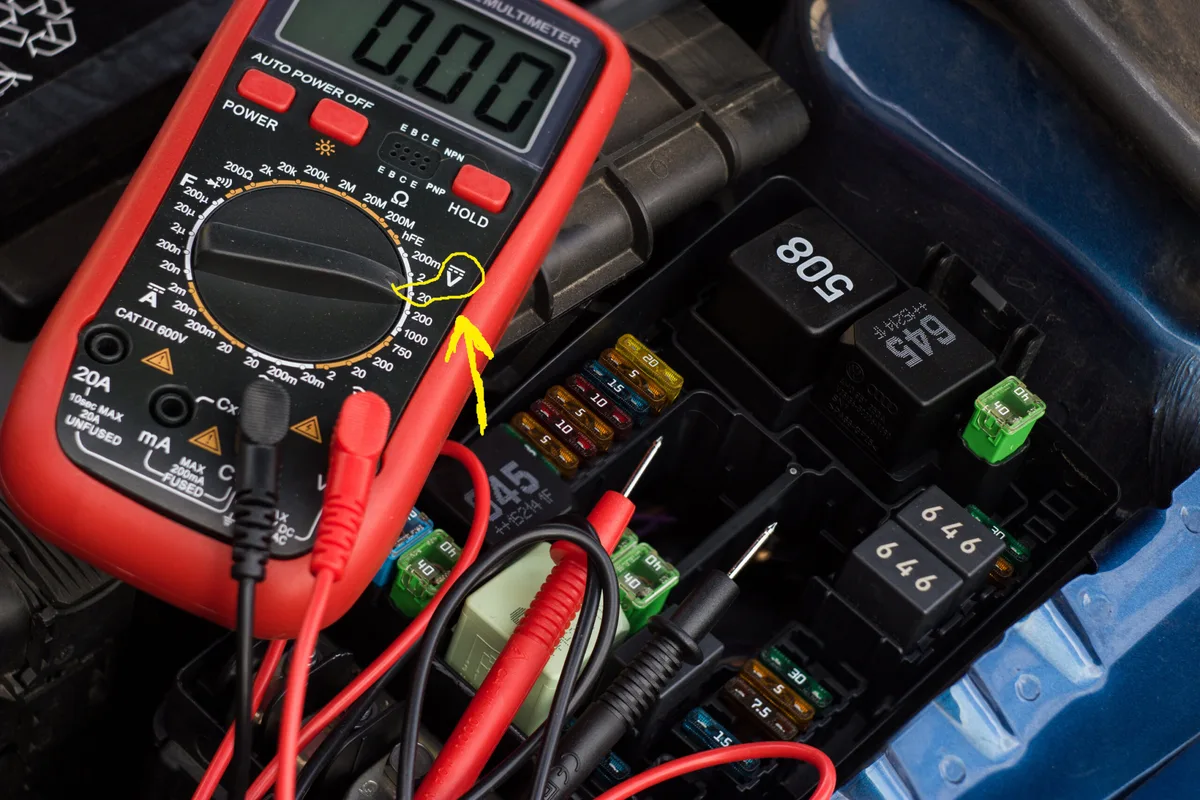
A multimeter turns that guesswork into a decision tree. Each reading points to a specific cause and a specific next step. In our research, the four-test sequence below (resting voltage, cranking voltage, charging voltage, and a drain check) separates battery problems from charging problems in under 15 minutes.
It helps to know what you're measuring. A standard 12V battery is six cells of roughly 2.1 volts each, wired in series. If one cell shorts internally, the whole battery loses about 2 volts, and your meter catches that instantly.
If you want the full picture of how the chemistry works, it makes every reading below easier to interpret.
One honest limitation up front. A multimeter measures voltage, not capacity. It can't directly test the cold cranking amps a battery delivers on a freezing morning.
But used in the right sequence, it exposes almost every failure mode that matters, and it flags the rare cases where you need a proper load test.
The Voltage Numbers That Actually Matter (Quick Reference Chart)
Memorize one number if nothing else: 12.6 volts. That's a fully charged, healthy 12V battery at rest. Every diagnosis below builds off how far your reading falls from it.
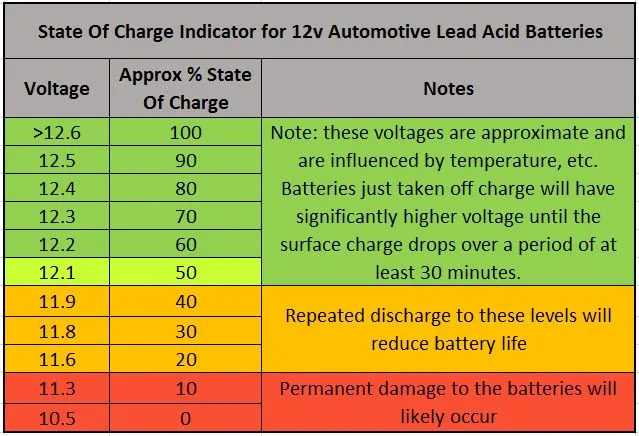
Here's the full chart for a standard flooded battery, engine off, after the surface charge is removed:
| Resting Voltage | State of Charge | What It Means |
|---|---|---|
| 12.6V or higher | 100% | Fully charged. Health still unproven until the cranking test. |
| 12.4V | ~75% | Acceptable, but slightly undercharged. Worth watching. |
| 12.2V | ~50% | Discharged. Recharge and find out why. |
| 12.0V | ~25% | Deeply discharged. Damage is likely occurring. |
| 11.9V or lower | ~0% | Effectively dead. Recharge fully before judging the battery. |
| Below 10.5V | Failure | Classic dead cell signature. Replacement territory. |
Notice how tight that scale is. The entire range from full to empty spans barely 0.7 volts. That's why a dashboard voltmeter isn't good enough.
You need a digital meter reading to at least one decimal place, ideally two.
Two conditions shift the chart. AGM batteries rest slightly higher, around 12.8 to 13.0 volts when full. And cold weather drags every reading down a bit, so a 12.5V reading on a frozen morning is healthier than the same number in July.
If you're unsure what voltage your battery should sit at, the 12.6V benchmark covers the vast majority of vehicles on the road as of 2026.
Setting Up Your Multimeter the Right Way
Wrong settings produce wrong diagnoses. Aggregate user feedback on battery testing shows the same handful of setup errors, so let's get the meter right before touching the battery.
Which Setting to Use (DC Volts, 20V Range)
Turn the dial to DC voltage. It's usually marked V with a straight line and a dashed line above it, never the wavy line (that's AC, for wall outlets). If your dial's markings look cryptic, this rundown of what each dial position means clears it up fast.
On a manual-ranging meter, pick the 20V range. A car battery sits around 12 to 15 volts, so 20V gives you the best resolution. Choose the 200V range and you'll lose the decimal precision this job depends on.
If you own an auto-ranging model, just select DC volts and let it pick the range. Not sure which type you have? Here's how auto-ranging meters work and why they're more beginner-friendly for this exact test.
Check your leads too. Black probe in the COM jack. Red probe in the jack marked V (not the 10A jack, which is only for current measurements).
Where the Probes Go (and What a Negative Reading Means)
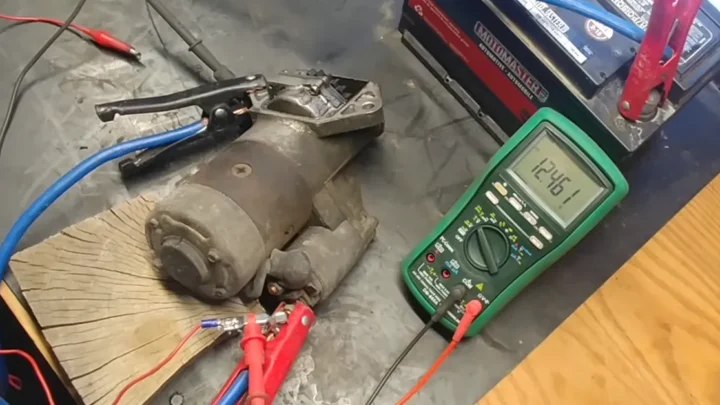
Red probe on the positive post, marked + and usually under a red cover. Black probe on the negative post, marked with a minus sign. Press the metal tips firmly against bare metal on the posts themselves, not the clamps, for the truest reading.
See a negative number like -12.6V? Don't panic. You've simply reversed the probes, and digital meters just flip the sign.
Swap them and the reading is valid either way.
If the display jumps around or reads near zero, you've got a contact problem. Scrape through any film of corrosion or grease with the probe tip. New to reading the display in general?
This beginner walkthrough on making sense of the numbers fills the gaps, and the DCV notation itself is explained in this short guide.
Step 1: Kill the Surface Charge Before You Test Anything
Test a battery right after driving and it will lie to you. Charging leaves a thin layer of excess charge on the lead plates, called surface charge. It inflates the reading by 0.2 to 0.4 volts for hours, making a tired battery look healthy.
A battery that's actually at 12.2 volts (half dead) can display 12.6 and pass your test. Then it strands you a week later. Removing surface charge is the single most skipped step in DIY battery testing.
You have two options:
- The patient way: let the car sit with everything off for at least 4 hours, ideally overnight. This gives you the most honest resting reading.
- The fast way: turn the headlights on for 1 to 2 minutes, switch them off, then wait 2 minutes before measuring. The small load burns off the surface layer.
If the car has been parked overnight already, you're good. That's the ideal test condition, which is why the best time to check a suspect battery is first thing in the morning before you start the engine.
Step 2: The Resting Voltage Test, Reading by Reading
Engine off, key out, lights off, doors closed. Probes on the posts. Now the number on the screen becomes your first decision branch.
Here's the if/then logic for each range.
12.6V or Higher: Charged, But Not Necessarily Healthy
A reading of 12.6V or above means the battery is fully charged. It does not mean the battery is good. This is the most misunderstood result in all of battery testing.
Voltage confirms state of charge, not state of health. A sulfated five-year-old battery can rest at 12.6V and still fail the moment the starter demands 150+ amps. If your car cranks slowly despite this reading, go straight to the cranking test in Step 3.
That's where charged-but-dying batteries get exposed.
12.2V to 12.4V: Discharged or Dying? How to Tell
A reading in this band means the battery is 50 to 75 percent charged. The battery might be fine and simply undercharged. If your driving is mostly short trips, the alternator may never get time to top it up fully.
The move here: recharge fully with a proper charger, let it rest overnight, and retest. If it now holds 12.6V, the battery is likely fine and the problem lies elsewhere. If it settles back into the low 12s after a full charge, the battery is losing its ability to hold charge.
That's an early failure sign.
Below 12.0V: The Readings That Point to Real Trouble
Under 12.0 volts, the battery is deeply discharged, and lead-acid chemistry punishes that state. Sulfation hardens on the plates within days, permanently stealing capacity. Something drained it: a light left on, a parasitic draw, a failing alternator, or a battery that's simply worn out.
Recharge it fully before passing judgment. But treat any battery found below 12.0V as a suspect. Even if it recovers, aggregate industry data shows deep discharges shorten remaining lifespan significantly, especially in flooded batteries.
Below 10.5V: The Dead Cell Signature
A resting reading around 10.4 to 10.6 volts after a charge attempt is the textbook dead cell signature. Remember the math: six cells at 2.1 volts each. Lose one to an internal short and you get five cells times 2.1V, roughly 10.5 volts.
No charger fixes a shorted cell. If your battery charges up, then falls back to the 10.5V neighborhood, stop testing. It's done.
The same verdict applies to any battery that reads near zero or refuses to accept a charge at all, which usually signals a broken internal connection.
Step 3: The Cranking Test, Where Weak Batteries Get Exposed
This is the test that catches the liars. A battery can rest at 12.6V all day, but cranking forces it to deliver over 100 amps in a burst. Weak plates can't sustain that, and the voltage collapses right on your meter's screen.
The pass/fail line is 9.6 volts during cranking. That threshold comes from the load standards published by SAE International, which define how batteries are rated for cold-weather starting. Hold above it and the battery has real muscle left.
Dip below it and the battery is failing, regardless of what the resting test said.
Here's the procedure:
- Set the meter to DC volts, probes on the posts, same as before.
- Have a helper crank the engine for 3 to 5 seconds.
- Watch the lowest number the display hits while the starter spins.
No helper available? Use the Min/Max button if your meter has one. It records the lowest voltage automatically, so you can crank the engine yourself and read the captured minimum afterward.
Interpret it with simple if/then branches:
- Stays above 10.5V: strong battery. Look elsewhere for your starting problem.
- Dips to 9.6V to 10.5V: acceptable, but aging. Fine in summer, risky in January.
- Falls below 9.6V: failing battery. It can no longer deliver its rated cranking amps.
- Crashes below 8V and the starter just clicks: severely discharged or internally shorted.
Temperature matters here more than anywhere else. Cranking demand roughly doubles in freezing weather while battery output drops sharply. A battery that barely passes at 70°F will likely fail at 20°F, which is exactly why the cold cranking rating printed on the label is measured at 0°F.
Step 4: Test With the Engine Running to Rule Out the Alternator
A perfect battery dies fast if nothing recharges it. So before you condemn or clear the battery, start the engine and measure across the same two posts. You're now reading the alternator's output.
The healthy window is 13.5 to 14.7 volts at idle. That range means the charging system is pushing current back into the battery the way it should. Some newer vehicles with smart charging dip lower once the battery is full, so rev to 1,500 rpm and recheck before assuming a problem.
Readings outside the window tell their own story:

Similar Posts