How to Test a Car Fuse With a Multimeter
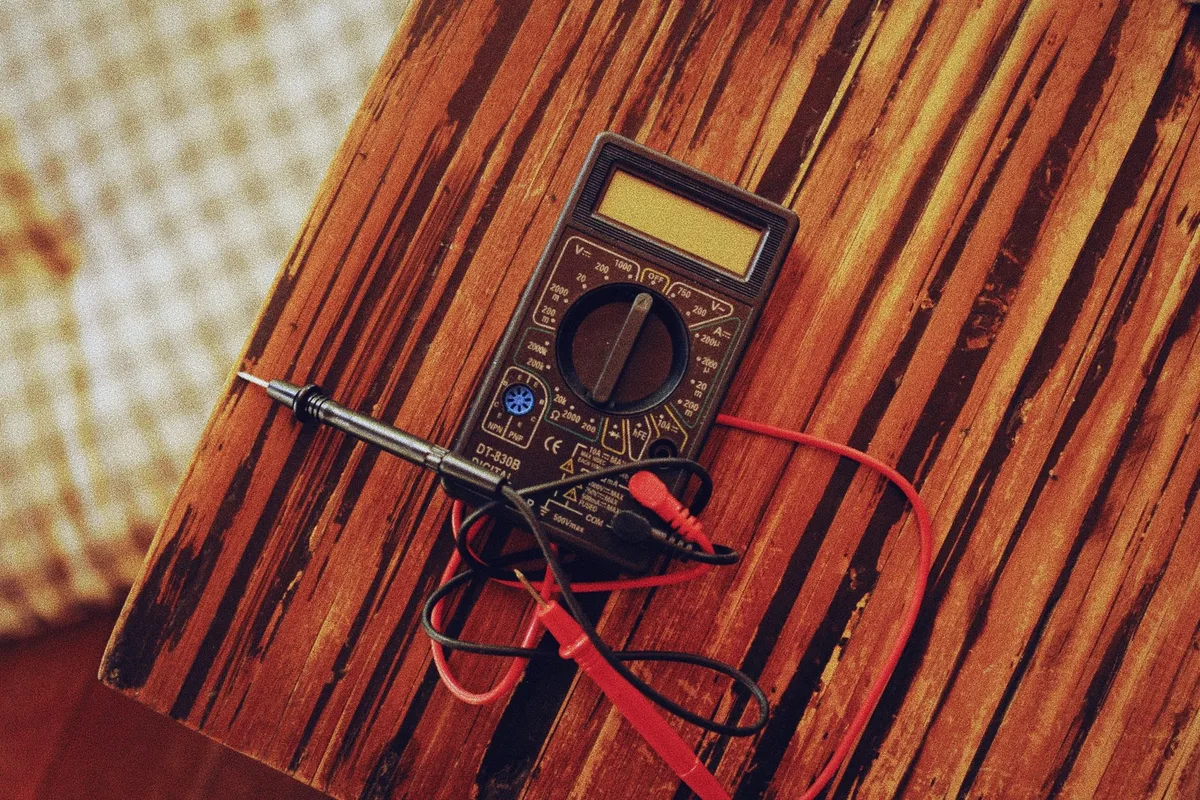
Testing a dead radio or a silent power window usually starts in one place: the fuse box. Knowing how to test a car fuse with a multimeter saves you from guessing, and it stops you from replacing pricey parts that were never broken. A blown fuse is the cheapest, most common cause of a dead accessory.
Your multimeter tells you in seconds whether that little plastic clip is doing its job.
Most car fuses follow the ISO 8820 blade fuse standard, which is why the color codes look the same across almost every make as of 2026. A healthy fuse reads near zero ohms of resistance, while a blown one reads open. Our research shows the biggest mistake isn't the testing itself, it's testing the wrong fuse or misreading the meter.
Let's start with why your eyes alone can't be trusted here.
Quick Answer
Set your multimeter to continuity mode. Turn off the ignition. Touch one probe to each metal test point on top of the fuse.
A beep or a reading near zero ohms means the fuse is good. No beep or "OL" means it's blown and needs replacing.
Why a Blown Fuse Isn't Always Obvious to the Eye
A fuse can look perfectly fine and still be dead. Inside every blade fuse sits a thin metal strip. When too much current flows, that strip melts and breaks the circuit.
Sometimes the break is a clean, obvious gap you can spot through the clear plastic. Other times it's a hairline crack you'll never catch by squinting. That's the whole problem with a visual check.
A photo of two side-by-side fuses makes this clear. One shows a wide melted gap. The other looks intact, but the metal has a near-invisible fracture that still stops current cold.
This is exactly why a multimeter beats your eyes. The meter doesn't care how the fuse looks. It only cares whether electricity can pass through.
If you've ever swapped a good-looking fuse and the problem stayed, you already know why guessing fails.
What You Need Before You Start: Multimeter and Fuse Basics
You don't need fancy gear for this job. A basic digital multimeter (DMM) and a few minutes will do it. Here's the short list.
- A digital multimeter with a continuity or resistance (ohms) setting
- A fuse puller, often clipped inside the fuse box lid
- Your owner's manual or the fuse box diagram
- A set of spare fuses in matching amp ratings
A multimeter is a small tool that measures electrical values like voltage, resistance, and continuity. For fuse testing, you'll mostly use continuity mode. That's the setting with a sound-wave or diode symbol that beeps when electricity can flow between the two probes.
If your meter is auto-ranging, it picks the range for you. If it's manual-ranging, set it to the lowest ohms value, usually 200 ohms. New to reading these settings?
Our walkthrough on dialing in the right DC range covers the correct dial position for 20V DC, which helps when you move on to voltage checks later.
Here's a quick reference for what you'll actually touch on the dial.
| Multimeter Setting | Symbol | What It's For |
|---|---|---|
| Continuity | Sound waves ))) | Fast pass/fail beep test |
| Resistance (ohms) | Ω | Exact reading in ohms |
| DC Voltage | V with straight lines | In-circuit 12V check |
One quick habit worth building: touch the two probes together before you test anything. A good meter beeps and reads near zero. That single move confirms your meter and its battery actually work, so you don't blame a good fuse for a dead multimeter.
How to Read Your Car's Fuse Box Diagram and Find the Right Fuse
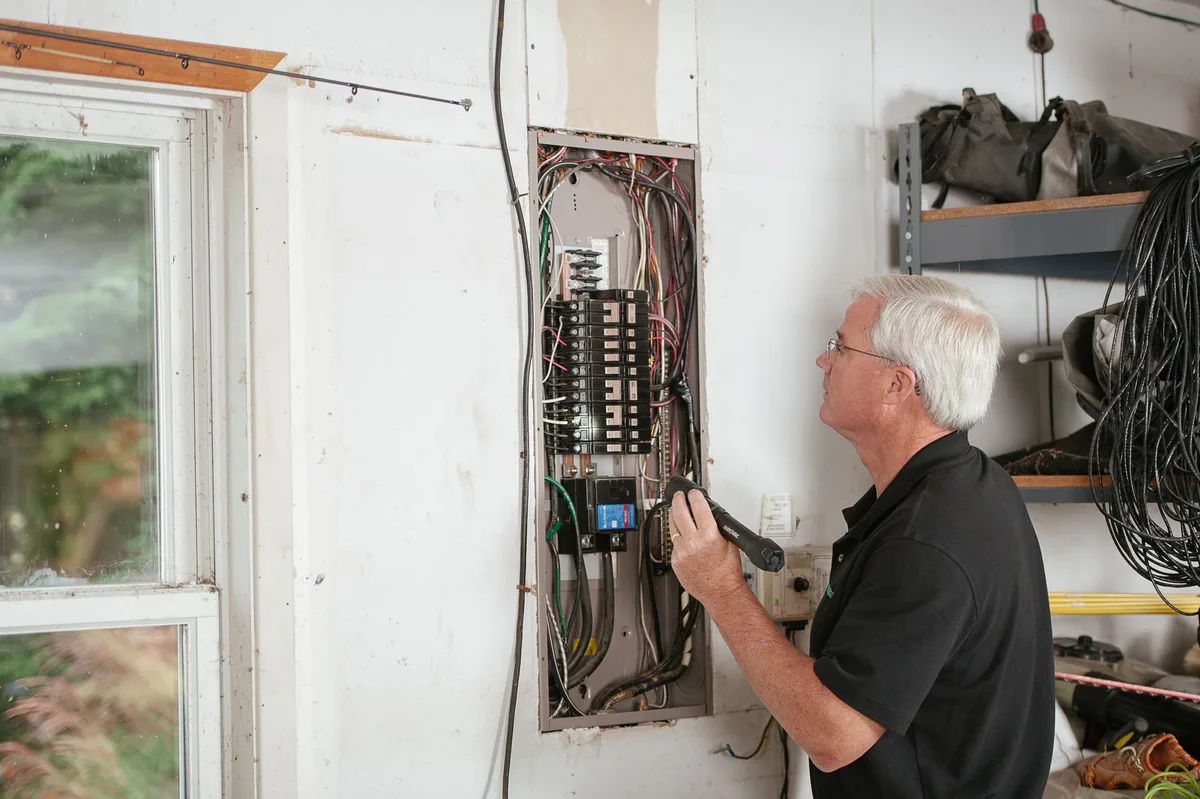
Testing the wrong fuse wastes your whole afternoon. Start by finding the right one. Most cars have at least two fuse boxes, and some have three.
Where the Fuse Boxes Usually Hide
Fuse boxes tend to live in predictable spots. Check these first:
- Under the dashboard, near the driver's left knee or behind a small panel
- In the engine bay, inside a black plastic box with a clip-on lid
- In the trunk or under a rear seat, common on many European models
The underhood box usually holds the bigger fuses and relays for things like the fuel pump and cooling fan. The interior box handles cabin stuff: radio, windows, lights, and the 12V socket.
Decoding Fuse Colors and Amp Ratings
The lid of your fuse box almost always has a printed map. It lists each fuse by number, its amp rating, and the circuit it protects. Match your dead accessory to that map first.
Fuse colors aren't random. Under the blade fuse standard, each color signals a specific amperage. A red fuse is always 10 amps, a blue one is 15 amps, and yellow is 20 amps.
That color code is your fastest way to grab the right replacement later.
If the printed label has faded, the same diagram lives in your owner's manual. Manufacturer documentation is the most reliable source here, so trust it over memory.
The Two Metal Test Points on Top of Every Blade Fuse
Every blade fuse has two tiny metal windows on top. These are your test points. You don't have to pull the fuse to use them.

Look at the top of a standard (ATO/ATC) or mini blade fuse. You'll see two small exposed metal notches, one on each side of the plastic body. Each notch connects directly to one leg of the internal metal strip.
That design is a gift for quick testing. Touch a probe to each notch, and your meter reads straight through the fuse element. No pulling, no fuse puller, no fumbling a tiny fuse into the footwell.
Here's the catch that trips people up. You must touch bare metal, not the plastic top. If your probe tips are too fat or blunt, they'll slip and give you a false "no continuity" reading.
Fine-tipped probes make this much easier.
A close-up photo shows it best: two slim probe tips resting in the two metal slots, not on the colored plastic between them. Get that placement right and the rest is simple.
How to Test a Car Fuse Without Removing It (Voltage Method)
Want the fastest check of all? Test the fuse live, right where it sits, using DC voltage. This method finds a blown fuse in seconds without pulling anything.
Here's the step-by-step:
- Turn the key to the "on" or accessory (ACC) position. The circuit needs power for this test.
- Set your multimeter to DC voltage, in the 20V range.
- Put the black probe on a solid ground, like a bare metal bolt or the negative battery terminal.
- Touch the red probe to the first metal test point on top of the fuse. Note the reading.
- Move the red probe to the second test point. Note that reading too.
Now read the results with simple if/then logic:
- If both test points show about 12V, the fuse is good and passing power.
- If one side shows 12V and the other shows 0V, the fuse is blown.
- If both sides read 0V, the fuse isn't getting power at all, so the fault is upstream, not the fuse.
This live test works because a good fuse carries voltage straight across both legs. A blown one breaks the path, so power stops dead at the gap. It's the same logic behind a full voltage drop diagnosis, just applied to a single fuse.
One safety note before you probe under the hood. Keep your hands and probes clear of moving parts like the cooling fan, which can spin up without warning. And if you spot bright orange cables, stop.
Those are high-voltage hybrid or EV lines, and they're not part of this job.
How to Test a Removed Fuse with Continuity Mode
Pulling the fuse gives you the cleanest pass/fail test there is. Use this when the live voltage check is awkward or you want to be totally sure.
Grab the fuse puller from the box lid and gently pull the fuse straight out. Set your multimeter to continuity mode, the setting that beeps. Touch one probe to each metal blade at the bottom of the fuse.
Read it simply:
- A steady beep means the fuse is good. Current flows through it.
- No beep, and a display showing "OL," means the element is broken. The fuse is blown.
Continuity mode is best for anyone who wants a fast yes or no answer. You don't need to interpret numbers, you just listen for the tone. That makes it the go-to method for most DIY jobs.
One tip: keep the probes steady on the blades for a full second. A quick tap can miss contact and fake a "no continuity" result on a perfectly good fuse.
Testing a Fuse with Resistance (Ohms) Mode
Resistance mode gives you an exact number instead of a beep. It's the better choice when you want proof, not just a sound.
Set the meter to the ohms symbol (Ω). If it's manual-ranging, pick the lowest setting, usually 200 ohms. Touch a probe to each blade of the removed fuse.
Here's how to read the number:
- A good fuse reads near zero, typically under 0.5 ohms. That tiny value is mostly the resistance of your test leads.
- A blown fuse reads "OL" or infinity. No current can cross the broken element.
Ohms mode shines when you're chasing a fuse that seems fine but keeps failing. A reading that jumps around or sits oddly high can hint at a corroded blade or a stressed element. If you already run resistance checks on things like worn battery cables, this will feel familiar.
Reading Your Multimeter: What "OL," a Beep, and 0.0 Actually Mean
These three readings confuse more people than the testing itself. Let's clear them up fast, because reading the meter wrong sends you down the wrong repair path.
"OL" stands for open loop, or over limit. It means the circuit is broken and no current passes. On a fuse test, "OL" almost always means blown.
A beep in continuity mode means the opposite. Electricity flows freely between the probes, so the fuse is intact. A reading near "0.0" ohms says the same thing in number form.
Here's a quick decoder for every mode:
| Reading | Continuity Mode | Ohms Mode | Voltage Mode |
|---|---|---|---|
| Fuse Good | Beep | Near 0.0 Ω | ~12V both sides |
| Fuse Blown | No beep | OL / infinity | 12V one side, 0V other |
One trap to avoid: a dead multimeter battery can fake an "OL" on a good fuse. That's why the probe-touch self-check from earlier matters. If touching the probes together won't beep, replace your meter's battery before you trust any result.
Testing Glass and Ceramic Fuses in Older Vehicles
Older cars and some accessories use glass tube or ceramic fuses instead of blade fuses. The testing logic is identical, but the shape changes how you hold them.
A glass fuse is a small cylinder with a metal cap on each end. Inside runs a thin wire you can often see. A ceramic fuse looks similar but has a solid opaque body, so you can't eyeball the element at all.
To test either one, set the meter to continuity or ohms. Touch one probe to each metal end cap. A beep or near-zero reading means it's good, and "OL" means it's blown.
Ceramic fuses make the case for a meter even stronger. You simply can't see inside them, so guessing is off the table. The multimeter is the only honest answer.
Multimeter vs Test Light: Which One Should You Use
A multimeter and a test light both find a blown fuse, but they answer different questions. A test light is a cheap probe with a bulb that glows when it finds power.
A test light is faster for a rough live check. Poke it on each fuse test point with the key on. If it lights on both sides, power is passing.
If it lights on one side only, the fuse is blown.
The multimeter wins on precision and depth. Here's the honest breakdown:
| Factor | Multimeter | Test Light |
|---|---|---|
| Cost | ~$15 to $30 | ~$5 to $10 |
| Reads exact values | Yes | No |
| Tests removed fuses | Yes | No |
| Speed for live check | Fast | Fastest |
| Best for | Full diagnosis | Quick power check |
Choose a test light if you only ever need a fast "is there power here" answer. Choose a multimeter if you want to test removed fuses, read exact resistance, and use the same tool for checking your battery's voltage down the road. For most owners, the multimeter earns its keep as the do-everything tool.
What to Do When a Fuse Keeps Blowing
A fuse that blows again right after you replace it is a warning, not bad luck. It means there's a short or an overload somewhere in that circuit. Stop swapping fuses and start hunting the cause.
Follow this if/then path:
- If the new fuse blows instantly, suspect a dead short to ground. A wire is likely rubbing bare metal.
- If it blows after a few minutes, suspect an overloaded circuit or a failing component pulling too much current.
- If it only blows when you use one accessory, that device is your prime suspect.
Never fit a higher-amp fuse to stop the blowing. That fuse protects the wiring, and oversizing it can melt insulation or start a fire. Trace the fault instead, often with a parasitic draw check to see what's pulling current it shouldn't.
Safety Rules Before You Probe Anything Under the Hood
A few simple rules keep this job safe. Fuse testing is low-risk, but a car's electrical system still deserves respect.
- Never bypass a fuse with foil, wire, or a nail. You remove the only protection that wiring has.
- Always replace a fuse with the exact same amp rating printed on the old one.
- Keep clear of the airbag (SRS) system and any bright orange high-voltage EV cables.
- Wear eye protection when you're working near the battery.
If a circuit keeps failing after careful testing, that's your cue to call a pro. A repeated fault on airbag, ABS, or high-current systems is not a DIY gamble. The NHTSA at nhtsa.gov is a solid reference for vehicle safety recalls tied to electrical faults.
Amp Ratings and Fuse Color Reference Chart
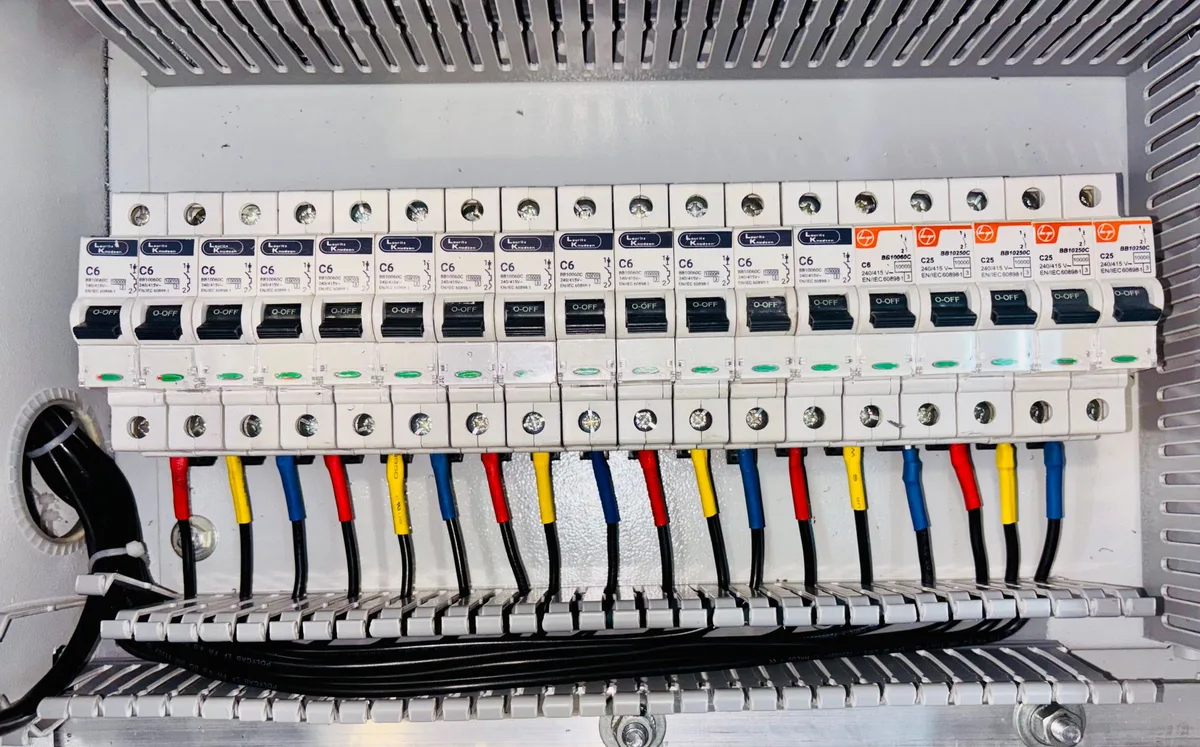
Fuse colors follow a fixed code, so once you know it, you can grab the right replacement at a glance. This chart covers the standard blade fuse ratings you'll meet most often.
| Amp Rating | Color |
|---|---|
| 5A | Tan |
| 7.5A | Brown |
| 10A | Red |
| 15A | Blue |
| 20A | Yellow |
| 25A | Clear/Natural |
| 30A | Green |
Always match both the color and the printed number before fitting a new fuse. When in doubt, the fuse box diagram overrides memory every time.
Frequently Asked Questions
Can I test a car fuse without removing it?
Yes. Use the DC voltage method with the key on. Touch the black probe to ground and the red probe to each metal test point on top of the fuse.
Around 12V on both points means the fuse is good and passing power normally.
What does OL mean when testing a fuse?
"OL" means open loop, or over limit. On a fuse test, it tells you the internal element is broken and no current can pass. That reading almost always confirms a blown fuse that needs replacing with the same amp rating.
Do I need to turn the car off to test a fuse?
It depends on the method. For continuity or resistance tests, turn the ignition off and pull the fuse. For a live voltage test, turn the key to the accessory position so the circuit has power to measure.
Why does my fuse look fine but test as blown?
The internal metal strip can crack in a hairline break you can't see. The fuse looks intact through the clear plastic, but the circuit is open. This is exactly why a multimeter beats a visual check every time.
Your Quick Testing Checklist Before You Replace a Part
Run through this short list before you spend money on any new component. A blown fuse is the cheapest fix, so rule it out first.
- Confirm your multimeter works by touching the probes together for a beep.
- Find the right fuse using the fuse box diagram.
- Test it live with voltage, or pull it and test continuity.
- Read the result: beep or near-zero ohms is good, "OL" is blown.
- Replace only with a matching amp rating.
- If the new fuse blows again, trace the short before going further.
Nail this routine and you'll catch most dead accessories in under five minutes. That's the real payoff of knowing your way around a fuse and a meter.

Similar Posts





















