Why Your Starter Draws Too Many Amps and How to Fix It
A starter that draws too many amps is usually telling you one of three things. Either the starter itself is failing, the cranking circuit has too much resistance, or the engine is fighting you. Get the diagnosis wrong and you'll swap a perfectly good starter, then watch the same symptom come right back.
The fix starts with a real amp reading, not a guess.
Manufacturer service data puts a healthy small gas engine around 125 to 200 cranking amps. A light-duty diesel can pull 400 to 700 under the same load. Anything well outside that band points to a real fault.
Here's what the number means, and how to trace it fast.
Quick Answer
Your starter draws too many amps when resistance or drag enters the cranking circuit. The cause sits in the starter, battery, cables, or the engine itself. Worn brushes, a dragging bendix, or corroded terminals are the usual suspects.
Clamp a DC amp meter on the positive cable to read the real number. Compare that reading to the factory spec for your engine. As of 2026, most factory service manuals still list target cranking amps.
What "Too Many Amps" Actually Means on a Starter
Every starter pulls a big current spike the moment you turn the key. That peak inrush can hit 500 amps or more for a split second, then settle into a steady cranking draw. The steady number is what matters for diagnosis.
When it sits well above the factory range, the starter is working too hard for the load it should be turning.
Two categories of fault drive that number up. Internal faults live inside the starter: shorted windings, worn bushings, a scored commutator, dragging brushes. External faults live in the circuit or the engine: bad cables, weak grounds, thick oil, mechanical drag on the crankshaft.
The distinction matters because the fix is completely different. A shorted armature needs a new starter. A bad ground needs a five-minute cable clean.
Reading the amps tells you which side of the problem to work on first.
Normal Cranking Amp Ranges by Engine Type
Cranking current varies a lot by engine size, compression ratio, and starter design. A number that's normal for a diesel would flag a warning on a compact four-cylinder. Before you decide a starter is pulling too much, you need to know what "too much" looks like for that specific engine.
The rough guide below reflects aggregate data from Delco Remy, Denso, and Bosch service literature for warm engines at roughly 70°F.
| Engine type | Typical steady cranking amps |
|---|---|
| Small 4-cylinder gas | 125 to 200 A |
| V6 gas | 150 to 250 A |
| V8 gas | 200 to 300 A |
| Light-duty diesel | 400 to 700 A |
| Heavy-duty diesel | 700 to 1000+ A |
Cold weather pushes every one of these numbers up. Thick oil, sluggish battery chemistry, and tighter clearances all raise the load. A 30% jump in current at 0°F is not a fault.
A 30% jump at 70°F is a strong signal.
The Fastest Way to Confirm the Starter Is the Real Culprit
Before you drag out tools, run a quick sanity check. A slow, high-amp crank on a warm engine with a strong battery points hard at the starter or its wiring. A slow crank with a battery that collapses below 9.6 volts under load points at the battery first.
Use this 30-second triage:
- Check resting battery voltage. A healthy resting reading sits at 12.6 volts or higher.
- Turn the key and watch the voltage. Any dip below 9.6V while cranking means the battery is weak or a cable is choking the circuit.
- Feel the starter housing after two crank attempts. Hot metal means the motor is fighting drag or shorting internally.
- Listen. One loud click with no crank usually means the solenoid or a dead spot on the armature. Rapid clicking almost always means low voltage at the solenoid coil.
If the battery holds voltage but the starter runs hot and the amps read high, the starter itself is the prime suspect.
Tools You Need Before You Start Testing
You don't need a full shop kit. Four tools cover about 95% of starter diagnostics.
| Tool | Why it matters |
|---|---|
| DC inductive amp clamp | Reads cranking current without breaking the circuit |
| Digital multimeter | Voltage drop and resting battery checks |
| Battery load tester or conductance tester | Confirms the battery can actually deliver cranking current |
| Wire brush, sockets, terminal puller | Cable removal and terminal cleaning |
A cheap AC-only clamp will not work here. Cranking current is DC, and an AC clamp reads zero. Make sure your meter is rated for at least 600 amps if you're testing anything bigger than a four-cylinder.
Diesel owners should reach for a 1000-amp or 2000-amp clamp.
If a multimeter is new to you, a basic voltage check is the same skill you'll use for the drop test in the next section.
Step-by-Step Amp Draw and Voltage Drop Test
This is the test that ends the guessing. Done properly, it tells you exactly which part of the cranking system is out of spec.
Setting Up the Inductive Amp Clamp
Zero the clamp before every use. Any offset drift will skew the reading. Clamp it around the positive battery cable with the arrow pointing away from the positive terminal.
Some techs prefer the ground cable, which also works. Just don't clamp around both cables at once. The opposing magnetic fields cancel and you'll read zero.
Disable the ignition or fuel system so the engine cranks but doesn't fire. Pulling the fuel pump relay or the ignition fuse works on most vehicles. On a diesel, cut power to the fuel shut-off solenoid.
Reading Peak Inrush vs Steady Cranking Current
Crank the engine for five to ten seconds and watch two numbers on the clamp.
- Peak inrush: the split-second spike as the starter engages. Usually 400 to 800 amps on gas engines, higher on diesels. Only proves the starter drew current.
- Steady cranking: the number that settles after the first half-second. This is the diagnostic figure. Match it against the table above.
If your clamp only reports an average, that reading still helps. Just remember it drags low from the inrush and reads slightly under the true steady value.
Voltage Drop on the Positive and Ground Path
This is where most DIYers stop, and it's the single most valuable test in the process. Set your multimeter to DC volts.
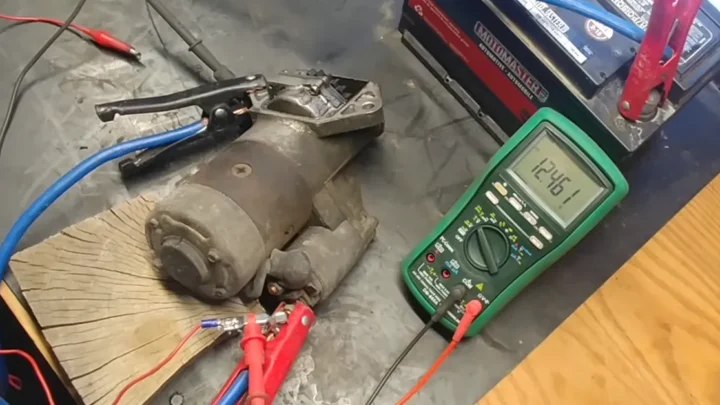
- Put the red probe on the positive battery post. Put the black probe on the starter's main positive stud. Crank. Note the reading.
- Move both probes to check the ground path. Red on the starter housing or engine block, black on the negative battery post. Crank. Note again.
Per SAE International J541 guidance, total voltage drop across the cranking circuit should stay under 0.5 volts. Anything higher means resistance somewhere in a cable, a connector, or the ground strap. Even 0.3 volts of drop on the ground side can starve a starter enough to force an extra 100 amps of draw.
Decision Tree: What Your Amp Reading Is Telling You
Once you've got a real amp number and a voltage drop reading, the diagnosis usually writes itself. Match your results to the branches below.
High Amps + Slow Crank + Low Voltage Drop
The starter is the problem. Voltage drop under 0.5V means the cables and grounds are doing their job. The high current is being consumed inside the motor itself.
Expect worn brushes, a shorted armature, or dragging bushings.
Confirm with a bench test before spending money. A rebuilt or new starter fixes it.
High Amps + Normal Voltage + Hot Starter Housing
Internal short or seized bushing. Voltage looks fine because the starter is a low-resistance dead weight pulling everything the battery has. Heat rises fast because that current turns into pure loss inside the motor.
Do not keep cranking. Continued attempts can melt the solenoid contacts and cook the battery cables.
High Amps + Engine Won't Turn by Hand
Stop testing the starter. The engine has mechanical drag. Pull the plugs and try turning the crank by hand with a socket.
If it won't budge, you're looking at hydrolock, a seized bearing, or timing chain jump.
A perfect starter on a seized engine still draws locked-rotor amps. Fix the engine before you touch the starter.
Normal Amps + Slow Crank + High Voltage Drop
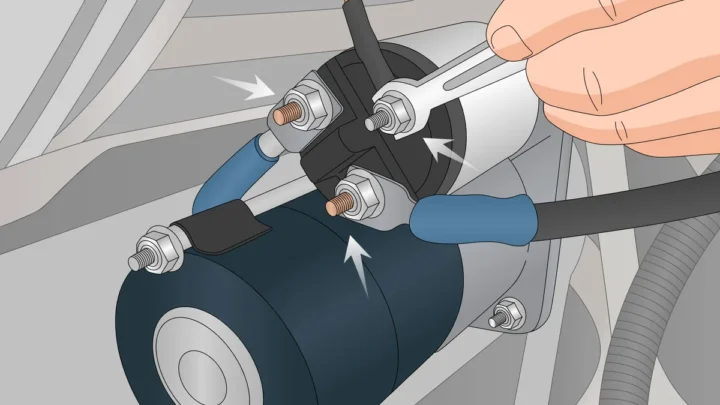
The starter is fine. The circuit is the bottleneck. High drop on the positive side means a bad cable, a corroded battery clamp, or a lazy solenoid contact.
High drop on the ground side means a weak engine-to-chassis strap or a paint-fouled starter mounting bolt.
Clean, tighten, and retest before condemning any part.
Battery and Cable Checks Before You Blame the Starter
More "bad starters" turn out to be bad batteries and dirty cables than any other single cause. If your battery can't hold above 9.6V during cranking, the starter has no chance. It will still try, and it will pull more current trying, which reads as high draw on your clamp.

Run a full battery check first. A conductance tester gives a fast CCA reading. A carbon-pile load tester is more punishing and more accurate.
Either way, confirming the pack's health takes ten minutes and saves you from chasing ghosts.
Then work the cables. Look for:
- Green or white powder around either terminal
- Melted insulation near the starter or solenoid
- A ground strap with broken strands or rust at the bolt
- Loose battery clamps you can twist by hand
Corrosion under a clean-looking terminal is common. Pull the cable off and check the copper underneath. If it's dull, dark, or crumbly, replace the cable end or the whole cable.
Ohm readings lie here. Voltage drop under load is the honest test.
Check the alternator and charging system while you're in there. A battery that never fully recharges behaves exactly like a weak one. A fading charging system often shows up as slow cranks before it throws any warning light.
Internal Starter Faults That Spike Current Draw
When the amps run high and the circuit checks clean, the motor itself is the answer. A few internal faults show up over and over.
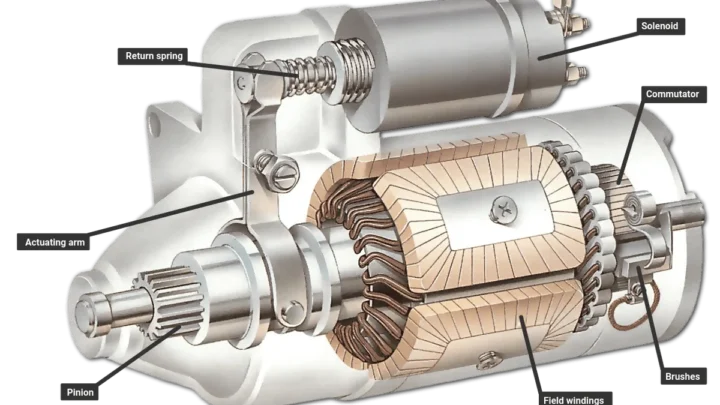
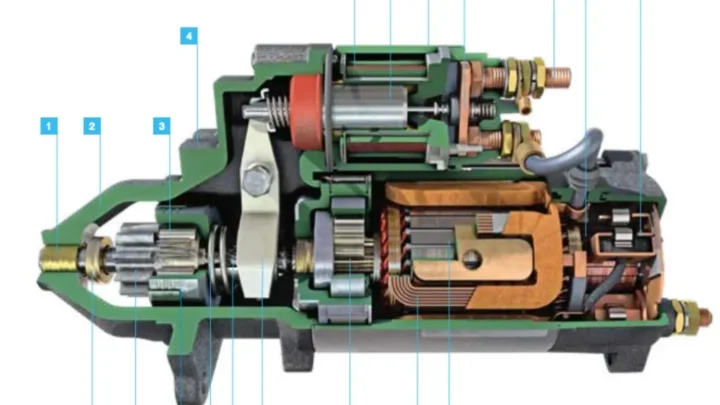
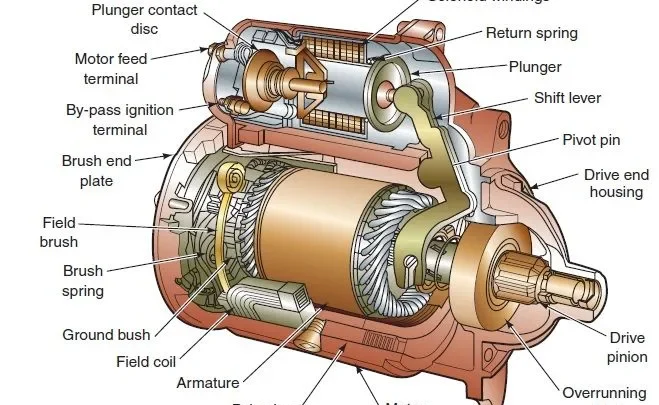
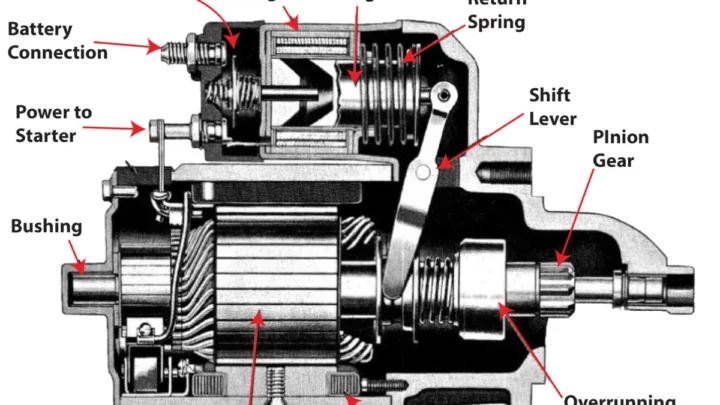
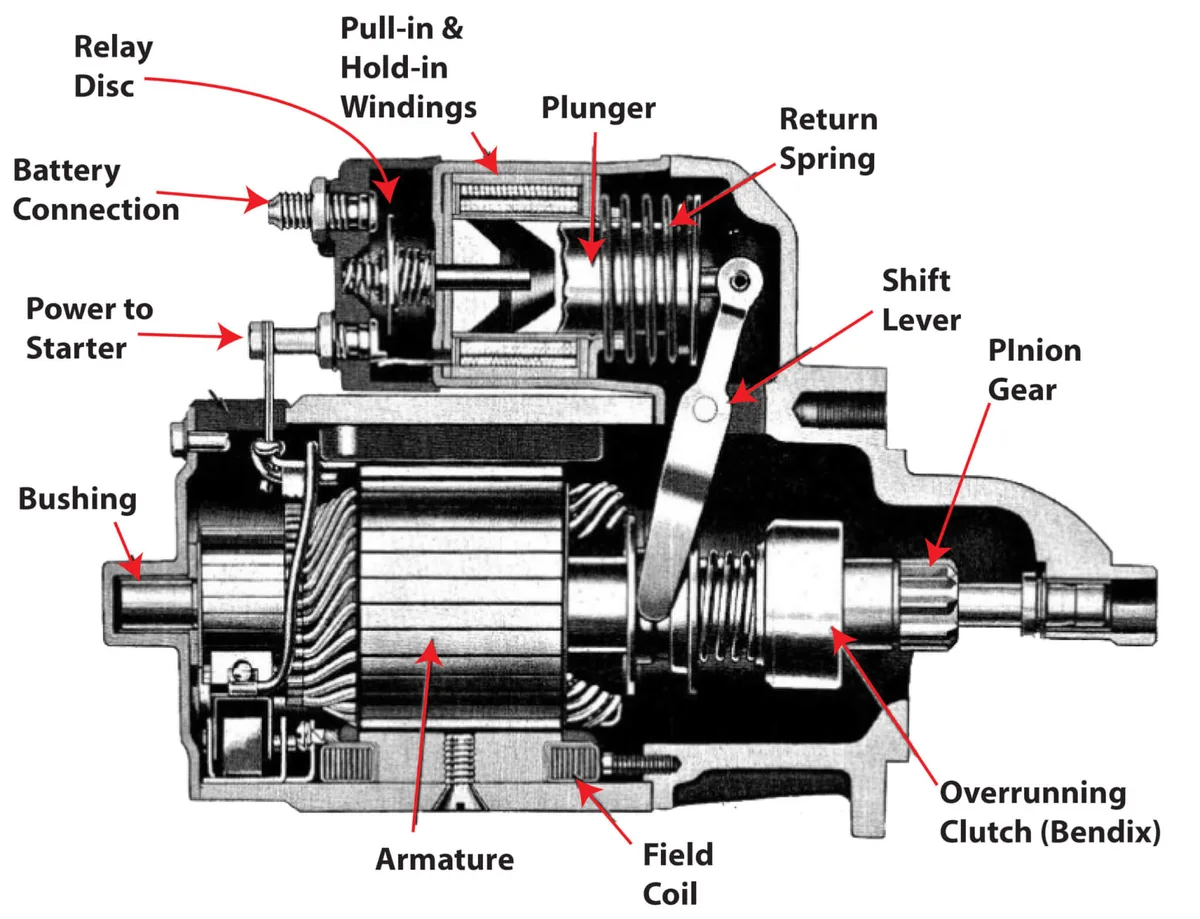
Worn brushes. Once the carbon brushes wear past their spring travel, they lose contact pressure on the commutator. The starter arcs, heats, and pulls extra current to make the same torque.
Shorted armature windings. Insulation breaks down between adjacent windings. Current takes the shortcut instead of doing work.

Similar Posts