How to Test Car Battery Amps With a Multimeter
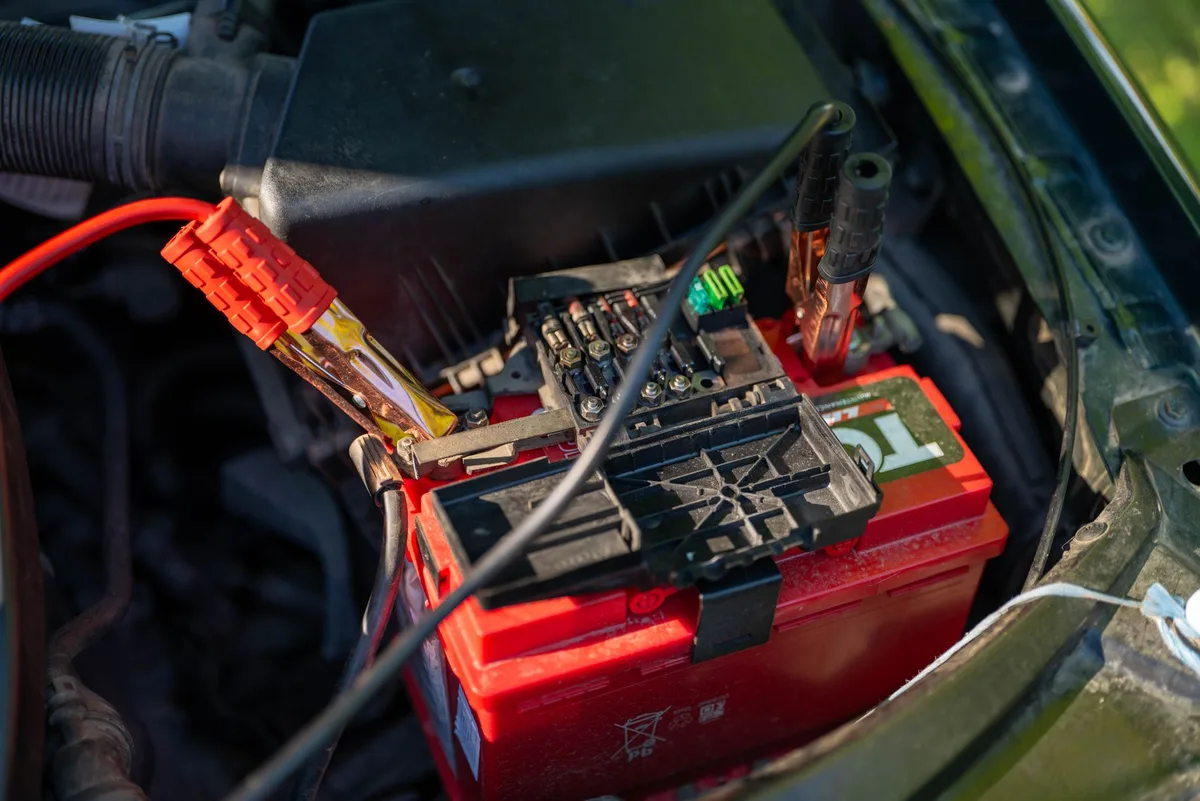
If you searched how to test car battery amps with a multimeter, here's the honest truth up front. A standard multimeter can't measure your battery's cranking amps directly. It reads voltage safely, and it reads tiny currents in series.
What it can't do is survive the hundreds of amps a car battery pushes when you turn the key.
A typical automotive battery is rated in Cold Cranking Amps (CCA), often 300 to 1000 CCA under Battery Council International standards. Your meter's amp jack is usually fused at just 10A. Force those two numbers together and you blow a fuse, or something worse.
So let's cover what your meter really does, and how to check amps the safe way.
Quick Answer
You can't measure car battery cranking amps with a multimeter directly. Set the meter to DC volts to judge battery health. A healthy resting battery reads about 12.6 volts.
To read real current, use a DC clamp meter. For key-off drain, wire the meter in series and expect under 50 milliamps.
What Your Multimeter Can and Can't Measure on a Battery
A multimeter is brilliant at voltage. It's fine with small currents. It is not a tool for measuring how many amps a battery throws at a starter motor.
Here's the split in plain terms.
- Can do: DC voltage (state of charge), voltage drop during cranking, charging voltage with the engine running.
- Can do with care: small DC current in series, like a key-off parasitic drain of a few milliamps.
- Can't do: measure CCA, cranking amps, or any high current the battery delivers under load.
Cranking pulls 100 to 300 amps on a typical car. Diesels pull far more. Your meter's highest amp range tops out around 10A.
That's not a small gap. That's a wall.
So when people talk about "testing amps," what they really want is battery health. And you get that from voltage readings, not from wiring your meter into the starting circuit. If you want the full walkthrough on voltage, this guide on reading resting voltage the right way pairs well with the steps below.
Amps vs. Volts vs. CCA: Why the Difference Actually Matters
Amps, volts, and CCA measure three different things. Mixing them up is where most testing mistakes start.
Think of it like water in a pipe.
- Voltage is the pressure. A 12V battery at rest should sit near 12.6V when fully charged.
- Amps (current) is the flow. It's how much electricity moves at once.
- CCA is a rating, not a live reading. It's how many amps the battery delivers for 30 seconds at 0°F while staying above 7.2V.
Here's the key point. CCA is a lab-tested spec printed on the battery label. It's defined by SAE and Battery Council International test procedures.
You don't measure it with a handheld meter in your driveway. You measure voltage, then read health from how the voltage behaves under load.
| Term | What it measures | How you read it |
|---|---|---|
| Volts (V) | Electrical pressure / charge | Multimeter, DC volts |
| Amps (A) | Live current flow | DC clamp meter |
| CCA | Rated cold-start capacity | Printed label + load tester |
Once that clicks, the rest makes sense. You're not chasing amps with your probes. You're watching voltage tell the story.
The Dangerous Mistake: Why You Never Wire a Multimeter in Series Across the Terminals
Never connect your multimeter in amps mode straight across the two battery terminals. This is the single most dangerous mistake in DIY battery testing, and it shows up in bad advice everywhere.
Here's what happens if you do it. Your meter in current mode is a near-dead short. The battery sees an almost zero-resistance path and dumps everything it can through the meter.
That's hundreds of amps into a device fused for ten.
The results aren't pretty:
- The internal fuse blows instantly, best case.
- Test leads heat up, melt, or arc.
- You get a bright spark, and possibly molten metal near your hands.
- The battery vents hydrogen gas, and a spark near it is a real explosion risk.
Current mode is only for placing the meter in series inside a circuit, so a small, controlled current flows through it. Measuring voltage is different and safe. The meter sits in parallel with high resistance and barely sips current.
So burn this rule in. Volts go across the terminals. Amps go in series inside a circuit.
Never amps mode straight onto the posts. When in doubt, default to DC volts.
Gear You Need (and Why a DC Clamp Meter Changes the Game)
For basic battery health, a decent digital multimeter is all you need. For actual current readings, a DC clamp meter is the tool that makes it safe and simple.
Here's the short list.
- Digital multimeter (DMM): reads DC volts for state of charge and cranking behavior. A CAT III rated meter is plenty for 12V work.
- DC clamp meter: clamps around a battery cable and reads current without breaking the circuit. It uses a Hall-effect sensor, so there's no fuse to blow.
- Safety glasses and gloves: non-negotiable around lead-acid batteries.
- Wire brush or terminal cleaner: corrosion skews every reading.
Why the clamp meter matters so much: it measures current through the magnetic field around the wire. Nothing flows through the meter itself. So you can safely read a 150-amp cranking pulse or a live charging current with zero risk of a short.
Make sure it reads DC current, not just AC. Cheap clamp meters often only do AC amps, which is useless for a battery. Look for a "DC A" setting and a zero button.
For a broader tool rundown and a complete testing routine, this step-by-step battery diagnosis covers the full sequence. Manufacturer guidance from meter makers like Fluke also spells out safe DC current practice if you want to check specs before you start.
Safety Checks Before You Touch a Single Terminal
Run a quick safety pass before your probes go near the posts. Lead-acid batteries hold acid and vent hydrogen gas, so a careless move can burn you or spark an explosion.
PPE, Gas Venting, and Acid Hazards
Put on safety glasses and gloves first. Battery electrolyte is sulfuric acid, and it burns skin and eyes on contact.
Work in a ventilated spot. A charging or cranking battery releases hydrogen, which ignites easily. Keep cigarettes, sparks, and open flames away.
Pull off rings, watches, and metal bracelets. A metal band that bridges a terminal to ground can heat red-hot in seconds. That's a serious burn waiting to happen.
Fuse Ratings and Meter CAT Safety Levels
Check your meter's fuse before any current test. The amp jacks are protected by fuses, usually a 10A and a smaller 200mA or 400mA. Never bypass a blown fuse with foil or wire.
Match the meter to the job with its CAT rating. A CAT III meter handles 12V automotive work comfortably. And always confirm your leads sit in the right jacks.
A lead left in the amp port while you measure volts will short the meter.
How to Read Battery Health With a Multimeter, Step by Step
Battery health comes from three quick voltage checks. Each tells you something different. Together they show whether the battery, the charge, or the alternator is the problem.

Resting Voltage Test (State of Charge)
Turn everything off and let the car sit for a few hours if you can. This clears the surface charge that fakes a high reading.
Set the meter to DC volts, 20V range. Touch red to the positive post and black to the negative. A healthy battery reads 12.6V or a touch higher.
Near 12.2V means it's about half charged.
Cranking Voltage Test (Load Under Start)
Keep the probes on the terminals and have someone crank the engine. Watch the number drop.
A good battery holds above about 9.6V during cranking at normal temperatures. If it plunges to 6V or 7V and the starter drags, the battery is weak or failing. This is the closest a multimeter gets to a real load test.
Charging System Check With the Engine Running
Start the engine and read the terminals again. You want roughly 13.7V to 14.7V.
Below 13V means the alternator isn't charging properly. Above 15V points to an overcharging regulator, which cooks batteries fast. This one test separates a bad battery from a bad charging system.
How to Actually Measure Amps: The Parasitic Draw Test
The one amp reading a multimeter can safely take is a parasitic draw, the small current your car pulls with everything off. That's the test for a battery that keeps dying overnight.
Wiring the Meter in Series the Right Way (Key-Off Only)
Turn off the car and remove the key. Wait 20 to 40 minutes for modules to sleep, or you'll read a false high number.
Set the meter to DC amps, 10A jack. Disconnect the negative battery cable. Place one probe on the cable end and one on the negative post, so the meter completes the circuit in series.
A normal draw is under 50 milliamps (0.05A).
Never start the car or open a door with the meter wired in series. The inrush will blow the fuse instantly.
Using a DC Clamp Meter for Live Current Readings
A DC clamp meter skips all that risk. Clamp its jaws around the negative cable, zero it, and read the current directly.
Nothing flows through the meter, so it handles both a tiny key-off drain and a live charging current. This is the only safe way to watch real amps move while the car runs.
Reading the Numbers: Voltage, Cranking Drop, and Draw Charts
Numbers only help if you know the thresholds. Here's what healthy, marginal, and failing readings look like at around 70°F.
| Test | Healthy | Marginal | Replace / Investigate |
|---|---|---|---|
| Resting voltage | 12.6V+ | 12.2 to 12.4V | Below 12.0V |
| Cranking voltage | Above 9.6V | 9.0 to 9.6V | Below 9.0V |
| Charging voltage | 13.7 to 14.7V | 13.0 to 13.6V | Below 13V or above 15V |
| Key-off draw | Under 50mA | 50 to 85mA | Above 85mA |
Read these together, not alone. A battery at 12.6V resting but dropping to 7V under crank still needs replacing. Voltage and behavior under load tell the full story.
If your resting reading looks off, confirm charge first before condemning the battery. Sometimes it's just flat, not dead.
Multimeter vs. Load Tester vs. Carbon Pile vs. Conductance Tester
A multimeter is the cheapest option, but it isn't the most thorough. Each tester answers a slightly different question, so the right pick depends on how deep you need to go.
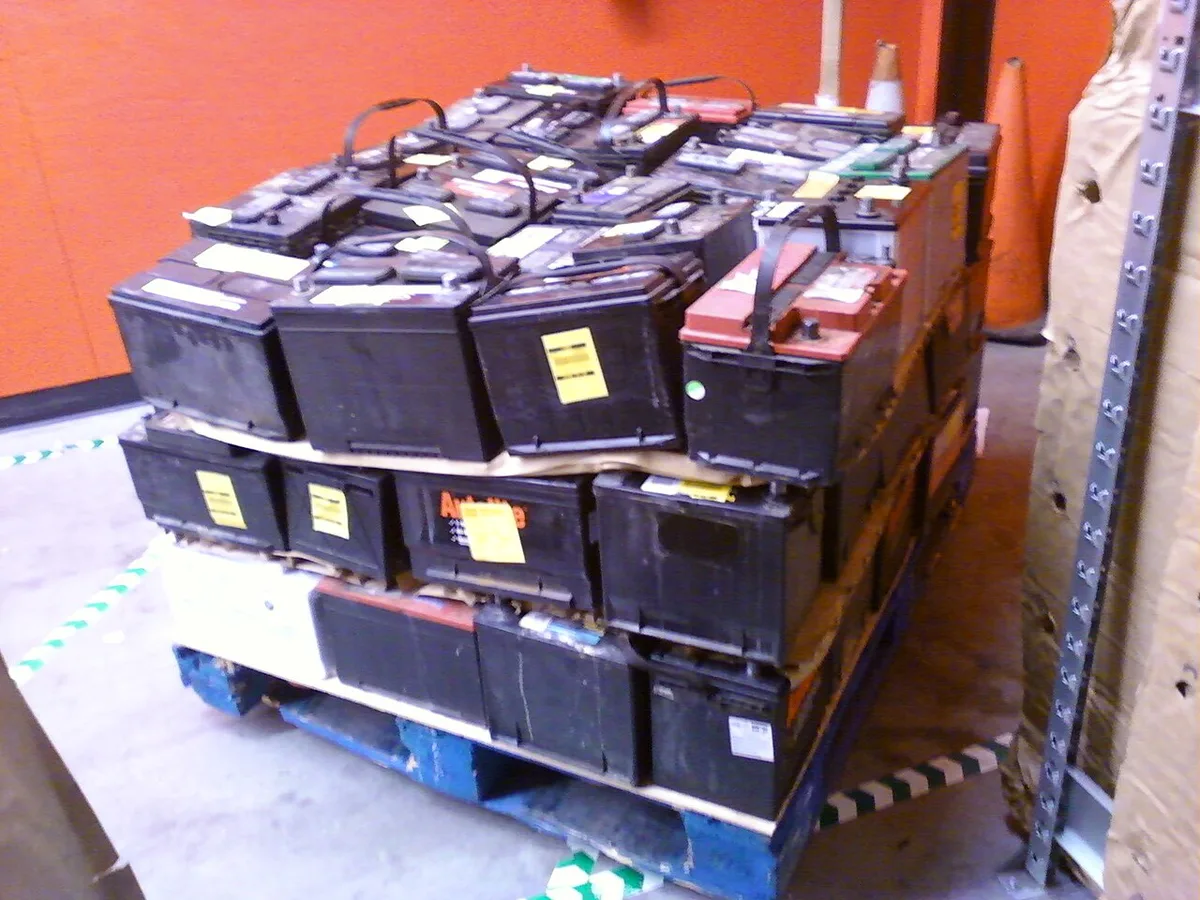
Here's who each tool suits best:
- Multimeter: best for quick voltage checks and parasitic draw. Cheap and versatile, but can't measure CCA.
- Battery load tester: applies a real load and watches voltage hold. Best for confirming cranking strength on a budget.
- Carbon pile tester: draws hundreds of amps for a heavy-duty load test. Best for shops and stubborn diagnoses.
- Conductance tester: sends a small signal to estimate CCA in seconds. Best for a fast, safe health number without cranking.
| Tool | Measures | Best for |
|---|---|---|
| Multimeter | Volts, small amps | DIY health and draw checks |
| Load tester | Voltage under load | Confirming crank strength |
| Carbon pile | Heavy load response | Professional diagnosis |
| Conductance | Estimated CCA | Fast, no-crank testing |
For most home users, a multimeter plus a clamp meter covers the vast majority of what you need. Step up to a load or conductance tester only when the voltage story is unclear.
Common Mistakes That Kill Meters and Skew Readings
Most bad readings trace back to a handful of repeat errors. Fix these and your numbers get trustworthy fast.
- Leaving leads in the amp jacks while measuring volts. This shorts the meter across the terminals.
- Testing right after driving. Surface charge inflates voltage by 0.1V to 0.3V. Let it settle.
- Dirty or corroded terminals. Corrosion adds resistance and drops the reading. Brush the posts clean.
- Loose probe contact. A wobbly touch gives jumpy numbers. Press firmly on bare metal.
- Skipping the module sleep time on a draw test. Open a door and you'll read activity, not the true drain.
One more trap: reversing the probes. On a digital meter you just get a minus sign, which is harmless. On an old analog meter, reverse polarity can peg the needle backward and damage it.
Cold Weather, Heat, and Surface Charge: Factors That Fool Your Readings
Temperature changes both battery performance and what your meter shows. A battery that tests fine in July can crank weakly at 10°F.
Cold slows the chemical reaction inside the battery. At 0°F, a battery delivers only about half its rated cranking power. That's why the CCA rating exists, and why winter exposes weak batteries.
Heat is sneakier. High under-hood temperatures speed up internal corrosion and water loss. So a battery can read healthy yet fail suddenly after a hot summer.
Adjust your judgment for the weather. In the cold, hold cranking voltage to a slightly higher bar. And always clear surface charge before a resting test, since a fresh charge masks a tired battery.
When to Stop Testing and Replace the Battery (or Blame the Alternator)
Replace the battery when it can't hold charge or hold voltage under load. If it reads 12.6V rested but crashes below 9V during cranking, it's done.
Here's the quick decision path:
- Resting voltage low, but recovers fully after charging: battery is fine, something drained it. Hunt the parasitic draw.
- Resting voltage low, won't hold a charge: battery is failing. Replace it.
- Battery cranks weak, charging voltage normal: replace the battery.
- Battery good, charging voltage under 13V: the alternator or regulator is the culprit, not the battery.
A battery older than 4 to 5 years that shows any of these signs isn't worth chasing. Age plus weak cranking is your cue to swap it. And recycle the old one, since lead-acid batteries are regulated and every parts store takes them back.
Pro Tips From the Bench for Faster, Safer Diagnosis
A few habits make testing quicker and safer. These are the shortcuts experienced techs lean on.
- Test cold when possible. A first-thing-in-the-morning reading, before any driving, gives the truest state of charge.
- Charge before you condemn. A deeply discharged battery reads bad even when it's recoverable. Charge fully, rest an hour, then retest.
- Log your numbers. Writing down resting, cranking, and charging voltage spots a trend before a no-start strands you.
- Check both cable ends. Do a voltage-drop test across each connection. More than 0.2V drop means a corroded or loose connection, not a bad battery.
- Keep a spare 10A meter fuse in the case. It's the one part that fails at the worst moment.
Frequently Asked Questions
Can a multimeter measure car battery amps directly?
No. A standard multimeter can't measure a battery's cranking amps. Those run into the hundreds, far above the 10A meter fuse.
Use a DC clamp meter for live current, and read DC volts to judge battery health instead.
What amp reading is normal for a car battery at rest?
At rest with everything off, the only amp reading you should see is the parasitic draw. A healthy figure is under 50 milliamps (0.05A). Anything above 85mA points to a circuit or module staying awake and draining the battery overnight.
Does a low voltage reading always mean a bad battery?
No. A low reading often just means the battery is discharged. Charge it fully, let it rest an hour, then retest.
If it still won't hold 12.6V or drops hard under cranking, then the battery is failing and needs replacing.
How many cranking amps should a car battery have?
That depends on the vehicle, and it's set by the CCA rating printed on the battery label. Most cars use 400 to 700 CCA. You confirm that capacity with a load or conductance tester, not with a multimeter.
Your Quick-Reference Verdict on Multimeter Battery Testing
A multimeter is your first tool, not your only one. It reads voltage brilliantly and handles a key-off draw test safely. It cannot measure cranking amps or CCA.
Keep the rule simple. Volts across the terminals, small amps in series, real current with a DC clamp meter. Never put the meter in amps mode straight on the posts.
For a fast health call: 12.6V rested, above 9.6V cranking, and 13.7 to 14.7V charging means you're good. Miss those marks and you've found your problem. When the numbers stay unclear, reach for a load or conductance tester to confirm.

Similar Posts





















