How to Change a Multimeter Fuse: Easy Step-by-Step Guide
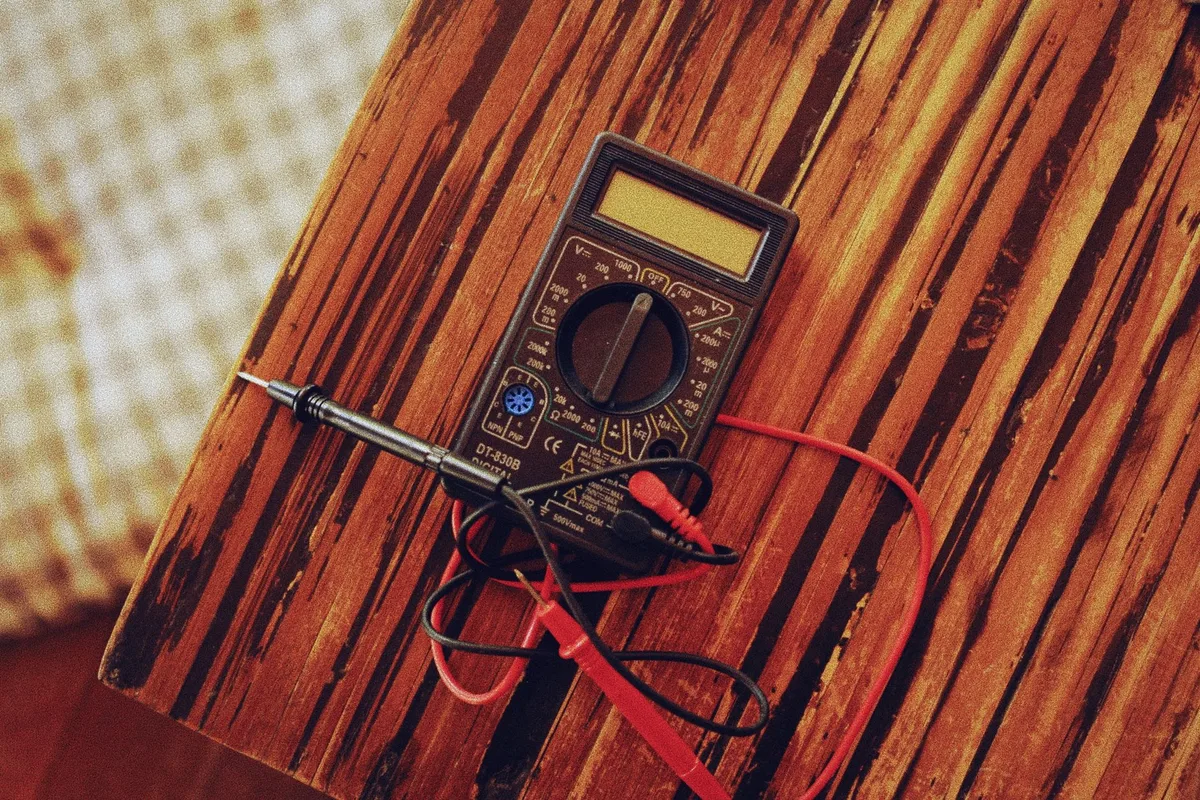
If your multimeter suddenly won't read current, a blown fuse is almost always the culprit. Learning how to change a multimeter fuse takes about ten minutes and saves you from tossing a perfectly good meter. That little fuse sits inside the case, quietly protecting you from a dangerous overload.
When it blows, your amp readings drop to zero or show OL.
Most quality meters use a fast-blow ceramic HRC fuse rated around 440mA/1000V or 11A/1000V. That rating isn't random. It's set by safety standards like IEC 61010-1, the rulebook for test and measurement gear.
Get the swap right and your meter stays accurate and safe. Let's start with why that small part matters so much.
Quick Answer
To change a multimeter fuse, power off the meter first. Unplug both test probes. Open the battery cover or back case with a screwdriver.
Pop the blown fuse out of its clips. Fit a new fuse with the exact same amp, voltage, and interrupt rating. Close the case and test.
Why a Blown Multimeter Fuse Stops You Reading Amps
The fuse only protects the current (amps) function. Your voltage and resistance readings run through a different path, so they keep working fine. That's the classic clue.
If volts read normally but amps show nothing, the fuse is your suspect.
Here's what's happening inside. When you measure current, the meter routes all that flow through a low-resistance shunt. The fuse sits in series with that shunt.
Push too much current through, or probe a live voltage source on the amp setting, and the fuse blows to save the circuit.
That protection matters more than people think. Without a proper fuse, a mistake on a live circuit could send a fault current straight through the meter. The result can be melted leads or worse.
This is the same reason careful readings matter when you're chasing a tiny current leak on a car battery and every milliamp counts.
So a dead amp reading isn't a broken meter. It's the fuse doing its job. Once you confirm that, the fix is simple.
How to Tell the Fuse Is Actually Blown (Before You Open Anything)
Test it first. There's no point cracking the case open if the fuse is fine. The fastest check uses the meter's own continuity mode on the old fuse once it's out, but you can narrow it down before that.
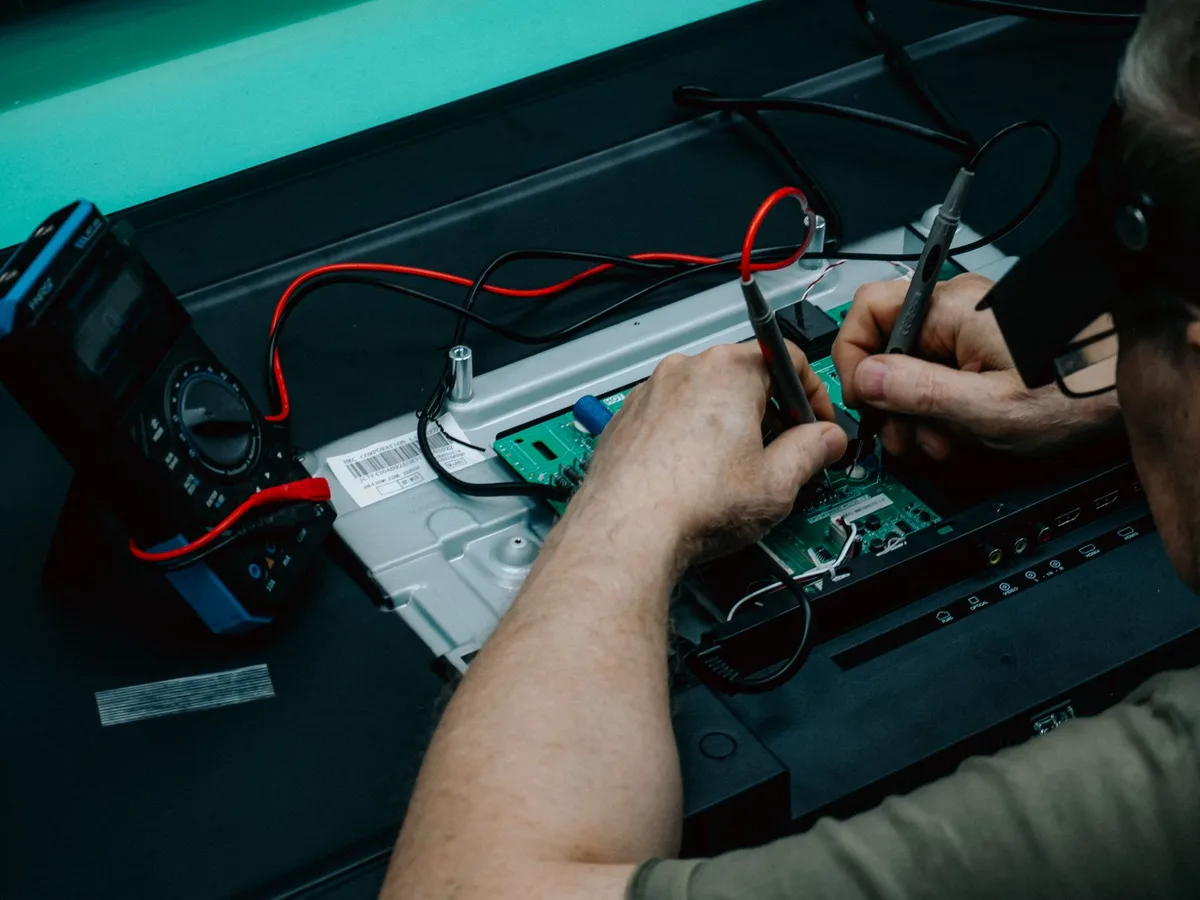
Watch for these signs the amp fuse has gone:
- Current readings sit at 0.00 or show OL on every amp range.
- Volts and ohms still work normally.
- You recently measured amps with the probes in the wrong jack.
- You touched a live circuit while set to amps.
If those line up, pull the fuse and test it directly. Set a second meter (or the same one after removal) to continuity. Touch a probe to each end cap.
- A good fuse reads near 0 ohms and beeps.
- A blown fuse reads OL with no beep.
No second meter handy? A visual check helps too. On a glass fuse you'll often see a broken wire or dark scorch inside.
Ceramic HRC fuses hide the damage, so a continuity test is the only reliable call. When your meter itself seems off, it's worth ruling out a fault in the meter before blaming the fuse.
What's Inside: The One or Two Fuses Your Meter Hides
Most decent meters carry two fuses, not one. This trips people up constantly. You replace one, still get no amps, and assume the meter is dead.
In reality the second fuse was blown all along.
The mA/µA Jack Fuse
This one protects the low-current jack, usually marked mA or µA. It's the smaller fuse, often rated 400mA to 500mA at a high voltage like 1000V. You'll use this jack for small draws, like measuring a parasitic drain on a parked car.
Because people probe small circuits more often, this fuse blows more often too. It's the usual victim of a wrong-jack mistake.
The 10A/20A Jack Fuse
The bigger fuse guards the high-current jack, marked 10A or 20A. It's physically larger and rated for heavy loads. Think starter draw tests or big DC currents.
Not every meter fuses this jack. Some budget models leave the 10A path unprotected, which is one reason cheap meters can be risky on high-energy circuits. Check your manual to see which jacks are fused.
Reading Your Fuse: Rating, Size, and Type That Must Match
The replacement has to match the original on four things: amp rating, voltage rating, physical size, and interrupt capacity. Miss any one and you either get a fuse that won't fit or one that won't protect you. The printing on the metal end cap tells you most of what you need.
Amp and Voltage Ratings on the Cap
The amp rating is the current the fuse allows before it blows. The voltage rating is the maximum it can safely interrupt. Both are stamped on the cap, like 440mA 1000V or 11A 1000V.
Never drop the voltage rating to save money. A 250V fuse in a 1000V slot can arc over during a fault instead of cleanly breaking. That arc is exactly what the high-voltage rating is designed to stop.
Fast-Blow vs Slow-Blow
Meters use fast-blow (F) fuses. They react in milliseconds, which is what protects the sensitive shunt. A slow-blow (T) fuse tolerates a brief surge and can let too much through before it trips.
Match the letter on the cap. An F fuse replaces an F fuse. Swapping in a slow-blow because it "looks the same" defeats the point.
Ceramic HRC vs Glass, and Why It Matters
HRC stands for High Rupturing Capacity. These ceramic fuses are packed with sand that quenches the arc when a large fault current hits. They handle interrupt ratings of 10kA to 20kA, which glass fuses simply can't.
A glass fuse might carry the same amp number, but its breaking capacity is a fraction of that. On a high-energy circuit it can shatter or keep conducting. That's the single biggest safety gap in the whole job, and we'll come back to it.
Here's a quick reference for common meter fuses:
| Spec on the cap | What it means | Typical value |
|---|---|---|
| Amp rating | Current before it blows | 440mA, 500mA, 10A, 11A |
| Voltage rating | Max it can interrupt | 600V or 1000V |
| Speed | Reaction time | F (fast-blow) |
| Body | Arc protection | Ceramic HRC, sand-filled |
| Size | Physical fit | 6x32mm or 10x38mm |
| Interrupt rating | Fault current it survives | 10kA to 20kA |
Tools You'll Need to Open the Meter
You don't need much. Most fuse swaps use a single screwdriver and a few minutes. Gather this before you start so you're not hunting mid-job.
- A small Phillips screwdriver for the case screws (some meters use Torx or a flathead).
- The correct replacement fuse, matched on all four specs above.
- A second multimeter or continuity tester to confirm the old fuse is blown.
- A clean, well-lit work surface so you don't lose the tiny screws.
- Optional: an anti-static wrist strap if you'll be near the exposed board.
Keep the meter powered off and both probes unplugged the entire time. If your meter has a rubber holster, you'll usually peel that back first to reach the screws. Before you open anything, double check you were even using the right dial position for the job, since a wrong setting is what blows most fuses in the first place.
The safety ratings behind these fuses come straight from the International Electrotechnical Commission, which publishes IEC 61010 for test equipment. That standard is why matching the exact fuse spec isn't optional. With your tools ready, you're set to open the case.
Step-by-Step: Changing a Multimeter Fuse Safely
With the meter off and the probes out, you're ready to open it up. Work slowly and keep track of every screw. The whole job runs about five to ten minutes.
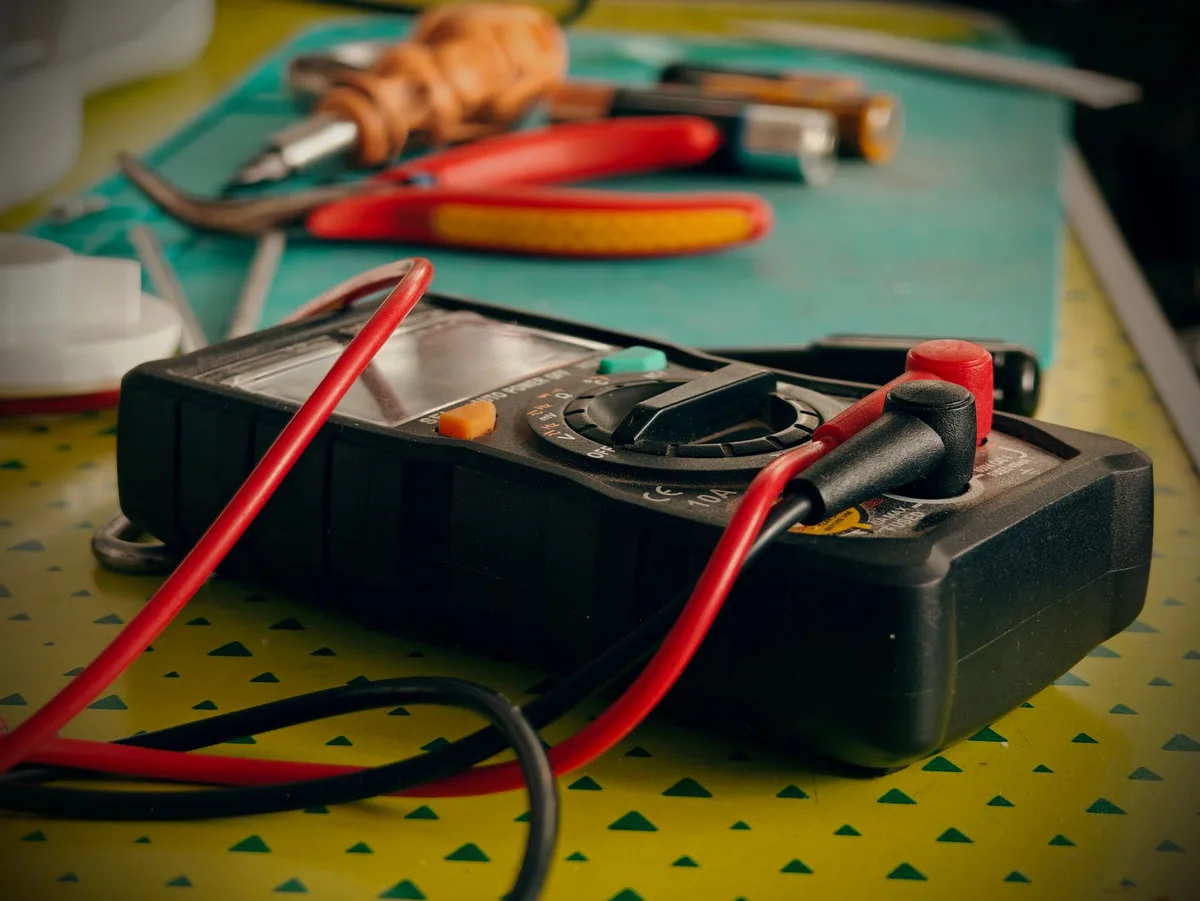
Power Down and Disconnect the Probes
Turn the dial to Off. Pull both test leads out of their jacks. This removes any chance of live current reaching your hands while the case is open.
Never skip it, even if the meter seems dead.
Open the Battery Door or Back Case
Some meters hide the fuses behind the battery door alone. Others need the full back panel removed. Peel off the rubber holster first, then unscrew the case with the right driver.
Set the screws in a small dish so none roll away. If the halves stick, gently work around the seam. Don't pry hard near the LCD ribbon.
Pop the Old Fuse from the Clips
The fuse sits in two spring clips. Ease one end up with a fingertip or a plastic tool. It should lift free with light pressure.
Now test that old fuse for continuity if you haven't yet. This confirms your diagnosis before you spend a new fuse.
Seat the Correctly Rated Replacement
Line the new fuse up with the clips and press it home. Both end caps should snap in fully. A loose fuse gives flaky amp readings later.
Double check the printing matches the original. Same amps, same volts, same F rating, same ceramic body.
Reassemble and Test the Fix
Fit the case halves back together and reinstall the screws snug, not overtight. Slide the holster back on. Then verify the repair with a known small current, like measuring the draw of a flashlight bulb.
If amps read correctly, you're done. If not, check the second fuse and the seating.
Visual Cues That Confirm You've Got the Right Fuse
A quick side-by-side beats guessing. Lay the old fuse next to the new one on a bright surface. They should look like twins in every way that counts.
Here's what a close-up comparison would show:
- Identical length and diameter, so it snaps into the same clips.
- The same printed amp and voltage numbers on the end caps.
- The same body material, ceramic to ceramic, not ceramic swapped for glass.
- Matching end-cap style, either flat or with a small tag.
If the new fuse is even a couple of millimeters off, it won't seat right. A 6x32mm fuse won't fill a 10x38mm holder. Size mismatch is one of the most common ordering mistakes we see in aggregate user reviews.
When the numbers or body don't match, stop. Don't force a "close enough" fuse. The wrong one either falls out or fails to protect you.
Common Mistakes That Blow the Fuse Again
Most repeat blows come from the same handful of errors. Fix the habit, not just the fuse. Otherwise you'll be back inside the case next week.
- Measuring amps with the probes still in the voltage/ohm jack. This is the number one cause.
- Leaving the meter on the amp setting, then touching a live voltage source.
- Forgetting the second fuse is also blown, so amps still read zero.
- Fitting a fuse with too low an amp or voltage rating.
- Using a slow-blow when the meter needs a fast-blow.
The live-circuit mistake is the dangerous one. If you probe a wall outlet or battery terminal while set to amps, you create a near short through the meter. A good HRC fuse saves you.
A weak one might not.
Build one simple habit. Always return the probes to the voltage jack after measuring current. It's the cheapest insurance there is, and it matters just as much when you're chasing a battery that keeps going flat.
HRC Fuse vs Cheap Glass Replacement: The Safety Gap
This is where corners get cut, and where it hurts most. A ceramic HRC fuse and a glass fuse can share the exact same amp number. Their safety performance is worlds apart.
The difference is interrupt capacity, the fault current a fuse can break without exploding. Ceramic HRC fuses are sand-filled to smother the arc. Cheap glass fuses have no such quenching.
| Factor | Ceramic HRC fuse | Cheap glass fuse |
|---|---|---|
| Interrupt rating | 10kA to 20kA | Often under 1.5kA |
| Arc control | Sand-quenched | None |
| Failure mode | Clean break | Can shatter or arc over |
| Right for meters | Yes | No |
Picture a fault on a high-energy circuit. The HRC fuse opens cleanly and you walk away. The glass fuse can shatter, keep conducting, or throw an arc at your hand.
That's not a small risk. On a car starting circuit or mains panel, the available fault current is huge. Only use the fuse type the manufacturer specifies.
Saving a couple of dollars here isn't worth an arc-flash burn.
Genuine vs Aftermarket Fuses: What You Actually Need
You don't always need the branded fuse, but you do need the right spec. A quality aftermarket fuse that matches every rating is fine. A random hardware-store fuse that only matches the amps is not.
Here's how to decide:
- Buy genuine (Fluke, Klein, etc.) if you own a high-end meter and want a guaranteed match. It's the no-thinking option.
- Buy a reputable aftermarket HRC fuse if it lists the same amp, voltage, size, speed, and interrupt rating. Confirm all five.
- Avoid generic glass or automotive fuses entirely for the amp jacks.
Where do people go wrong? They match the amp rating and ignore the rest. A 500mA automotive glass fuse looks right and is completely wrong for a 500mA/1000V meter slot.
Check the datasheet or the label on your old fuse before ordering. Reputable brands print full specs. If a listing only shows the amp number and no interrupt rating, skip it.
The same care you'd give to a proper battery health check applies here: the details are the whole point.
Fuse Rating Chart for Popular Meters
Always confirm against your own manual, since ratings vary by model. Still, a few common values show up again and again. Use this as a starting point, not gospel.
| Meter | mA/µA jack fuse | 10A/20A jack fuse |
|---|---|---|
| Fluke 87V | 440mA / 1000V HRC | 11A / 1000V HRC |
| Fluke 117 | 440mA / 1000V HRC | 11A / 1000V HRC |
| Klein MM600 | 440mA / 1000V | 11A / 1000V |
| Generic budget DMM | 200mA or 500mA / 250V | often unfused |
The pattern holds: fast-blow, ceramic, high voltage. Match the exact figures printed on your fuse.
What a Replacement Fuse Costs and How Long the Job Takes
A replacement fuse runs roughly $3 to $15 each as of 2026. Genuine branded fuses sit at the top of that range. Quality aftermarket HRC fuses cost less and still meet spec.
The job itself takes five to ten minutes once you have the part. Diagnosis and a continuity check add a couple more. Compared to a new meter, it's a bargain.
Safety Rules and Standards That Keep Your Meter Trustworthy
Never bypass the fuse with wire, foil, or a nail. That single shortcut removes all overload protection and can turn a fault into a fire. It's the most dangerous "fix" out there.
Stick to a few non-negotiables:
- Match the manufacturer's fuse rating and interrupt capacity exactly.
- Service the meter only when disconnected from any live circuit.
- Respect your meter's CAT rating (CAT II, III, or IV) for the job.
These rules trace back to IEC 61010-1 and IEC 60127 for the fuses themselves. They exist because a mis-fused meter can fail violently under fault.
When to Repair the Fuse vs Replace the Meter
Replace the fuse if the meter is otherwise healthy. A blown fuse alone is a cheap, quick fix and not a reason to bin a good tool. This is true for nearly every mid-range and premium meter.
Replace the whole meter if the case is cracked, the leads are damaged, or a cheap unit has no proper HRC fuse at all. On a $10 unfused meter, an upgrade buys you real safety. For frequent alternator and charging checks, a properly fused meter is worth every penny.
Frequently Asked Questions
How do I know which fuse blew?
Test each fuse for continuity after removing it. A good fuse reads near 0 ohms and beeps. A blown one shows OL.
If amps still read zero after swapping one, the second fuse likely blew too.
Can I use a glass fuse instead of ceramic?
No, not for the amp jacks. Glass fuses have a much lower interrupt rating and can shatter or arc during a fault. Always use the ceramic HRC type your meter specifies, matched on amps, voltage, and speed.
Why does my multimeter fuse keep blowing?
Usually because you're measuring amps with the probes in the wrong jack, or touching a live voltage source on the amp setting. Return the leads to the voltage jack after every current measurement to break the habit.
Do all multimeters have a fuse?
No. Many cheap meters leave the 10A jack unfused, and some have no fuse at all. Check your manual.
An unfused meter offers far less protection on high-energy circuits.

Similar Posts