How to Change Your Oil Step by Step: A Beginner’s Guide
Learning how to change oil step by step for beginners sounds intimidating until you actually see the parts up close. It's really just a drain, a filter swap, and a refill. Most first-timers finish in under an hour with basic hand tools and a $30 supply run.
The job hasn't fundamentally changed in decades, though as of 2026 more vehicles use full synthetic oils rated to API SP and ILSAC GF-6A, which stretch service intervals to 7,500 miles or beyond. Always cross-check your owner's manual before you start. That single habit prevents most beginner mistakes, and it sets you up for the walkthrough below.
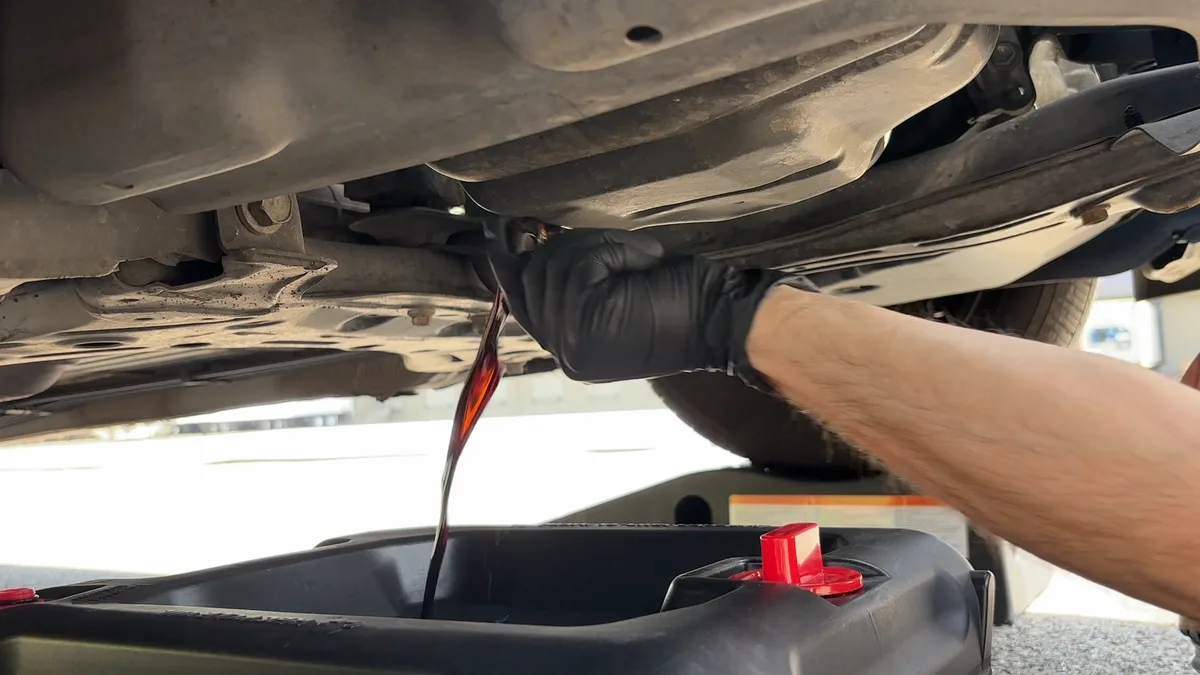
Quick Answer
To change your oil, park on level ground and warm the engine briefly. Lift and secure the car with jack stands or ramps. Drain the old oil into a pan.
Swap the oil filter and install a new crush washer. Refill with the manufacturer-specified oil and quantity. Start the engine, check for leaks, and recheck the dipstick.
Why Changing Your Own Oil Is Easier Than It Looks
The mechanics of an oil change are simple. Gravity pulls the old oil out through one bolt. A filter unscrews like a jar lid.
You pour new oil in through the top. That's the whole process in one sentence.
What makes beginners nervous is the unfamiliar layout under the car. Once you can point to the oil pan, drain plug, and filter with confidence, the rest is mostly patience. Our research across manufacturer service manuals shows the typical passenger-vehicle oil change involves fewer than 10 real actions.
The financial upside is real. A DIY change usually runs $25 to $70 in parts. A shop typically charges $40 to $100 or more.
For a deeper walk-through of the mechanical side, this companion tutorial on doing your first change is a useful second read.
What You'll Actually Be Looking At Under the Hood and Under the Car
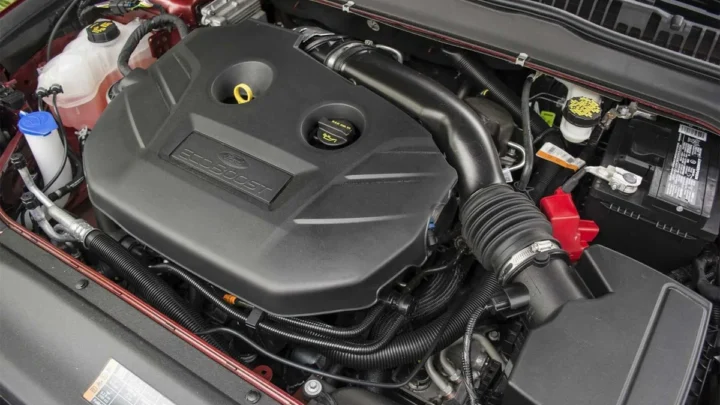
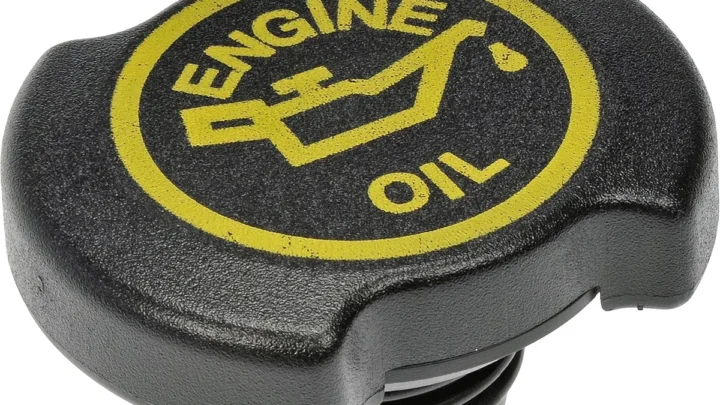
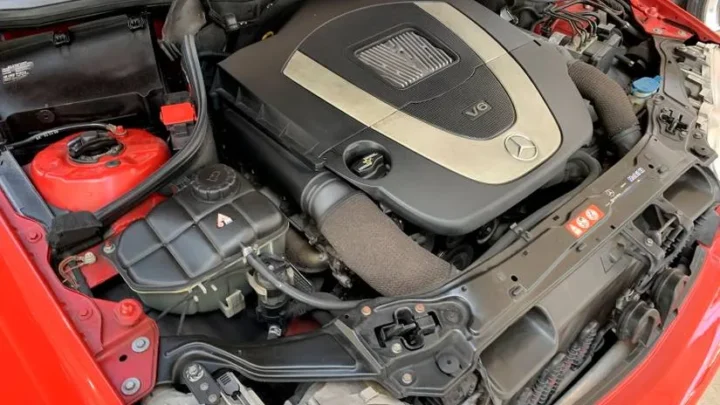
Two spots matter. Under the hood, you're looking for the oil filler cap on top of the engine and the yellow dipstick handle beside it. Under the car, you're looking for the oil pan, the drain plug bolt at its lowest point, and the oil filter.
The oil pan is a shallow metal reservoir bolted to the bottom of the engine block. The drain plug threads into its lowest face so gravity can empty it. The filter is either a spin-on cylinder (roughly the size of a soda can) or a cartridge inside a housing on top of the engine.
If your vehicle has a plastic skid plate underneath, you may need to remove a few 10mm bolts or plastic clips to reach the drain plug. That's normal on many cars built after 2015. Look for access panels first before pulling the whole shield.
The Tools and Supplies You Need Before You Start
You don't need a professional garage. A basic kit covers 95% of passenger vehicles. Buy once and you're set for years of changes.
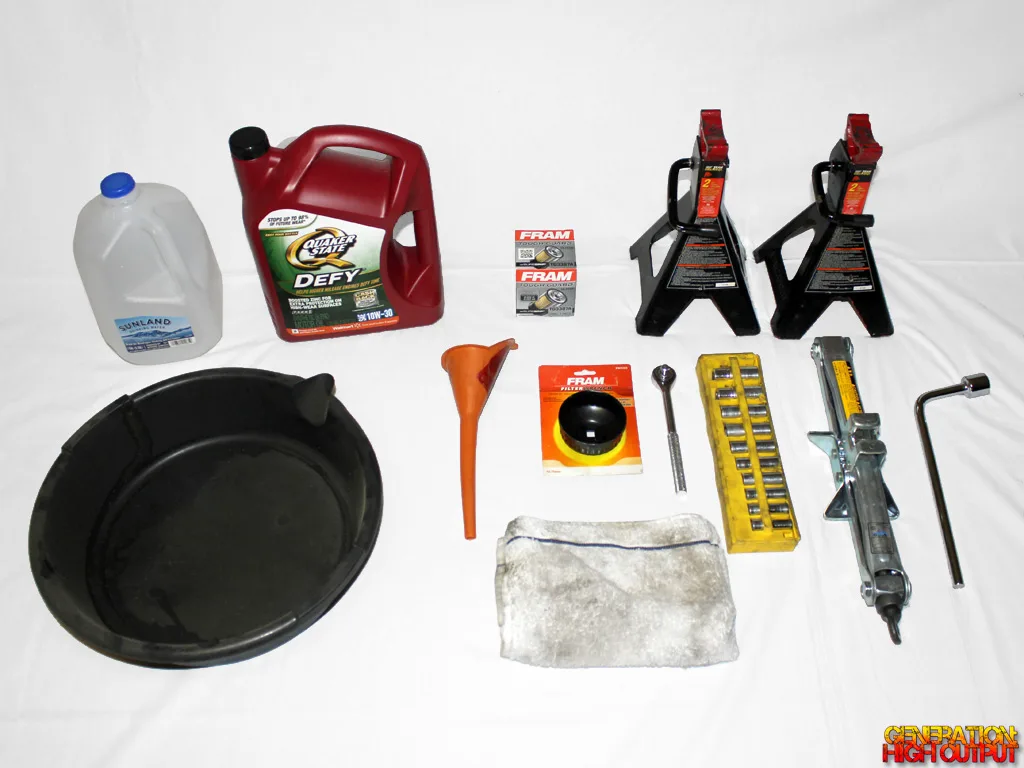
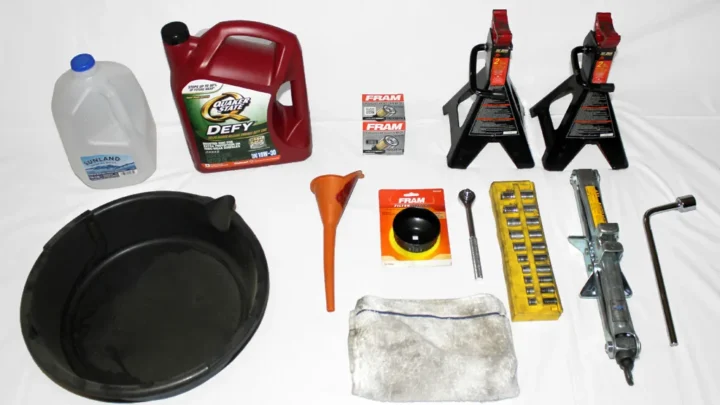
Here's the short list, grouped by job.
| Category | Item | Why You Need It |
|---|---|---|
| Lifting | Jack stands or steel ramps, wheel chocks | Safe access under the car |
| Draining | Drain pan (6+ quart), nitrile gloves, shop rags | Catches oil, keeps hands clean |
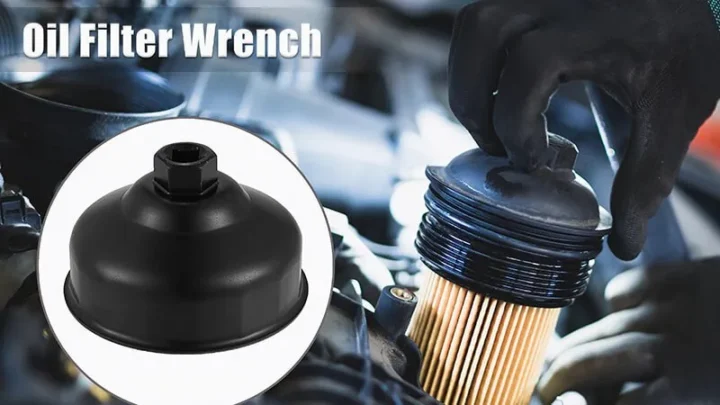
| Turning | Socket set or box-end wrench (typically 13mm to 17mm), oil filter wrench | Loosens drain plug and filter |
| Torque | Torque wrench (10 to 80 ft-lb range) | Prevents overtightening |
| Refilling | Funnel, correct oil quantity, new oil filter, new crush washer | Clean refill, leak-free seal |
| Cleanup | Cardboard, sealable oil jugs for used oil | Protects driveway, transports for recycling |
A few notes from aggregate DIY reviews. A magnetic tray keeps the plug from falling in the pan. A pair of safety glasses is cheap insurance.
A phone flashlight beats a headlamp for most first-timers because you can prop it on the drain pan.
How to Pick the Right Oil and Filter for Your Vehicle
The right oil is whatever your owner's manual specifies. That single document overrides every online recommendation. It lists the viscosity grade, the total capacity in quarts or liters, and any required certification.
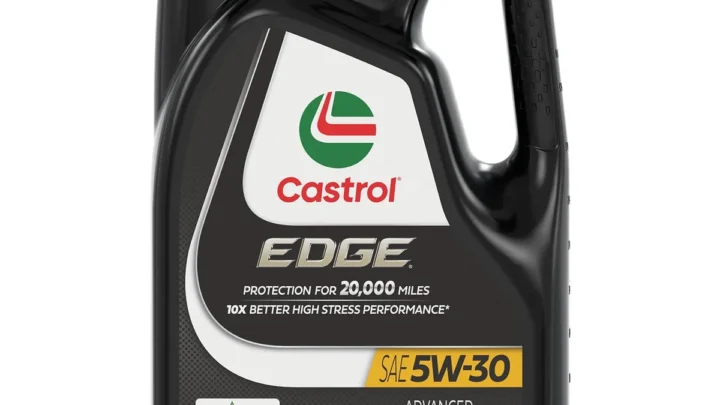
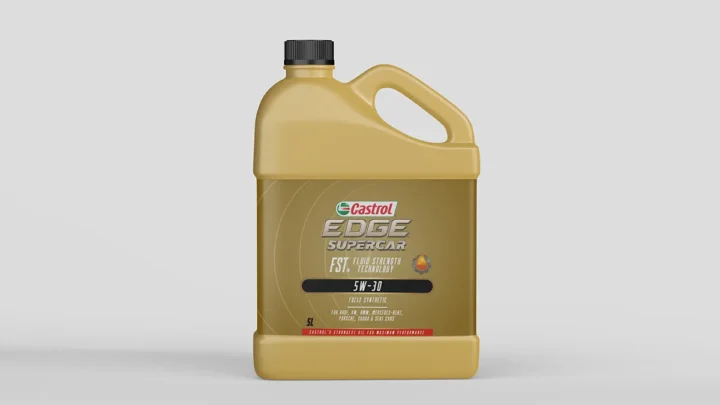
Viscosity is written as two numbers with a W between them, like 5W-30. The first number is the cold-flow rating. The second is the hot-viscosity rating.
Common modern grades are 0W-20, 5W-20, 5W-30, and 10W-30. Newer vehicles tend to run thinner oils for fuel economy.
Certifications matter more than brand. The American Petroleum Institute sets the API service ratings (SP is the current top gasoline spec). ILSAC GF-6A and GF-6B cover fuel-economy and low-viscosity oils.
European vehicles often require ACEA or an OEM approval like dexos1 Gen 3, VW 502.00, or MB 229.5.
| Oil Type | Typical Service Interval | Best For |
|---|---|---|
| Conventional | 3,000 to 5,000 miles | Older engines, short intervals |
| Synthetic blend | 5,000 to 7,500 miles | Mid-age vehicles, mixed driving |
| Full synthetic | 7,500 to 15,000 miles | Modern engines, cold climates, towing |
| High-mileage | 5,000 to 7,500 miles | Vehicles past 75,000 miles with minor seepage |
For filters, the OEM-brand filter is almost always the safest first choice. Reputable aftermarket options from established filter makers work well too. Check that the anti-drainback valve and gasket match the original.
How to Safely Lift and Support Your Car
This is the step where injuries happen. Never trust a hydraulic jack alone. A jack is a lifting tool, not a holding tool.
You have three safe options. Steel ramps are the easiest for beginners because you just drive up onto them. Jack stands rated for your vehicle's weight give more clearance and let you work on cars too low for ramps.
A drive-on lift is ideal but rare in home garages.
Follow this order every time.
- Park on flat, solid pavement. Not grass. Not a sloped driveway.
- Set the parking brake firmly.
- Place wheel chocks behind the rear tires (in front too if the driveway slopes).
- If using ramps, drive up slowly with a spotter and stop when the front tires seat.
- If using a jack, lift at the manufacturer-designated jack points shown in your owner's manual, then lower onto jack stands before crawling under.
- Give the car a firm shake at the bumper. If it rocks off the stands, it was never safe.
One more habit worth building. Before you slide under, look up. Locate the exhaust pipe, the catalytic converter, and any hot components you'll want to avoid touching.
A warm engine drains oil faster, but that same warmth means the exhaust can burn skin on contact.
Locating the Drain Plug vs the Transmission Plug (Don't Mix These Up)
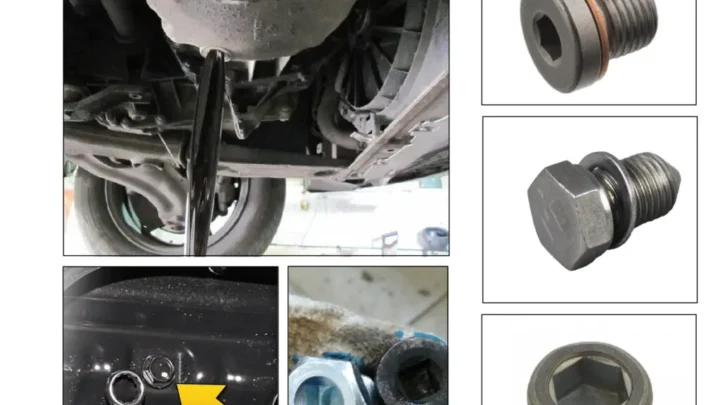
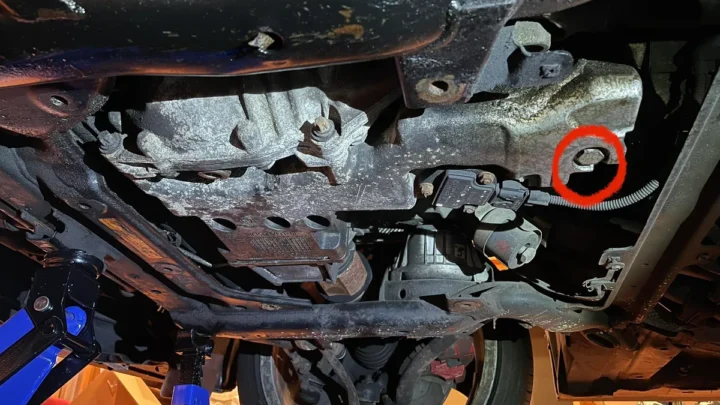
The drain plug lives on the oil pan, which sits at the lowest point of the engine directly below the crankshaft. The transmission drain plug (on vehicles that have one) sits farther back, under the gearbox. Confusing the two is one of the most expensive rookie mistakes.
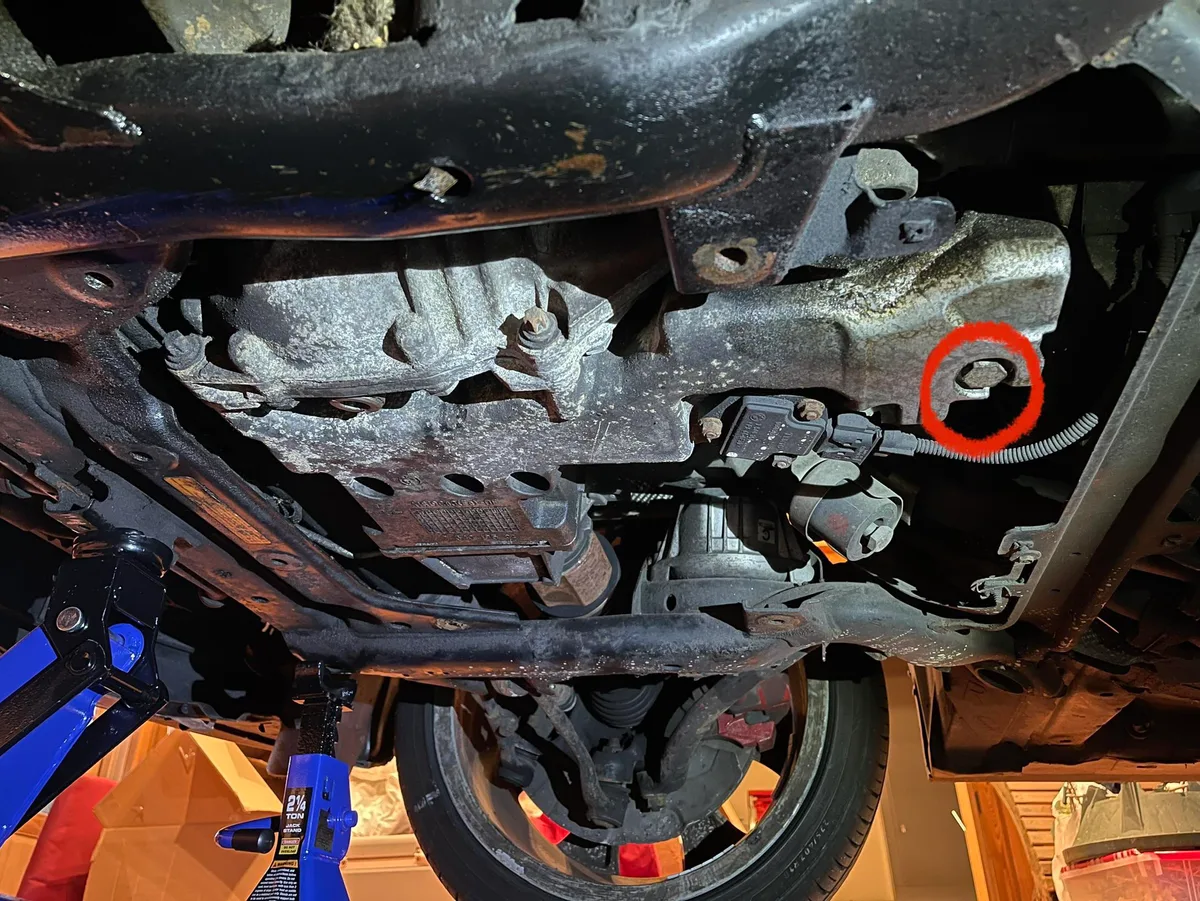
Three visual tells help you identify the correct plug. First, the oil pan is directly under the engine block, not behind it. Second, the oil filter is always near the oil pan, so if you can see the filter, the drain plug is close by.
Third, transmission plugs are often larger and may use a hex or Allen head rather than a standard socket.
If in doubt, stop and check the owner's manual diagram. On many modern cars the manual shows the exact location with a photo. Draining the transmission by accident empties several quarts of ATF that costs more than motor oil to replace, and it can destroy the transmission if the car is driven afterward.
Step-by-Step Oil Change Walkthrough for First-Timers
This is the full sequence from start to finish. Follow it in order. Skipping steps is where leaks and messes come from.
Warming the Engine and Prepping the Work Area
Run the engine for 3 to 5 minutes so the oil thins and drains fully. Do not run it long enough to make the exhaust dangerous to touch. Shut it off and let it sit for another 5 to 10 minutes so the oil settles and cools slightly.
Lay cardboard under the work area. Place the drain pan roughly where the plug will drip, then slide it slightly toward the rear as oil sprays forward when the plug first releases. Pop the hood and remove the oil filler cap.
That single move lets air in from the top and speeds the drain.
Draining the Old Oil
Loosen the drain plug with a socket wrench, turning counterclockwise. Once it's finger-loose, back it out by hand while pressing lightly against the pan. This keeps the plug from dropping into the drain pan.
Let the oil drain for 5 to 10 minutes until it slows to a drip. Wipe the drain plug and inspect the crush washer. Replace the washer every change.
Reinstall the plug and torque it to the manufacturer spec (typically 18 to 30 ft-lb).
Swapping the Oil Filter Without Making a Mess
Position the drain pan under the filter before you loosen it. Filters hold roughly half a quart of oil that spills the moment the seal breaks. Use an oil filter wrench to loosen, then unscrew by hand.
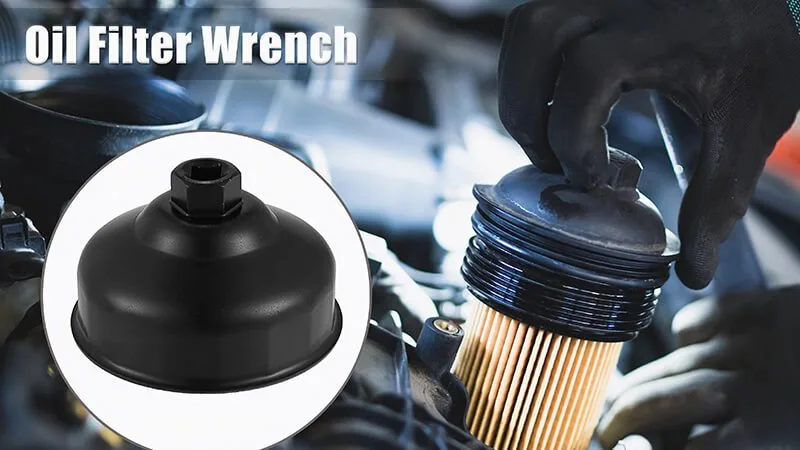
Check the engine block to confirm the old rubber gasket came off with the filter. A stuck gasket causes instant leaks (this is called double-gasketing). Dip a fingertip in fresh oil and wipe it around the new filter's rubber ring.
Thread it on by hand, then tighten another 3/4 turn past hand-tight. Do not use the wrench to crank it down.
Refilling With Fresh Oil and Checking the Level
Place the funnel in the filler and pour in the manufacturer-specified quantity, minus about half a quart. Wait a minute for the oil to settle. Check the dipstick.
Add oil in small increments until the level sits between the two dipstick marks. Reinstall the filler cap. Start the engine and let it idle for 30 seconds while watching under the car for drips.
Shut it off, wait 5 minutes, then recheck the dipstick and top up if needed.
Visual Cues That Tell You Something's Wrong
Used oil should look dark amber to nearly black. Milky or foamy oil suggests coolant intrusion, usually a failing head gasket. Metallic sparkle in the drain stream points to internal engine wear.
Both warrant a mechanic before you drive further.
A missing or flattened crush washer means the seal wasn't fresh. Expect a slow leak within a day. Bubbles rising through the fresh oil on the dipstick can indicate an overfill.
Drain a bit until the level sits at the top mark, not above it.
If the low-oil-pressure light stays on after startup, shut the engine off immediately. Confirm the filter is tight and the drain plug is snug. Restart.
If the light stays on, do not drive. A pre-purchase habit of scanning fluids also helps when buying used vehicles, and this pre-purchase inspection checklist shows what fluid colors and leaks to flag.

Similar Posts