How to Change Your Own Oil: A Simple Step-by-Step Guide
Learning how to change your own oil is one of the cheapest, most satisfying repairs you can pull off in a driveway. The whole job takes 30 to 45 minutes once you've done it a couple of times. Materials run $25 to $60, versus $60 to $130 at a shop.
That gap adds up fast over the life of a car.
As of 2026, most modern engines run on full synthetic oil with change intervals stretched to 7,500 or 10,000 miles under the API SP service rating. That means one weekend afternoon a year usually handles it. Here's exactly what to gather, what to look for, and how to dodge the small mistakes that turn a $40 job into a $2,000 repair.
Quick Answer
To change your own oil, park on level ground and warm the engine briefly. Chock the rear wheels and raise the front on ramps or jack stands. Drain the old oil into a catch pan.
Swap the filter and the crush washer. Torque the drain plug, then refill through the oil cap. Check the dipstick after a short idle.

Why Changing Your Own Oil Is Easier Than the Internet Makes It Look
Most driveway oil changes come down to five moves: drain, swap the filter, refill, check the level, and dispose of the old oil. The rest is just knowing where things live on your specific engine.
The intimidation usually comes from the visuals. You can't see what's under a car until you're under it, and the diagrams online rarely match your exact model. Once you've spotted your drain plug and filter once, muscle memory takes over.
Our step-by-step beginner's walkthrough covers the same rhythm in even more detail.
What You Actually Need Before You Crawl Under the Car
Buy everything before you jack the car up. Nothing kills a Saturday like realizing the auto parts store closed twenty minutes ago and your engine is empty.
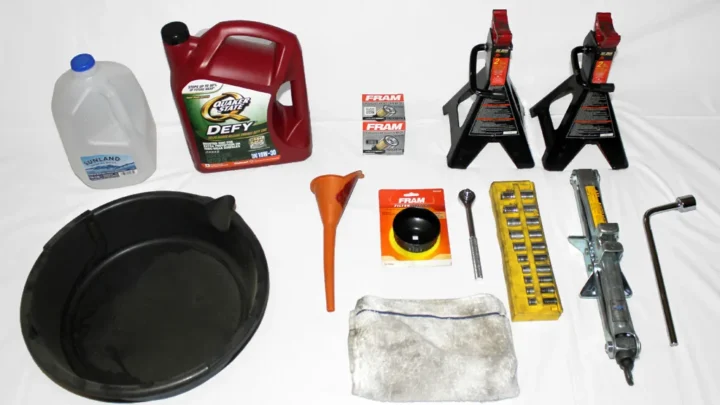
Tools You'll Use Every Time
These are one-time purchases that last for years. Skimp on the safety gear and you'll regret it once.
| Tool | Why You Need It | Typical Cost |
|---|---|---|
| Socket wrench + metric sockets | Loosens the drain plug | $30 to $60 |
| Torque wrench (10 to 80 ft-lb) | Prevents stripped threads | $40 to $90 |
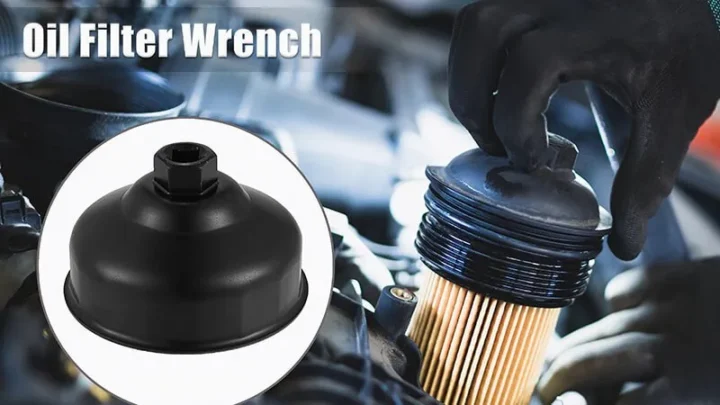
| Oil filter wrench (cap or strap) | Removes stuck filters | $10 to $25 |
| Drain pan (6+ quart capacity) | Catches the old oil | $10 to $20 |
| Ramps or jack stands (ANSI/ASME PALD rated) | Safe lift | $40 to $120 |
| Wheel chocks | Prevents rollaway | $10 to $20 |
| Funnel | Clean refill | $3 to $8 |
| Nitrile gloves | Skin protection | $10 per box |
Consumables You'll Buy for This Specific Vehicle
These change depending on the car. Check the owner's manual for exact spec and capacity before you shop.
- The correct oil in the volume your engine holds (usually 4 to 8 quarts, more for diesels)
- A new oil filter that matches your OEM part number
- A fresh crush washer for the drain plug (never reuse the old one)
- Shop rags and a piece of cardboard to keep the driveway clean
Skipping the crush washer is one of the most common causes of slow drain-plug leaks. It's a fifty-cent part. Just replace it.
How to Pick the Right Oil and Filter for Your Engine
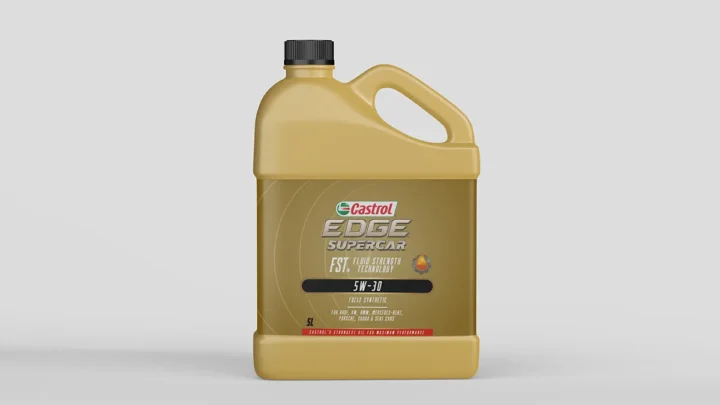
The right oil is the one your manufacturer specifies. Not the one the guy at the counter recommends, and not the one on sale. Modern engines have tight tolerances that only tolerate the exact viscosity and additive package the engineers approved.
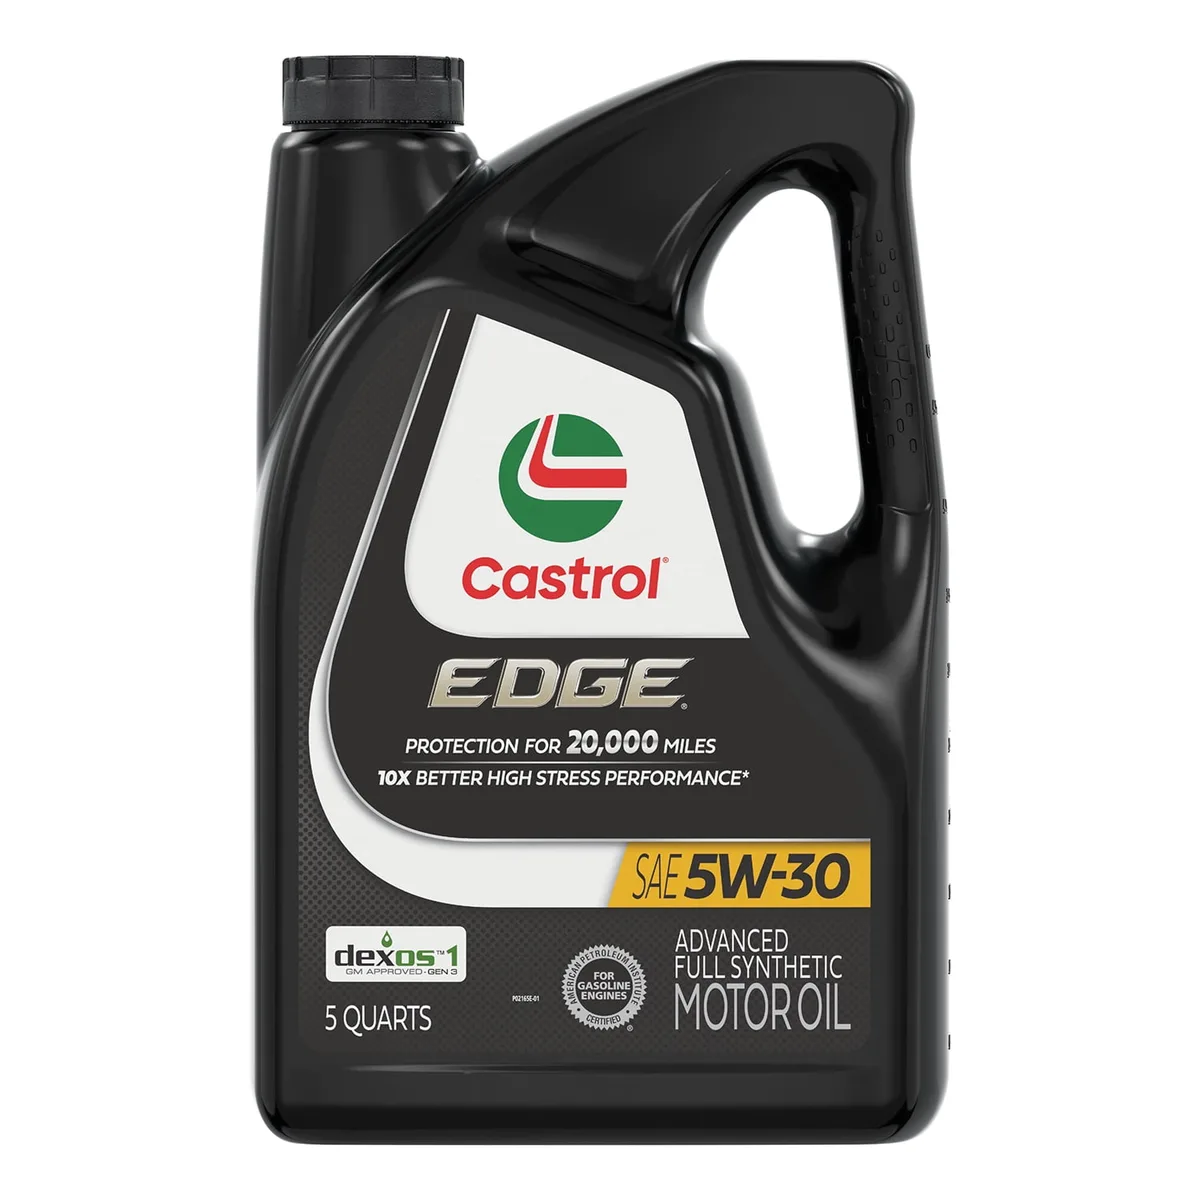
Reading Viscosity Grades (0W-20, 5W-30, and Friends)
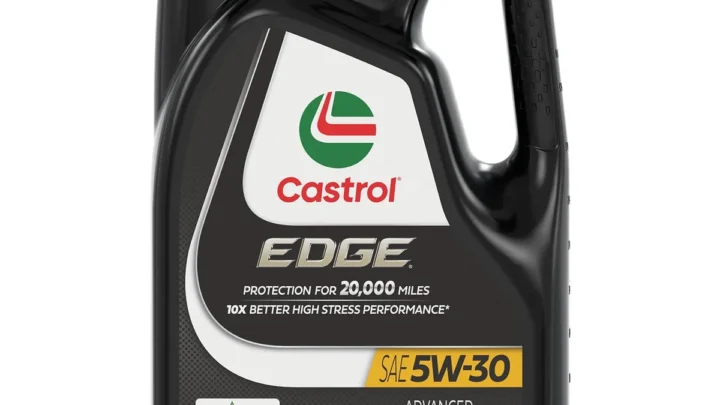
The number before the W is the cold-weather flow rating. Lower means it pumps faster on a freezing morning. The number after the W is the viscosity at operating temperature.
A 5W-30 oil flows like a 5-weight when cold and behaves like a 30-weight once the engine's hot. Most late-model gas engines call for 0W-20 or 5W-30. Diesel trucks often run 15W-40 under the API CK-4 rating.
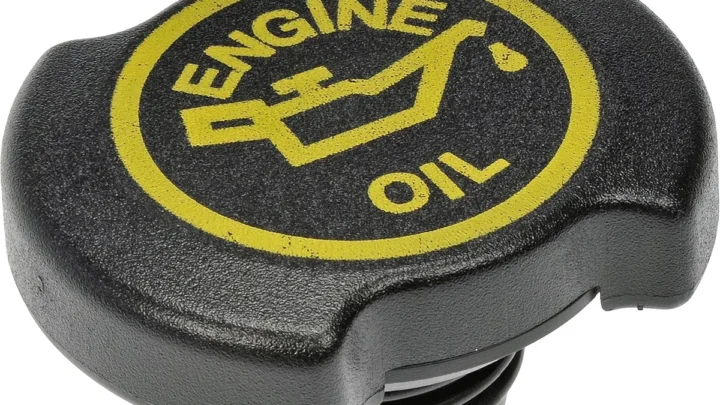
Always match what's printed on your oil cap or in the owner's manual.
Matching API, ILSAC, and OEM Specs
Look for three things on the bottle: the API service rating (SP is the current gas-engine standard), the ILSAC certification (GF-6A or GF-6B), and any OEM-specific approvals your manual demands. The American Petroleum Institute sets and updates these categories, and their donut logo on the bottle is your quickest visual confirmation.
Some engines are picky. GM often requires dexos1 Gen 3. Mercedes calls for MB 229.5.
BMW wants LL-01. Using a non-approved oil can void warranty coverage on a newer vehicle and cause real problems in high-performance engines.
Choosing a Filter That Won't Fail Early
A cheap filter is one of the worst places to save $4. Look for a synthetic or blended media, a working anti-drain-back valve, and a bypass valve rated for your engine's oil pressure. Wix, Mobil 1, Motorcraft, ACDelco, and Purolator all show strong reputations in aggregate reviews.
Whenever possible, match the OEM filter your vehicle shipped with. It's engineered to your exact flow and pressure specs.
The Visual Walkthrough: What Every Part Looks Like Under Your Car
The first time you slide under the car, everything looks like a jumble of metal and hoses. It gets clearer fast once you know what you're hunting for.
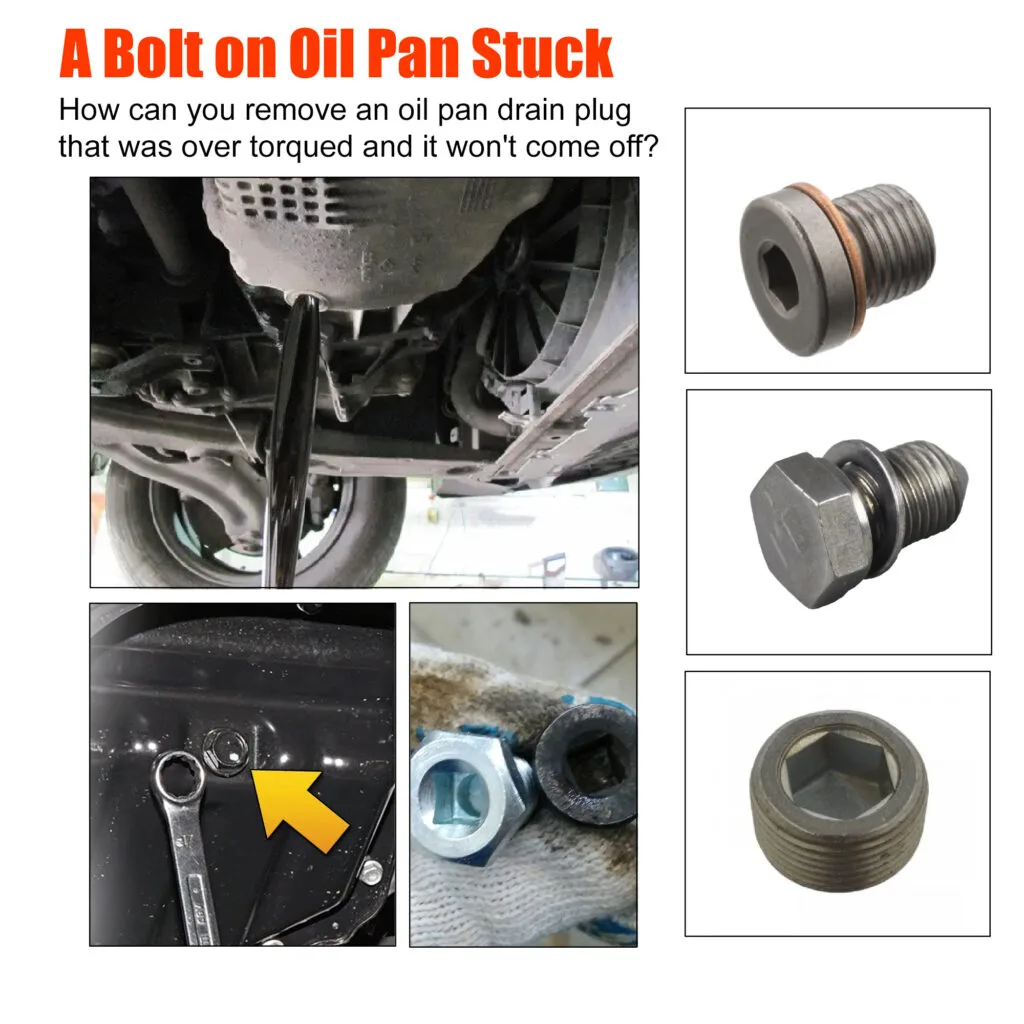
Spotting the Drain Plug vs the Transmission Plug
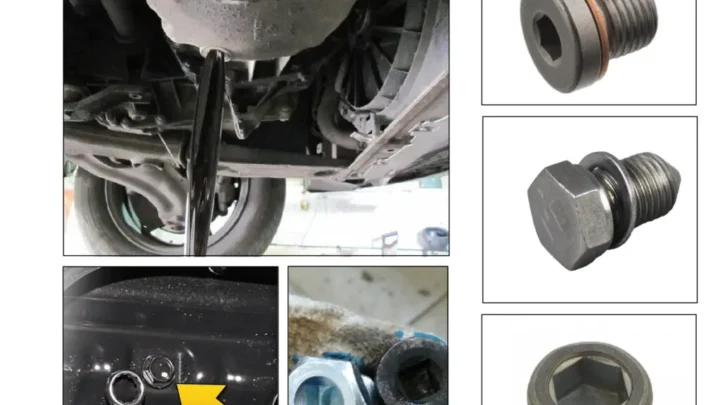
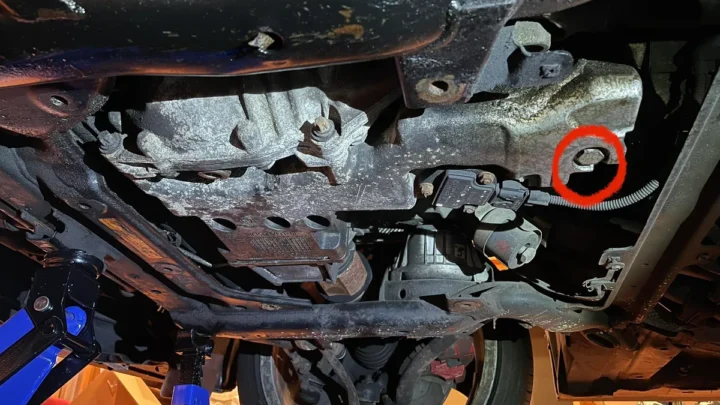
The oil drain plug sits on the lowest point of the oil pan, a wide shallow basin bolted under the engine block. It usually takes a 13mm to 17mm socket, sometimes a hex or Torx bit on European cars.
The transmission drain plug lives on a completely separate pan, further back and often deeper. Draining the wrong one is a classic first-timer mistake. Trace the plug's location back to the engine to be sure.
The oil pan bolts directly under the block. The transmission pan is behind it.
Locating the Oil Filter (Top-Mount, Side-Mount, or Buried)
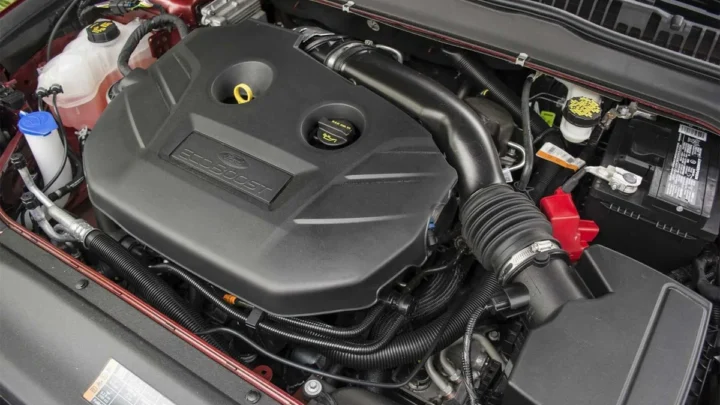
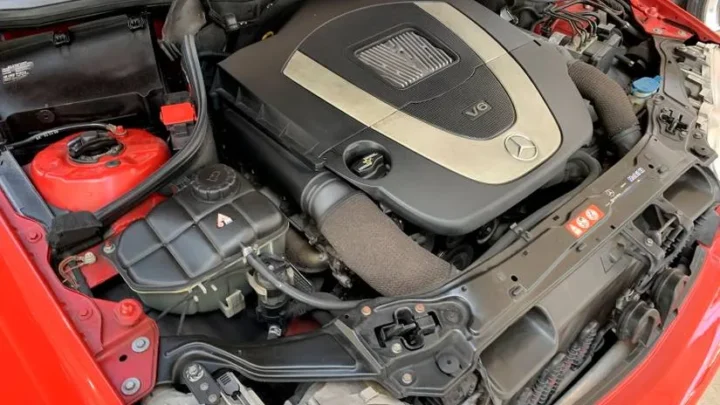
Modern engines put the filter in one of three spots: on top of the engine (usually a cartridge in a plastic housing), on the side of the block (a spin-on canister), or tucked behind the splash shield underneath. Top-mount cartridges are the easiest. You unscrew a plastic cap and drop in a new element.
Spin-on filters twist off counterclockwise. They can be tight after a year of heat cycles, which is where the oil filter wrench earns its keep. Wear gloves.
A stuck filter usually breaks free with a controlled twist, and you'll get oil on your wrist.
Identifying the Splash Shield and Fasteners
Most cars built after roughly 2010 have a plastic splash shield covering the underside of the engine. It's held on by a mix of 10mm bolts, plastic push clips, or quarter-turn fasteners. Snap a phone photo before you remove anything.
That way you know exactly which fastener goes back in which hole.
Step-by-Step: Draining, Swapping the Filter, and Refilling
Work through these steps in order. Rushing skips the small checks that keep oil off your driveway.
- Warm the engine for 5 minutes to thin the oil, then shut it off and let it cool for 10 minutes to avoid burns.
- Park on level ground, set the parking brake, and chock the rear wheels.
- Raise the front of the vehicle on ramps or jack stands. Never rely on a hydraulic jack alone.
- Remove the splash shield if your car has one.
- Slide the drain pan under the drain plug, offset slightly toward the side the oil will stream.
- Loosen the drain plug counterclockwise. Back it out slowly with your fingers so it doesn't drop into the pan.
- Let the oil drain for a full 10 to 15 minutes until it's a slow drip.
- Fit a new crush washer, then reinstall the drain plug and torque to spec (typically 18 to 35 ft-lb, check your manual).
- Move the drain pan under the oil filter. Unscrew the filter counterclockwise.
- Wipe the filter sealing surface clean. Confirm the old rubber gasket came off with the filter.
- Rub a thin film of fresh oil on the new filter's gasket. Spin it on by hand until it contacts the surface, then turn another three-quarters.
- Refill through the oil filler cap using a funnel. Start with a quart less than capacity.
- Check the dipstick. Add oil in small pours until the level sits between the two marks.
- Start the engine and let it idle for 30 seconds while you watch for leaks under the car.
- Shut off, wait 5 minutes, and recheck the dipstick. Top up if needed.
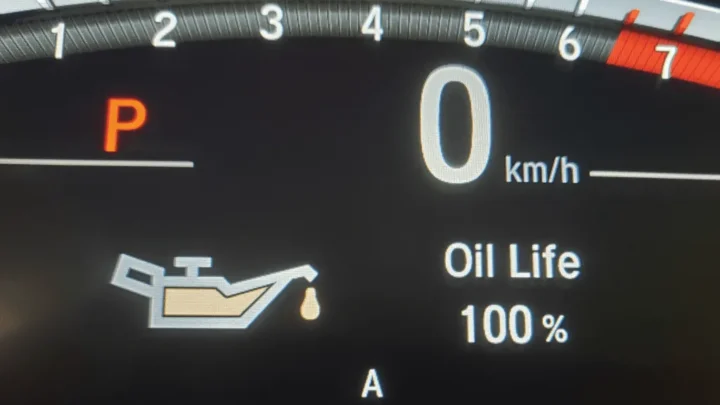
- Reset the oil life monitor per your owner's manual, and log the date and mileage.
If you're the type who inspects the underside of a used car before you buy, a routine oil change is the perfect time for a quick pre-purchase-style inspection of your own vehicle. You're already down there.
How to Tell You've Tightened Everything Correctly
Overtightening the drain plug and cross-threading the filter are the two mistakes that turn a routine job into a repair bill. Both come down to feel.
The Feel of a Properly Torqued Drain Plug
A correctly torqued drain plug feels firm but not muscled. If you're standing on the wrench or grunting, you've gone too far. Modern aluminum oil pans strip easily around 40 ft-lb.
Use a torque wrench set to the value in your owner's manual, usually 18 to 35 ft-lb depending on plug size. The click tells you to stop pulling. If your pan already has a stripped plug, an oversized self-tapping replacement or a helicoil insert can save you from swapping the whole pan.
The Three-Quarter-Turn Rule for Spin-On Filters
Spin-on filters never need a wrench to tighten. Hand-thread the filter until the gasket touches the mounting surface, then rotate an additional three-quarters of a turn.
That's it. Cranking harder crushes the gasket and guarantees a leak on the next drive. Cartridge-style filters have a specific torque spec on the housing cap, usually 18 to 25 ft-lb, so use the torque wrench there too.
Common Visual Mistakes That Cause Leaks and Damage
Small oversights cause the majority of DIY leaks and comebacks. Walk through this list before you drop the car back down.
- Double-gasketing: the old filter's rubber ring stuck to the mounting surface, and you spun a new filter on top of it. Always confirm the old gasket came off with the old filter.
- Skipping the crush washer: reusing a flattened washer leaves a slow weep at the drain plug.
- Forgetting the drain plug: pouring 5 quarts of fresh oil straight onto the driveway is a rite of passage nobody wants.
- Missing the fill cap: leaving the cap off means oil mist coats the entire engine bay within a mile.
- Overfilling: too much oil aerates and foams, which can damage seals and starve the pump.
- Wrong filter thread pitch: force-turning a mismatched filter strips the mounting stud. Confirm the part number before you install.
A quick under-car flashlight check after a 30-second idle catches almost every leak before it becomes a problem.
What to Do With the Used Oil and Filter
Never pour used oil down a drain, into the soil, or in the trash. It's illegal in every U.S. state and a real environmental hazard. One gallon of used motor oil can contaminate a million gallons of fresh water according to the [U.S.
Environmental Protection Agency](https://www.epa.gov).
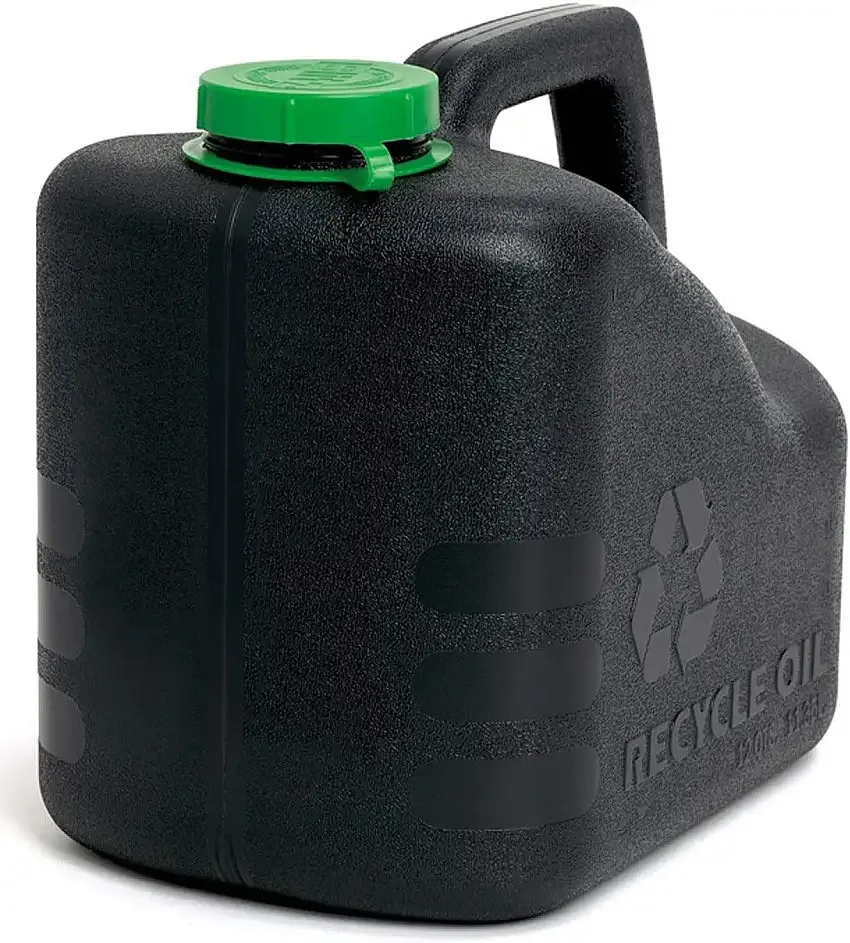
Pour the drained oil into a sealed container. Empty oil jugs from the fresh oil you just installed work perfectly. Drop it off at any AutoZone, O'Reilly, Advance Auto Parts, or NAPA.
Most locations accept up to five gallons per visit for free, and many also take used filters in a sealed bag.
Let the old filter drain into the pan for at least an hour before bagging it. That last quarter cup of oil inside the canister still counts as hazardous waste.
How Much You'll Actually Save vs a Quick-Lube Shop
The savings math depends on your car and your oil choice. Aggregate 2026 pricing across major U.S. metros looks like this:
| Service Option | Typical Cost per Change | Notes |
|---|---|---|
| DIY full synthetic (5 qt) | $30 to $55 | Filter included, no labor |
| Quick-lube full synthetic | $80 to $120 | Includes disposal and top-off |
| Dealership full synthetic | $95 to $150 | Often includes multi-point inspection |
| DIY conventional (5 qt) | $22 to $35 | Only for older engines that spec it |
Over five years at 12,000 miles a year, a driver on 7,500-mile intervals saves roughly $400 to $700 doing it themselves. That doesn't count the time saved sitting in a waiting room, or the upsells you'll never hear pitched. The bigger win is knowing exactly what oil and filter went in your engine, which our driveway walkthrough for beginners reinforces at every stage.
Safety Rules You Can't Skip Under a Raised Vehicle
A car falling off a jack kills people every year. Treat the lift as the most dangerous part of the job, not the wrench work.
- Never work under a vehicle supported only by a hydraulic jack. Always transfer the weight to jack stands rated to ANSI/ASME PALD standards.
- Match stand rating to vehicle weight, with margin. A 3-ton pair covers most passenger cars and light trucks.
- Place stands on the frame rails or manufacturer-designated lift points only. Suspension arms and floor pans will crumple.
- Chock the wheels still on the ground. If you lift the front, chock the rear tires in both directions.
- Let the exhaust cool for at least 15 minutes. A hot catalytic converter runs over 600°F and will burn skin instantly.
- Keep an ABC-rated fire extinguisher within reach. Oil on a hot manifold can ignite.
- Wear nitrile gloves. Used motor oil is a suspected carcinogen with prolonged skin contact.
If any of those steps feel sketchy in your driveway, the same careful mindset that goes into a thorough pre-purchase check is a smart habit to bring to your own workspace.
When You Should Skip the DIY and Book a Shop
Not every oil change belongs in a driveway. Some situations save you money and headaches by handing the keys to a technician.
- Your car is under a new-vehicle warranty and the manual demands dealer-stamped service records for coverage.
- The oil filter sits behind a subframe or requires dropping components you don't have tools for.
- You live in an apartment or HOA that bans driveway auto work and used-oil storage.
- Your engine takes an unusual oil (a rare 0W-8 or racing-spec fluid) that costs more retail than a shop pays wholesale.
- The car has a history of stripped drain plugs or a leaking oil pan gasket. A shop can address the root problem in the same visit.
Aggregate consumer reports show independent shops beat dealership pricing by 20 to 40 percent for the same service on out-of-warranty cars.
Frequently Asked Questions
How often should I change my own oil?
Follow the interval in your owner's manual, not the sticker on the windshield. Modern gas engines running full synthetic typically go 7,500 to 10,000 miles between changes. Severe-service driving (short trips, heavy towing, dusty conditions, or extreme cold) cuts that in half.

Similar Posts