How to Change Your Oil Without Making a Mess
Most oil changes go sideways for one reason: setup. If you're figuring out how to do an oil change without making a mess, the fix isn't a fancier tool. It's staging the pan for where the oil actually goes, not where the plug is.
That single shift turns a driveway disaster into a 30-minute job with zero drips.
We've reviewed dozens of service manuals, API oil standards, and aggregate DIY reports to build this guide as of 2026. The typical passenger-car crankcase holds 4 to 8 quarts, and most of that comes out in the first 15 seconds through an arc that catches beginners off guard. Get the arc right and everything else falls into place.
Quick Answer
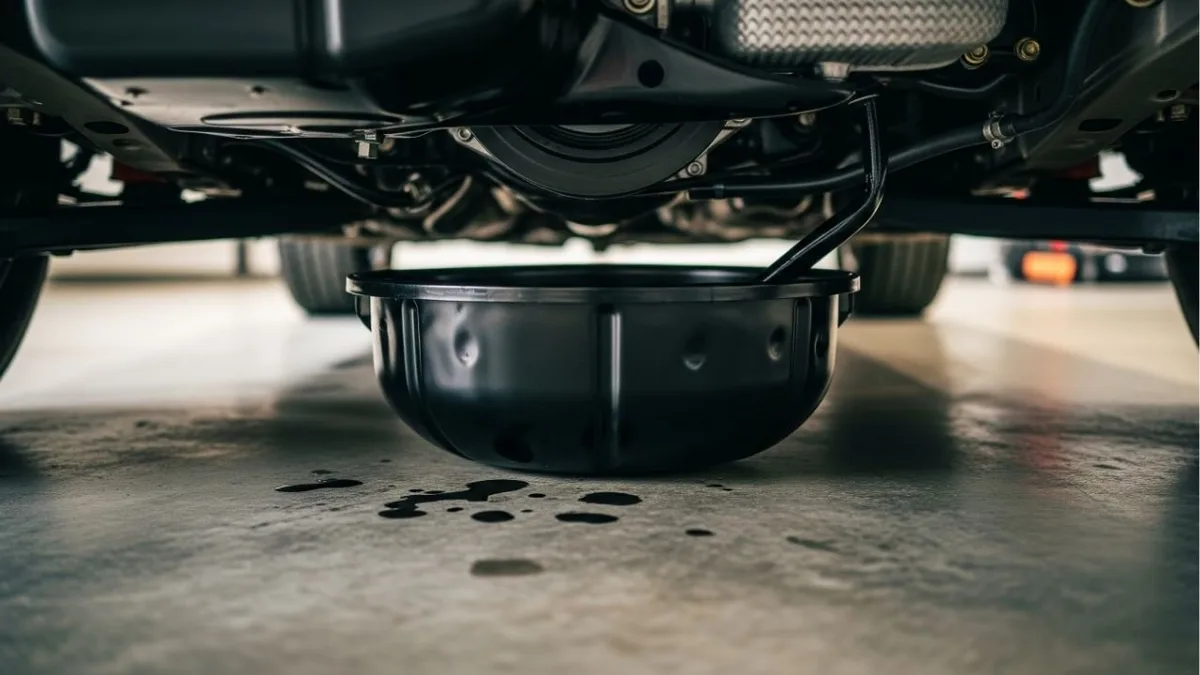
To do an oil change without making a mess, warm the engine slightly. Position a low-profile funnel-top drain pan offset to the drain plug's spray arc. Break the plug with a socket, then finish by hand.
Bag the oil filter before you unscrew it. Refill through a long-neck funnel. Wipe drips as you go.
Why Oil Changes Get Messy (And Why Setup Beats Speed)
Messy oil changes almost never come from bad luck. They come from putting the pan directly under the drain plug and expecting gravity to cooperate. It doesn't.
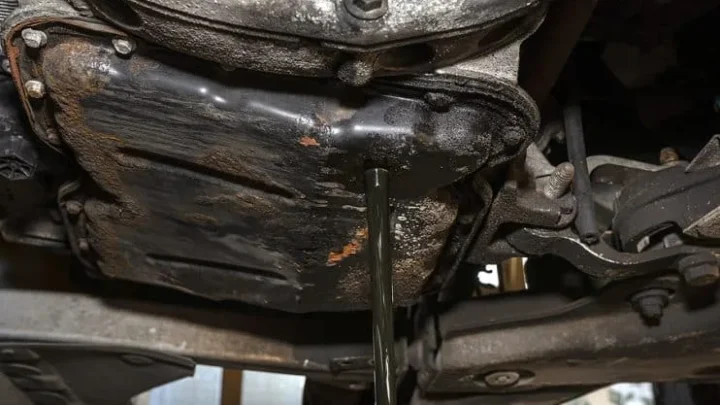
Warm oil shoots out at an angle. It hits the pan lip, then runs down the subframe before the pan ever sees it. Horizontally mounted filters make things worse, dumping oil sideways the moment the gasket breaks seal.
Speed compounds every mistake. Cracking the plug fast turns a controlled drip into a jet. Yanking a filter without a bag underneath guarantees you'll be wiping the crossmember for an hour.
A clean job starts with a slower first minute.
The One-Minute Answer: Where the Oil Actually Goes
Here's what happens when you pull the plug on a modern engine.
- The first stream shoots out at roughly a 30 to 45 degree angle, depending on plug orientation.
- It hits the closest surface (the pan lip, the subframe, or the oil pan) and starts tracking.
- Oil follows the lowest edge of the oil pan before falling, which is rarely directly below the plug.
- The stream shifts as pressure drops, drifting back toward vertical over the first 20 seconds.
- The last dribble follows the outside of the plug threads and can travel several inches.
Visualize that arc before you loosen anything and pan placement becomes obvious. Set the pan wide, not centered. A funnel-top design catches the spread without splash-back.
For a full walkthrough of the basic procedure, our step-by-step guide for first-timers covers the fundamentals this article builds on.
Tools and Supplies That Do the Heavy Lifting
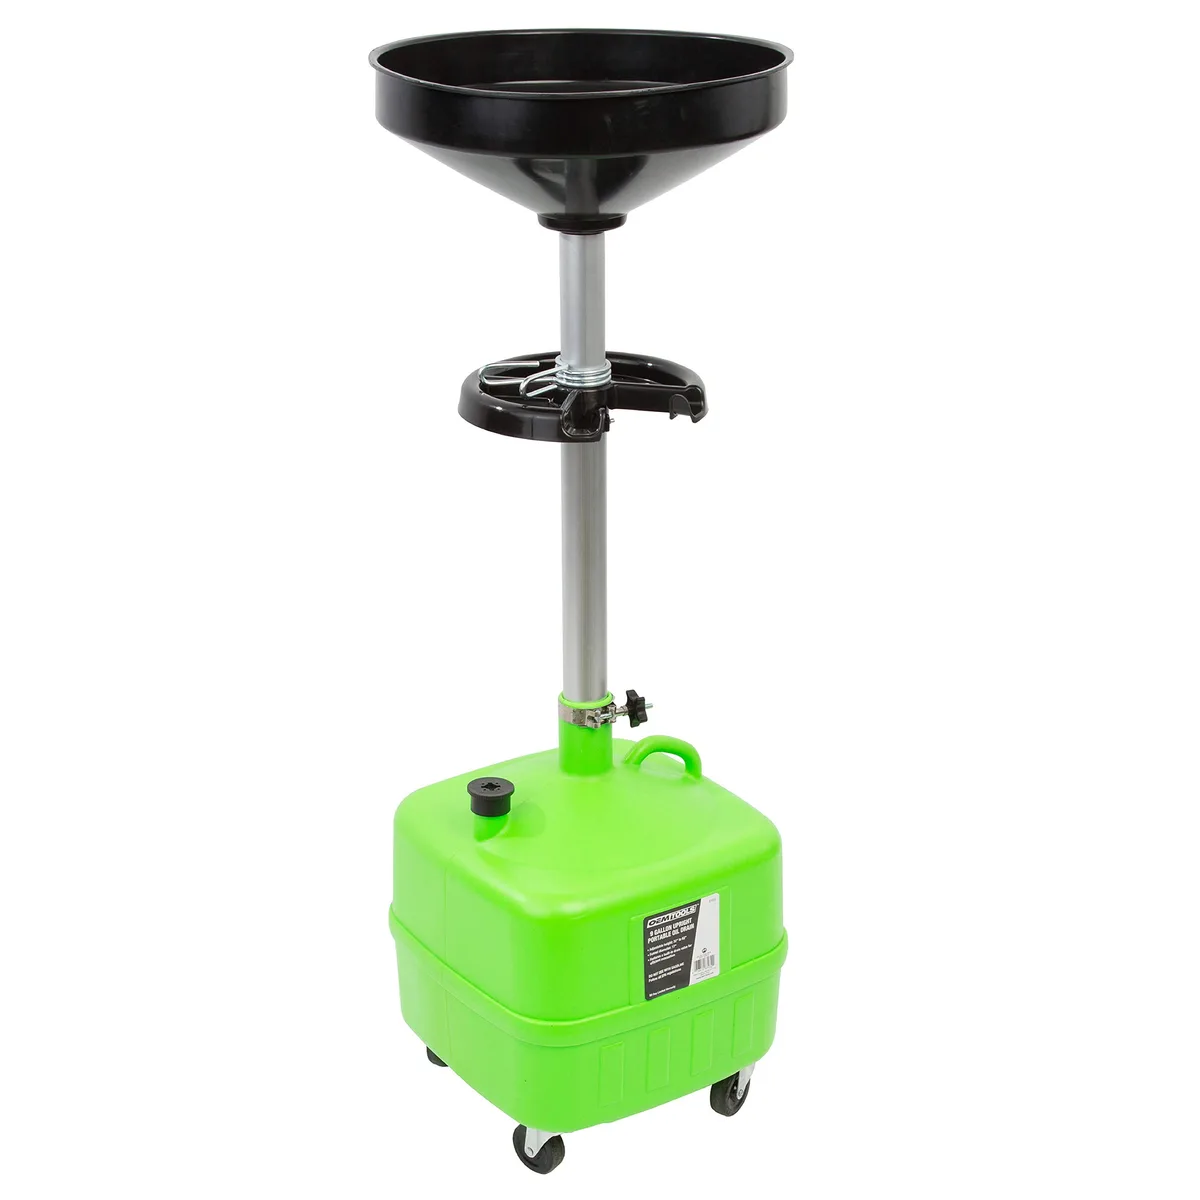
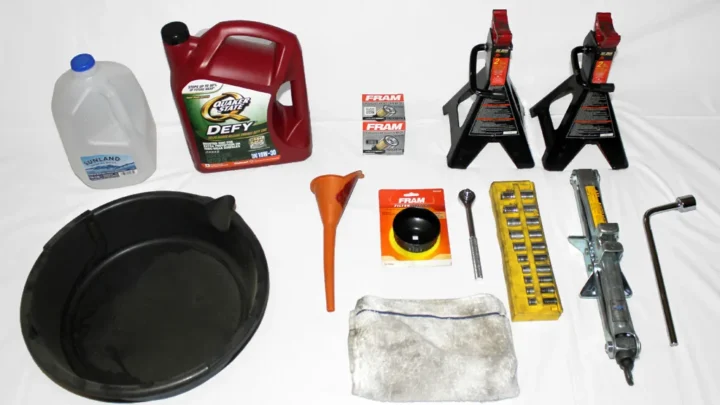
The right kit is short. Most messes come from missing one of these six items, not from lacking anything exotic.
| Item | Why it matters |
|---|---|
| Low-profile funnel-top drain pan (10 to 15 qt) | Catches the arc, seals for transport |
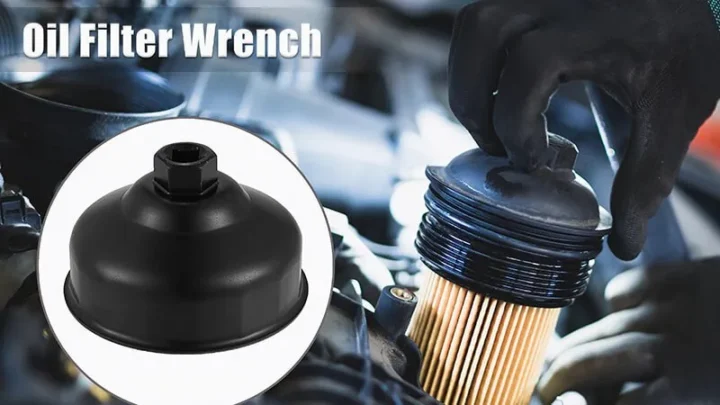
| Cap-style oil filter wrench | Grips without crushing, no leverage flex |
| Long-neck flexible fill funnel | Stops back-splash at the filler neck |
| Nitrile gloves (8 mil or thicker) | Keeps used oil off your skin |
| Oil absorbent pads or cat litter | Instant drip control on concrete |
| New crush washer | Prevents plug seepage after torque |
The Drain Pan Choice That Changes Everything
A funnel-top sealable pan is the single biggest upgrade over an open oil tray. The funnel catches wide spray. The sealed body means no sloshing when you slide it out.
You can pour straight into a jug through the same opening.
Aim for at least 10 to 15 quart capacity. That leaves headroom for a full crankcase plus the filter dump without risking overflow.
Filter Wrenches Worth Owning
Cap-style wrenches size to your filter and grip evenly. Strap wrenches slip on oily housings. Filter pliers work in a pinch but often deform the can, which then dumps oil down your arm on removal.
If you own one wrench, make it the cap style that matches your filter diameter.
How to Read Your Engine Before You Drain a Drop
Every engine has quirks. Two minutes under the car before you start saves twenty minutes of cleanup later.
Finding the Drain Plug and Predicting the Arc
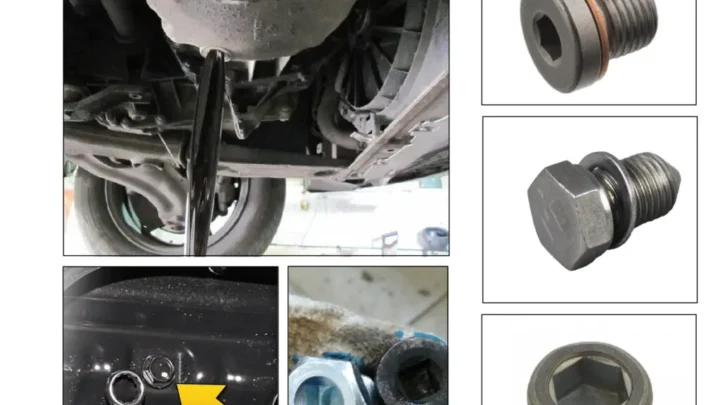
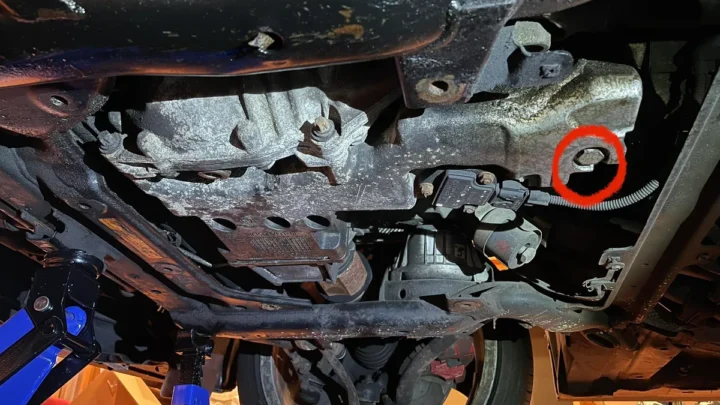
The drain plug sits at the lowest point of the oil pan. Look at how it's oriented. A plug pointing straight down drains vertically.
A plug threaded into the side of the pan (common on many Subaru, Honda, and Toyota engines) sprays sideways at a sharp angle.
Trace an imaginary line from the plug in the direction it points. That's your arc. The pan goes at the far end of that line, not directly under the plug body.
Manufacturer specifications and the vehicle owner's manual confirm the exact plug location and torque value. The typical range lands between 18 and 30 ft-lb per API service classifications.
Filter Orientation: Vertical, Horizontal, or Inverted
Filter position determines your drip strategy.
- Vertical (opening down): pours straight into the pan on removal. Easiest.
- Vertical (opening up): traps oil inside. Tip slowly toward the pan.
- Horizontal: sprays sideways. Wrap the base with a shop rag or bag before loosening.
- Inverted: rare, but dumps immediately. Have a catch container ready.
If you're inspecting a new-to-you vehicle before your first service, the same underbody checks covered in our pre-purchase used-car checklist apply here too.
Setting Up the Vehicle for a Clean Job
Setup is where clean oil changes are won. Rushing this step is the most common reason a driveway ends up striped.
Follow this order:
- Park on level ground. Uneven surfaces skew where the oil lands.
- Warm the engine for 5 to 10 minutes. Warm oil (around 100 to 120°F) drains faster and more completely. Hot oil burns.
- Chock the rear wheels before lifting the front.
- Raise the vehicle with ramps or a jack and jack stands. Never rely on a jack alone.
- Remove the skid plate or splash shield. Working around it guarantees oil in places you can't reach.
- Slide a large piece of cardboard under the engine bay. It catches strays and protects the concrete.
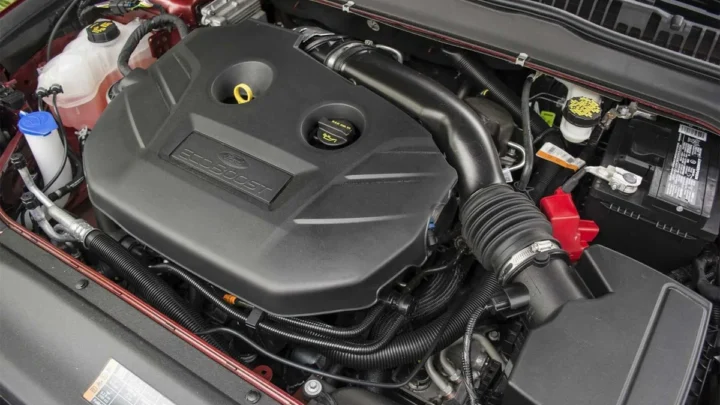
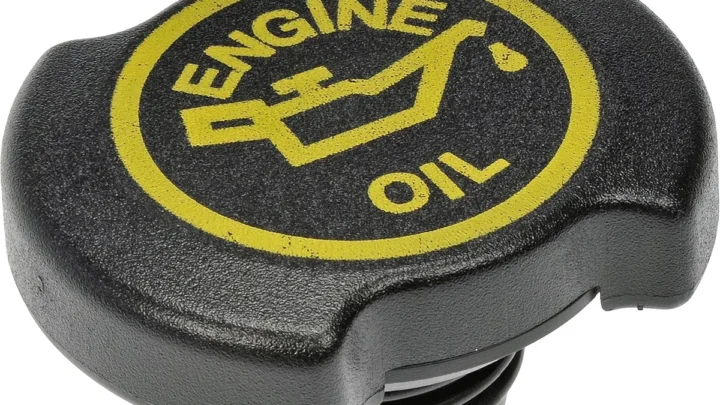
- Loosen the oil fill cap. Breaking the vacuum helps the pan drain smoothly instead of glugging.
- Position the drain pan offset to the plug's arc, not directly beneath it.
That last step is the whole game. If you take one thing from this guide, take that.
The No-Mess Drain Plug Technique
The drain plug is where 90% of driveway spills happen. Slow the first ten seconds and you'll skip the wipe-down entirely.
Break the plug loose with a socket wrench, then stop. Set the wrench aside and spin the plug out by hand while pressing it inward against the threads. That inward pressure lets you feel the last thread release, so the plug comes off in your fingers instead of falling into the pan.
Angle the pan wide of where you think the stream lands. Warm oil arcs further than you'd expect. If the plug points sideways, the pan sits 6 to 10 inches out from the pan's edge, not tucked underneath.
Here's the sequence that keeps things dry:
- Wear a nitrile glove on your plug hand.
- Crack the plug about half a turn with the socket.
- Reposition the pan based on where the initial seep drips.
- Spin the plug out by hand while pushing it inward.
- Pull the plug straight away as the last thread clears.
- Drop it into the pan's mesh basket (funnel-top pans have one) or a shop rag.
Never fish for a plug that fell in. Let it sit until the oil is fully drained, then retrieve it clean with a magnet or gloved fingers.
Let the crankcase drip for a full 10 to 15 minutes before reinstalling. Rushing this step means residual oil oozing past the new crush washer within 200 miles.
Pulling the Filter Without a Waterfall
Filter removal is the second gush most people miss. A spin-on filter holds roughly a cup of oil, and that cup goes somewhere the moment you break the seal.
The universal rule: wrap the filter base with a large shop rag or a small plastic bag before you turn the wrench. The rag catches the initial spill. The bag captures the whole filter as it comes free, which is the cleanest option on horizontal mounts.
Handling Horizontal Filters
Horizontal filters are the worst offenders. Aggregate DIY reports point to horizontally mounted filters on Subaru boxer engines and many transverse V6 layouts as the top source of skid-plate oil pooling.
Two tricks help. Puncture the top of the filter with a small screwdriver to pre-drain some oil into the pan (only if the pan reaches that far). Or slide a gallon zip bag over the filter before you loosen it, so the filter drops into the bag as it clears the threads.
Loosen the filter half a turn with a cap-style wrench. Then hand-spin it while keeping the bag or rag pressed against the mounting boss. Tilt the open end upward as you pull it away.
Dealing with Cartridge Housings
Cartridge filters live inside a housing bolted to the engine, usually on top. Loosen the housing cap slowly to let it depressurize. Then let the internal drain valve empty the housing back into the pan before you lift the cap off.
Most modern housings have this drain feature, so check the vehicle service information first.
Before installing any new filter, wipe the mounting surface. Confirm the old gasket came off with the old filter. Double-gasketing (a stuck old ring plus a new one) is the number one cause of catastrophic leaks after a DIY service.
Lubricate the new gasket with fresh oil. Spin it on by hand until snug, then add three-quarters of a turn. No wrench needed for install.
Refilling Without Overflow or Dribbles
Refills go wrong at the funnel. A short, straight funnel back-splashes the second oil hits the filler neck bend, coating the valve cover in fine droplets.
Use a long-neck flexible funnel that seats inside the filler tube. Pour slow, one quart at a time. Give the oil 20 seconds to settle between quarts so you can read the dipstick accurately.
Refill guidelines by common vehicle type:
| Engine type | Typical capacity | Notes |
|---|---|---|
| 4-cylinder sedan | 4.0 to 4.5 qt | Verify with owner's manual |
| V6 SUV | 5.0 to 6.5 qt | Larger sump, longer settle time |
| V8 pickup | 6.0 to 8.0 qt | Some diesel V8s exceed 10 qt |
| Turbo 4 (modern) | 4.5 to 5.5 qt | Often lower viscosity (0W-20) |
Stop pouring one quart before the stated capacity. Check the dipstick, then top up to the full mark in small pours. Overfilling forces oil past the PCV system and into the intake, which is a mess you cannot wipe up.
Reinstall the fill cap before starting the engine. Run for 30 seconds, shut off, wait 5 minutes, then recheck the dipstick. Top up if needed.
Mistakes That Turn a 30-Minute Job Into a Two-Hour Cleanup
Most cleanup marathons trace back to the same short list of errors. Knowing them in advance is half the fix.
- Starting on a hot engine. Oil above 150°F sprays farther and burns skin. Let it cool to warm.
- Pan directly under the plug. The arc misses. Offset the pan every time.
- Skipping the skid plate removal. Oil pools on the shield and drips for days.
- No cardboard under the work zone. Concrete stains are close to permanent.
- Reusing the old crush washer. It seeps within a week and coats the pan bolt.
- Over-torquing the drain plug. Stripped threads mean a helicoil repair or a new oil pan.
- Forgetting to loosen the fill cap. The drain glugs and splashes as air pulls in.
- Yanking the filter without a bag. Guaranteed oil down the subframe.
- Overfilling by even half a quart. Foamy oil and PCV mess.
- Leaving the drain pan uncovered on the way to the recycling center. One pothole equals a trunk disaster.
Any single miss on this list adds 15 to 45 minutes of cleanup. Two of them and you're rebooking your afternoon.
Cleaning Up Drips, Stains, and Your Hands
Even a clean job leaves a stray drop or two. Handle them before they set and cleanup takes minutes instead of an afternoon.
Fresh drops on concrete come up with cat litter or commercial oil-dry granules. Cover the drip, press it in with your shoe, and leave it for 20 to 30 minutes. Sweep up and repeat if a shadow remains.

Similar Posts