How to Test a Car Battery Terminal With a Multimeter
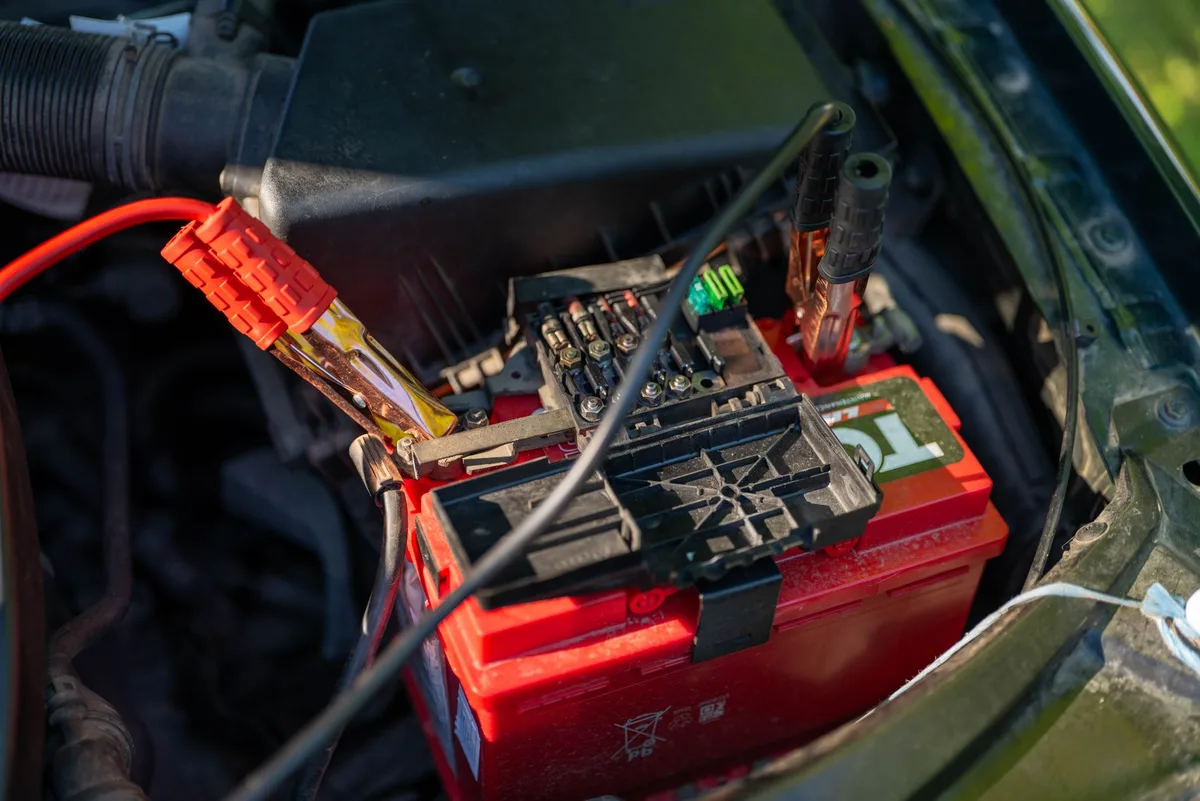
Nothing tanks your morning faster than a click instead of a crank. If you want to know how to test a car battery terminal with a multimeter, the good news is it takes about five minutes and a $20 meter. A multimeter reads the voltage sitting on your terminals, and it flags a bad connection hiding under a battery that looks perfectly healthy.
Here's the part most guides skip. A resting 12V lead-acid battery should read close to 12.6V, per Battery Council International state-of-charge data. But a corroded or loose terminal can still show good voltage while starving your starter.
That's why we'll cover both the straight voltage read and the voltage-drop test. Let's start with why your eyes alone won't cut it.
Quick Answer
Set your digital multimeter to DC volts, 20V range. Touch the red probe to the positive terminal. Touch the black probe to the negative terminal.
A healthy resting battery reads 12.6V or higher. Below 12.4V means it needs charging, and a wildly low or unstable reading points to a bad terminal.
Why You Can't Just Eyeball a Battery Terminal
A terminal can look fine and still fail you. Corrosion often builds up under the clamp where you can't see it. A clamp can feel snug by hand yet carry a high-resistance connection that chokes off cranking current.
Your starter motor pulls serious amps, sometimes 150 to 300 during a cold start. A connection that passes a light load will still collapse under that draw. That's the trap.
The dome light works, the radio plays, but the engine won't turn over.
A multimeter cuts through the guesswork. It gives you a number instead of a hunch. Instead of wiggling cables and hoping, you measure exactly what's happening at the post.
What a Multimeter Actually Tells You About Your Terminals
A multimeter measures three things that matter for terminals: voltage, resistance, and voltage drop. Each one answers a different question.
- Voltage tells you how charged the battery is right now.
- Resistance (with the battery disconnected) can reveal a bad cable or clamp.
- Voltage drop tells you if the terminal is bleeding away power under load.
Most people only ever check voltage across the two posts. That's a fine start. It confirms state of charge and catches a flat-out dead battery.
But voltage across the posts won't catch a bad terminal by itself. A corroded clamp adds resistance right at the junction. You only see that loss when current is flowing, which is where the voltage-drop test comes in later.
For a deeper walkthrough of the basic reading, our guide on checking pack voltage the easy way breaks it down step by step.
Gear You Need: The Right Multimeter and Settings
You don't need anything fancy. A basic digital multimeter handles every test here. The key is knowing which mode to use and what the dial symbols mean.

Here's the short list of gear:
| Tool | Why You Need It |
|---|---|
| Digital multimeter | Reads voltage and voltage drop clearly |
| Red and black probes | Red for positive, black for negative |
| Safety glasses and gloves | Protects against acid and sparks |
| Wire brush or terminal cleaner | Clears corrosion before retesting |
Digital vs Analog for This Job
Go digital if you have the choice. A digital multimeter shows an exact number like 12.63V, which makes small differences easy to spot. Analog meters use a swinging needle that's harder to read on a 12V scale.
Analog still works in a pinch. But for battery work, that clear decimal reading wins every time. Accuracy on most budget digital meters runs around ±0.5%, plenty for this.
DC Volts, the 20V Range, and the Millivolt Setting
Car batteries are direct current, so you want the DC voltage setting. Look for a V with a straight line and a dashed line above it (V⎓). Don't use the AC setting, marked with a wavy line, or your reading will be useless.
If your meter isn't auto-ranging, pick the 20V range. That covers a 12V battery with room to spare. For the voltage-drop test later, you'll switch to the millivolt (mV) range to catch tiny losses across the terminal.
Reading the Terminals: What the Numbers Mean
A voltage reading only helps if you know what's normal. The numbers shift depending on whether the engine is off or running. Let's split them.
Resting Voltage (12.6V and What Falls Below It)
Resting voltage is the reading with the engine off and everything switched off. For the truest number, let the car sit a few hours first. That clears the surface charge, a temporary voltage bump left over from driving or charging.
A fully charged 12V battery rests at 12.6V to 12.8V. Anything under 12.4V means it's partly discharged. Slip below 12.0V and the battery is deeply flat, which stresses the plates and shortens its life.
Charging Voltage With the Engine Running (13.7–14.7V)
Start the engine and the number should jump. A healthy alternator pushes 13.7V to 14.7V across the terminals. That rise confirms the charging system is feeding the battery.
If the voltage stays flat near 12.5V with the engine running, the alternator isn't charging. If it spikes past 15V, you may have a bad voltage regulator. Both are worth chasing down before they leave you stranded.
State-of-Charge Voltage Chart
Keep this handy when you read your terminals. These are resting values for a standard 12V lead-acid battery, in line with Battery Council International figures.
| Resting Voltage | State of Charge | What It Means |
|---|---|---|
| 12.6V – 12.8V | 100% | Fully charged |
| 12.4V | ~75% | Mild charge needed |
| 12.2V | ~50% | Recharge soon |
| 12.0V | ~25% | Deeply discharged |
| Below 11.9V | Dead | Charge and test for failure |
Cold weather drags these numbers down a touch. A battery reads slightly lower at 20°F than at 77°F, so factor in the season. Standards bodies like SAE International publish the battery testing specs that carmakers build around, if you want the technical background.
Step-by-Step: Testing Voltage Across the Terminals
This is the core test, and it's dead simple. Work slowly and keep your hands clear of moving parts if the engine will be running.
- Turn off the ignition, lights, and accessories. Pop the hood.
- Put on safety glasses and gloves. Find the positive (+) and negative (−) terminals.
- Set the multimeter to DC volts, 20V range.
- Press the red probe firmly onto the positive terminal.
- Press the black probe onto the negative terminal.
- Read the display. Compare it to the chart above.
- For a charging check, start the engine and read again. You want 13.7V to 14.7V.
A couple of quick tips make the reading trustworthy. Press the probes onto the clean metal of the post, not the painted clamp or a layer of grime. If the number bounces around, your probe contact is poor, so reseat it.
If you get a negative number like -12.6V, don't panic. Your probes are just reversed. Swap them and the reading flips positive.
For the full battery health picture beyond the terminals, our rundown on judging overall battery condition walks through load and cranking checks too.
The Voltage-Drop Test That Catches a Bad Terminal
This is the test that separates a bad terminal from a bad battery. Voltage drop measures how much power leaks away across a connection while current flows. A clean terminal loses almost nothing.
A corroded one bleeds voltage you'll never see on a standard reading.
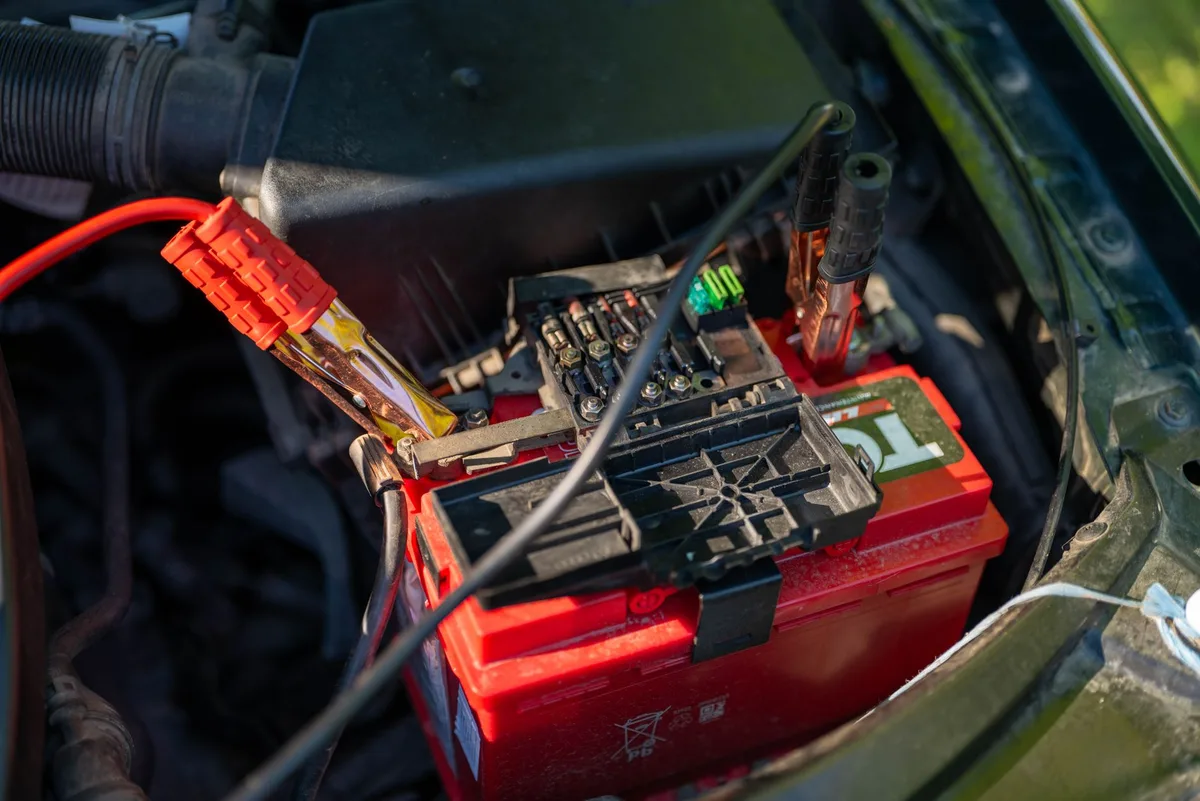
You run this test with the circuit under load, usually while cranking the engine. Set your meter to the millivolt (mV) or 2V DC range for the finest reading. The target is simple: under 0.2V of drop across any single terminal connection, and ideally below 0.1V.
Why a Good Battery Reading Can Still Lie to You
A battery can read a healthy 12.6V and still leave you stranded. A static voltage reading happens with almost no current moving. Resistance in a corroded clamp stays invisible until the starter demands hundreds of amps.
Picture a garden hose with a kink. Water pressure looks fine when the tap is barely open. Crank it wide open and the kink chokes the flow.
A bad terminal does the same thing to cranking current.
Probe Placement: Post vs Clamp
Place one probe on the battery post and the other on the cable clamp itself. You're measuring the drop across just that junction, metal to metal. Have a helper crank the engine for a couple of seconds while you watch the meter.
- More than 0.2V on the positive side means a dirty or loose positive connection.
- More than 0.2V on the negative side points to a bad ground clamp.
- Near 0.0V means the connection is solid.
Repeat this on both terminals. Then run the same check on the negative cable where it bolts to the chassis or engine block. A bad ground strap causes the same no-start symptoms as a bad terminal.
Spotting Corrosion, Loose Clamps, and Damage by Sight
Before you even grab the meter, your eyes catch a lot. Corrosion shows up as a crusty powder around the terminal, and the color hints at what's happening.

- White or grayish powder usually means lead sulfate buildup.
- Blue or green crust points to copper corrosion in the cable.
- A swollen or greasy clamp can signal a leaking or overcharged battery.
Give each clamp a gentle wiggle by hand. It should not budge on the post. If it twists or slides, the clamp is loose and needs tightening before any reading counts.
Look at the cable too, not just the terminal. Green fuzz creeping up under the insulation means corrosion has wicked into the copper strands. That raises resistance and drags down cranking power, even with a clean-looking clamp.
Voltage Test vs Load Tester vs Conductance Tester
A multimeter is the cheapest tool, but it's not the only one. Each tool answers a slightly different question, so here's how they stack up.
| Tool | What It Measures | Best For | Rough Cost |
|---|---|---|---|
| Multimeter | Voltage and voltage drop | DIY terminal and charge checks | $15 – $40 |
| Load tester | Voltage under a heavy load | Confirming a weak battery | $30 – $80 |
| Conductance tester | State of health and CCA | Predicting battery failure | $50 – $200 |
A multimeter is the right call for most home checks. It tells you charge level and pinpoints a bad terminal through voltage drop. That covers the vast majority of no-start problems.
A load tester shines when you suspect the battery itself is tired. It applies a real load and watches how far voltage sags. A conductance tester, the type most shops use, estimates cold cranking amps and remaining life without draining the battery.
If your terminals test clean but the battery still struggles, that's when a conductance check earns its keep.
Mistakes That Wreck Your Readings
Most bad readings come from small errors, not a broken meter. Dodge these and your numbers stay honest.
- Testing right after driving. Surface charge inflates the reading. Wait a few hours, or turn the headlights on for 30 seconds to clear it.
- Using the AC setting. Always confirm you're on DC volts (V⎓), never the wavy AC symbol.
- Probing painted or dirty metal. Corrosion and paint block contact. Touch clean post metal.
- Loose probe pressure. A wobbly reading usually means you're not pressing hard enough.
- Forgetting the ground side. A perfect positive terminal means nothing if the negative ground is corroded.
One more trap catches people every winter. A cold battery reads lower than a warm one at the same charge level. Don't condemn a battery on a freezing morning without factoring temperature in.
As of 2026, most quality digital meters still won't correct for this, so the judgment call is on you.
Cleaning and Re-Torquing Terminals, Then Re-Testing
If your voltage-drop test flagged a bad connection, cleaning often fixes it. Work safely and always disconnect the negative cable first to avoid a short.
- Disconnect the negative (−) terminal, then the positive (+).
- Mix baking soda with a little water into a paste. It neutralizes the acid crust.
- Scrub the posts and clamp insides with a wire brush until you see bright metal.
- Rinse lightly, dry with a rag, and check for cable damage.
- Reconnect positive first, then negative. Snug the clamps firmly, but don't crank them hard enough to crack the post.
- Wipe on a thin coat of dielectric grease or terminal spray to slow future corrosion.
Now run the tests again. Resting voltage should read the same, but the voltage drop across each terminal should fall close to zero. If the drop is still high after a proper cleaning, the cable or clamp itself is worn out and needs replacing.
That's a cheap part that saves an expensive tow.
Safety Rules Before You Touch a Live Battery
A car battery holds acid and vents flammable gas, so treat it with respect. A lead-acid battery gives off hydrogen, which ignites from a single spark. Keep flames, cigarettes, and grinding tools well away from the posts.
- Wear safety glasses and gloves every time. Sulfuric acid electrolyte burns skin and eyes fast.
- Remove rings, watches, and metal bracelets. A ring bridging both posts can weld itself and cause serious burns.
- Never lay a wrench across the terminals. That dead-shorts the battery.
- Don't switch to resistance (ohm) mode on a live battery. Only test resistance with the cables disconnected.
OSHA guidance on battery servicing backs the same basics: eye protection, ventilation, and no ignition sources nearby. If you smell rotten eggs, that's sulfur gas from an overcharged battery, so stop and let it air out.
When It's the Terminal, the Battery, or the Alternator
Your readings point to the culprit if you know how to line them up. Here's the quick logic.
- Resting voltage good (12.6V) but terminal drop over 0.2V? It's the terminal. Clean and retighten.
- Resting voltage below 12.4V and won't hold a charge? It's the battery. Load or conductance test to confirm.
- Voltage flat near 12.5V with the engine running? It's the alternator or charging circuit.
- Cranking voltage sags below 9.6V? The battery is weak even if its resting number looks okay.
Work through them in that order. Terminals are the cheapest and most common fix, so rule them out first. Only then chase the battery or alternator.
Frequently Asked Questions
What should a car battery terminal read on a multimeter?
A healthy resting terminal reads 12.6V to 12.8V with the engine off. Below 12.4V means the battery needs charging. With the engine running, expect 13.7V to 14.7V as the alternator feeds the system.
Anything wildly different points to a fault.
Can a multimeter detect a bad battery terminal?
Yes, but you need the voltage-drop test, not just a voltage reading. Place one probe on the post and one on the clamp while cranking. A drop above 0.2V flags a corroded or loose terminal.
A plain voltage read alone can miss it.
Do I test a battery terminal with the engine on or off?
Both, for different reasons. Test with the engine off first to get resting voltage and state of charge. Then start the engine to check charging voltage and confirm the alternator works.
The voltage-drop test happens during cranking.
Which multimeter setting do I use for a car battery?
Use DC volts, marked with a straight line over a dashed line (V⎓). On a manual meter, pick the 20V range for a standard reading. Switch to the millivolt or 2V range for the voltage-drop test to catch small losses.
Why does my battery read 12.6V but the car won't start?
The battery is charged, but the connection likely isn't carrying current. A corroded or loose terminal reads fine at rest yet chokes under the starter's heavy load. Run a voltage-drop test across each terminal and the ground strap to find the weak link.
Your Quick Terminal-Testing Reference Guide
Keep this cheat sheet handy the next time you pop the hood.
| Test | Setting | Healthy Result |
|---|---|---|
| Resting voltage | DC volts, 20V | 12.6V – 12.8V |
| Charging voltage | DC volts, 20V | 13.7V – 14.7V |
| Cranking voltage | DC volts, 20V | Above 9.6V |
| Terminal voltage drop | mV / 2V DC | Under 0.2V |
Start with resting voltage to check the charge. Move to the voltage-drop test to catch a bad terminal. Clean, retighten, and retest before you spend a dime on parts.
That simple order saves most drivers a needless battery swap. A five-minute check with a $20 meter beats a tow and a guess every time.

Similar Posts





















